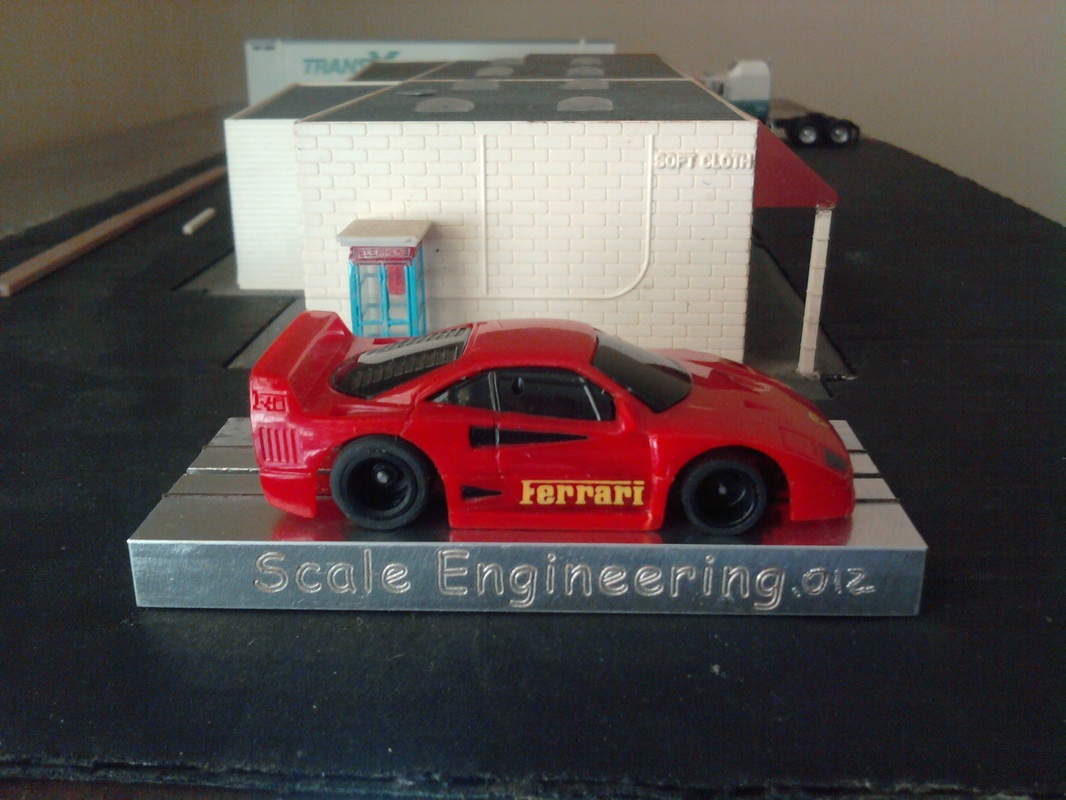
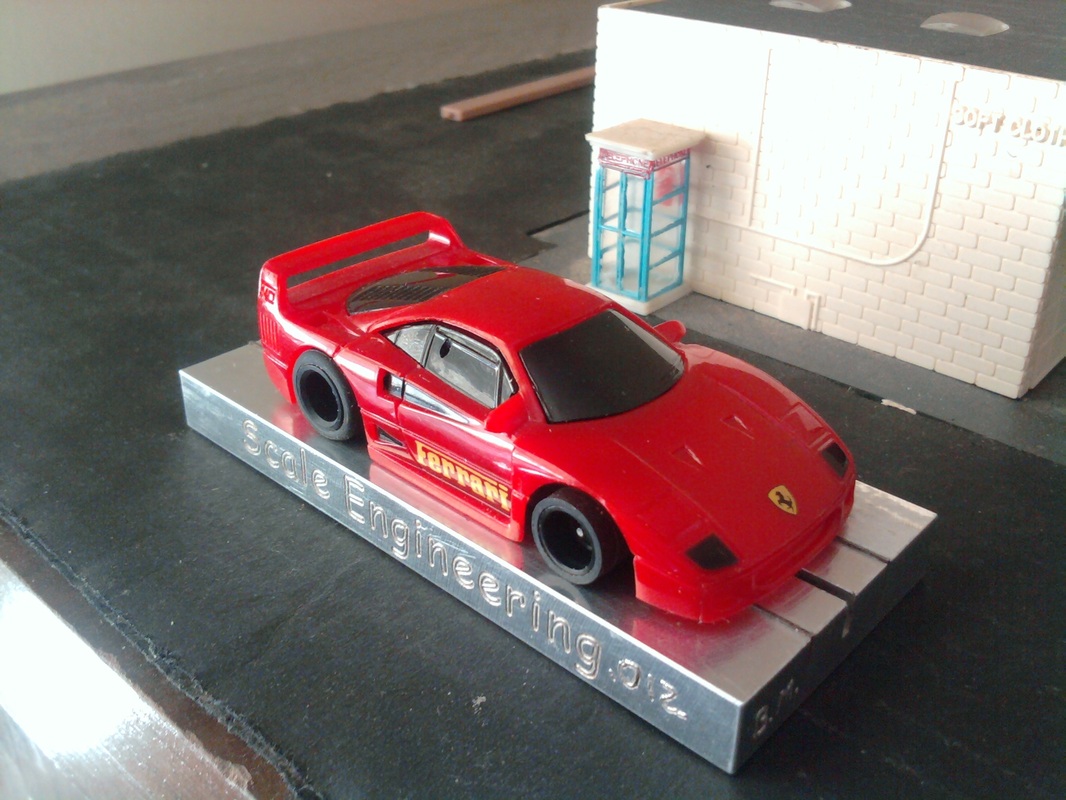
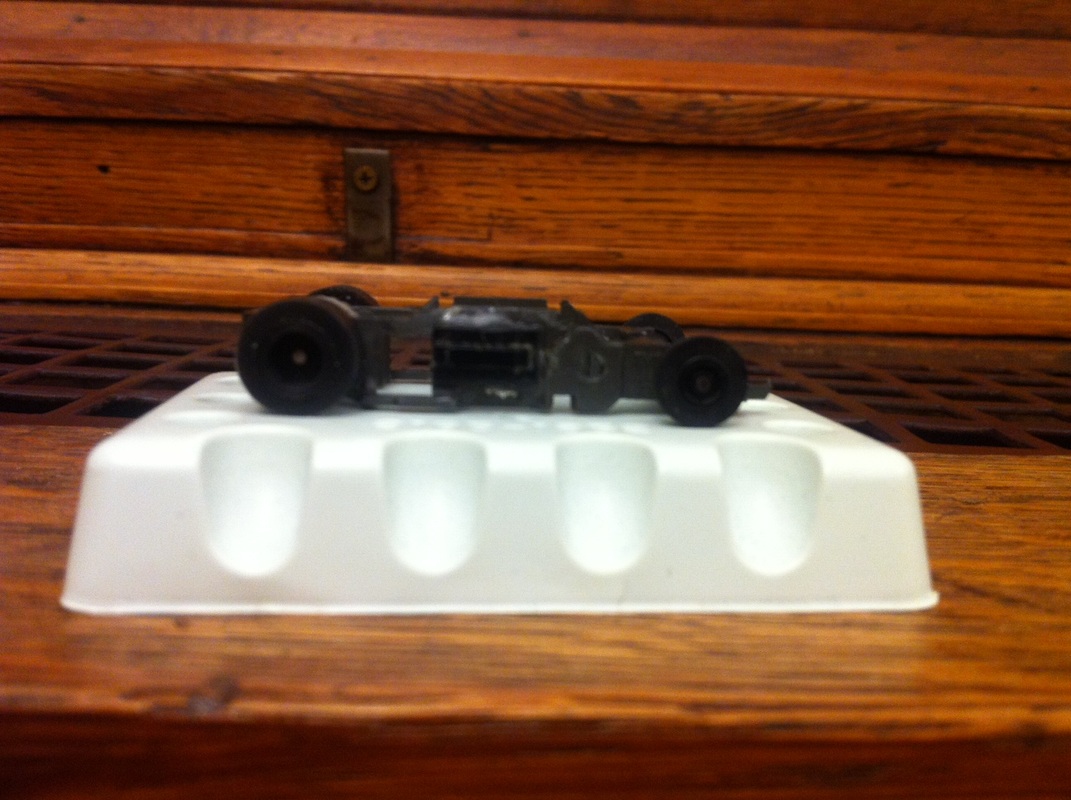
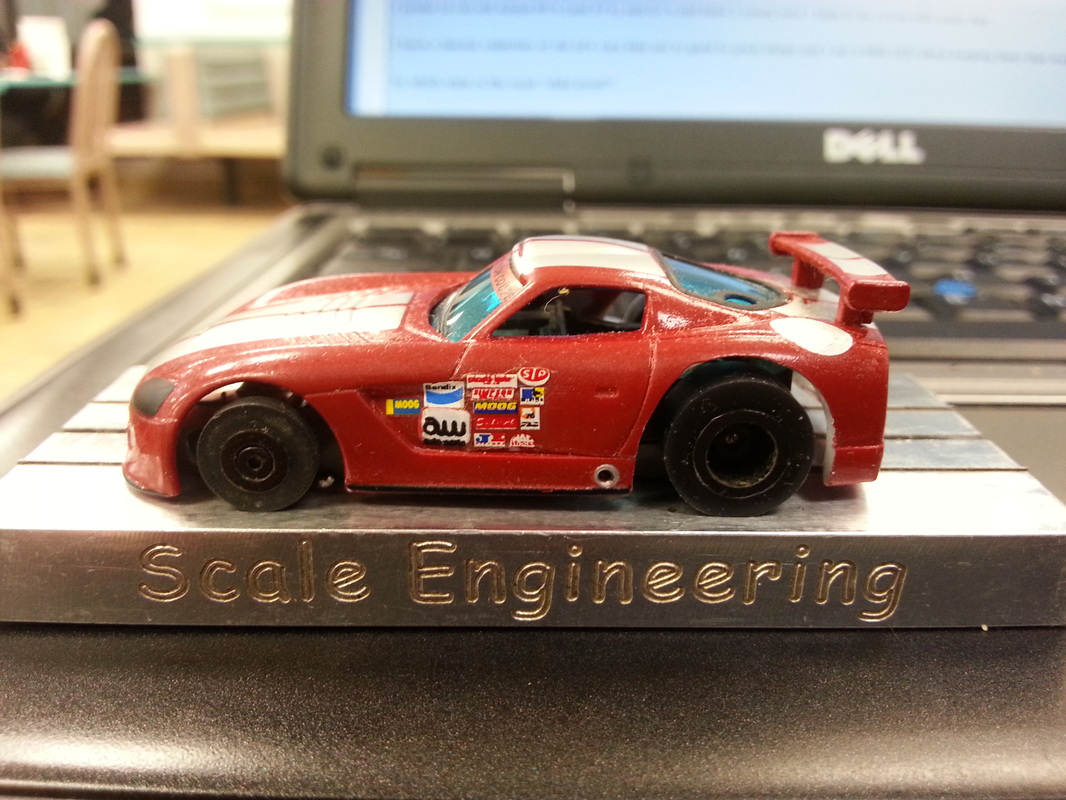
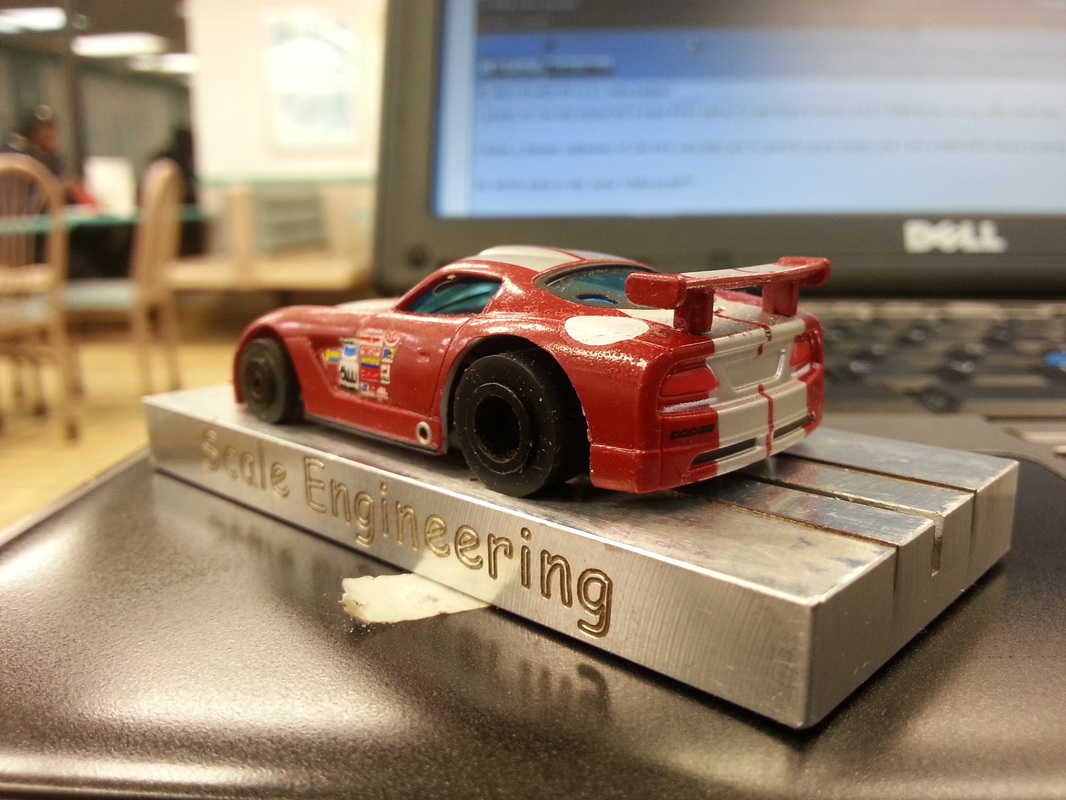
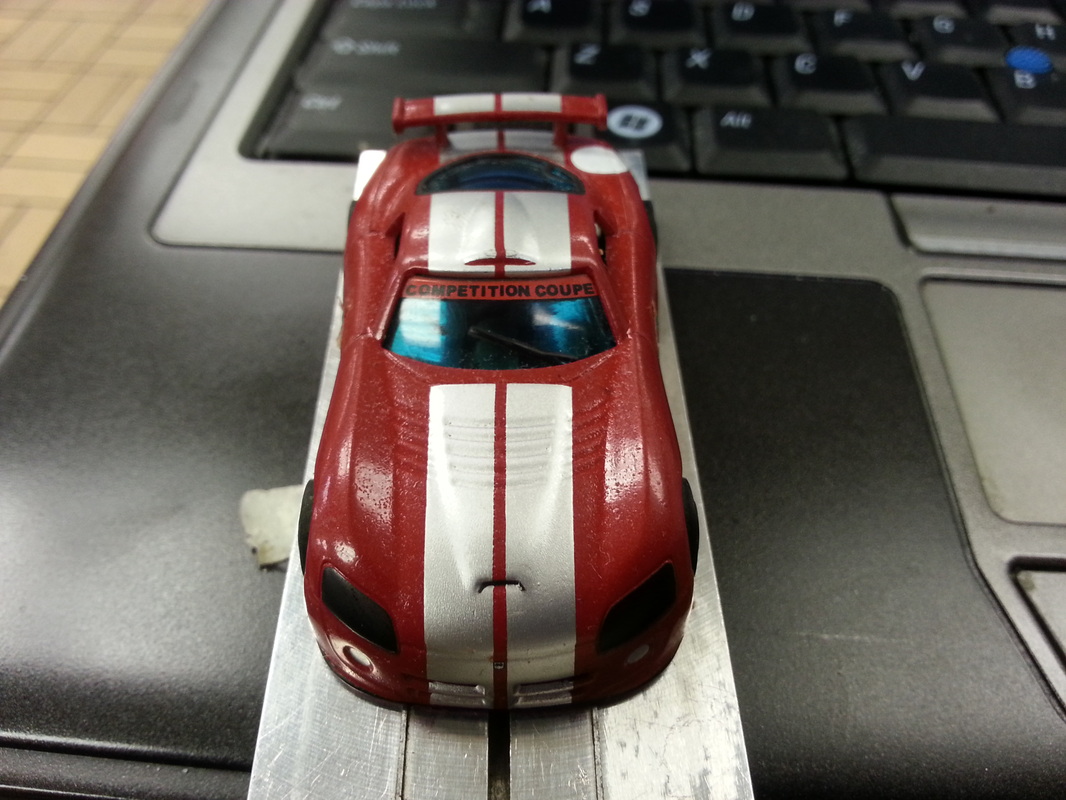
J.L.M Hardbody Projects
Just a collection pf pics of recent body mod projects for my personal collection of race able hardbody cars.
Just a collection pf pics of recent body mod projects for my personal collection of race able hardbody cars.

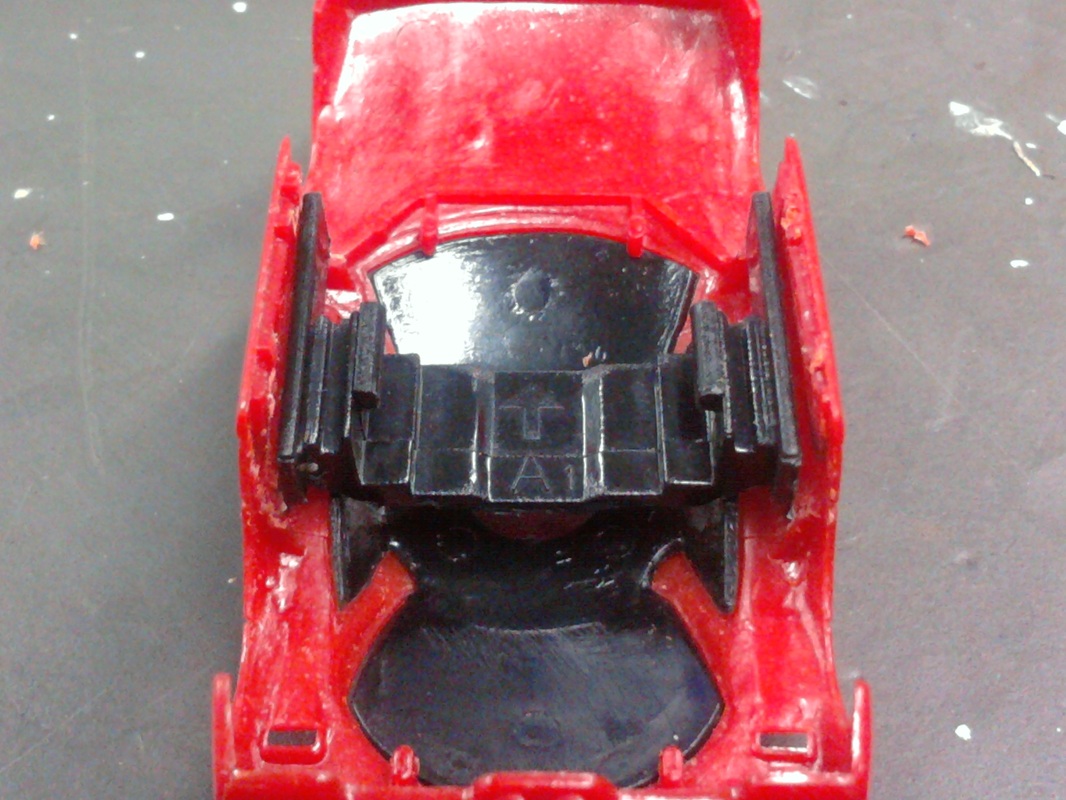
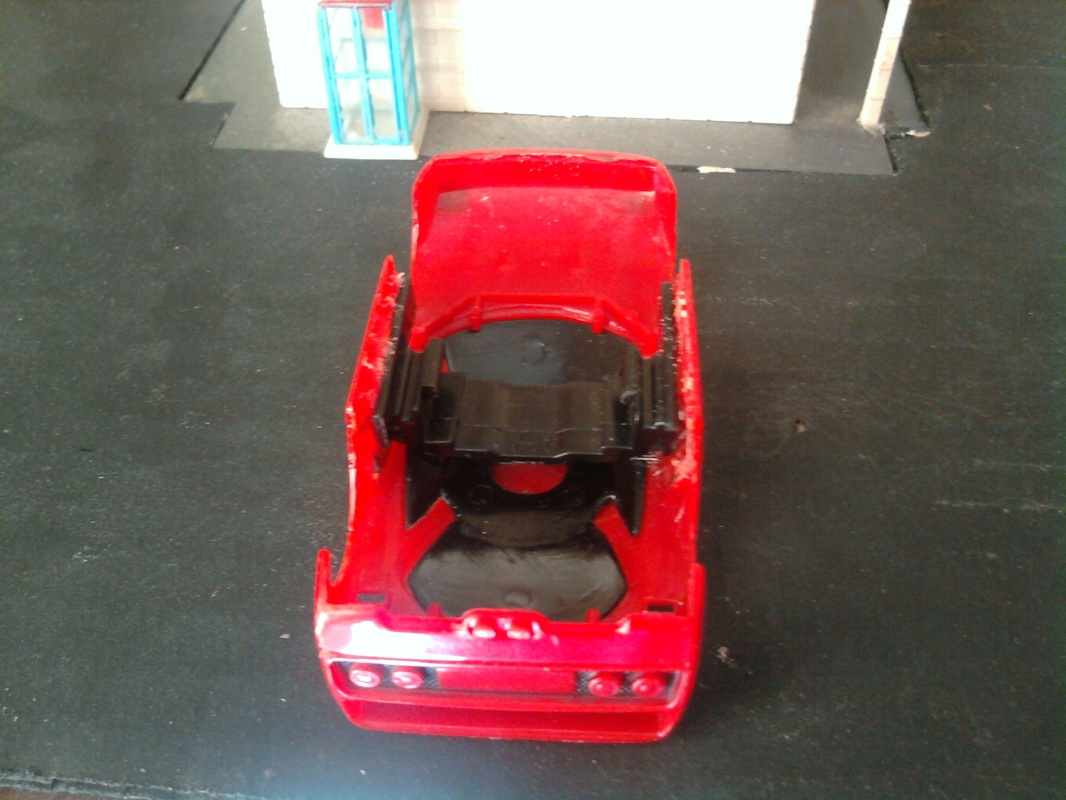

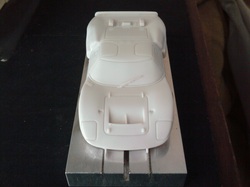
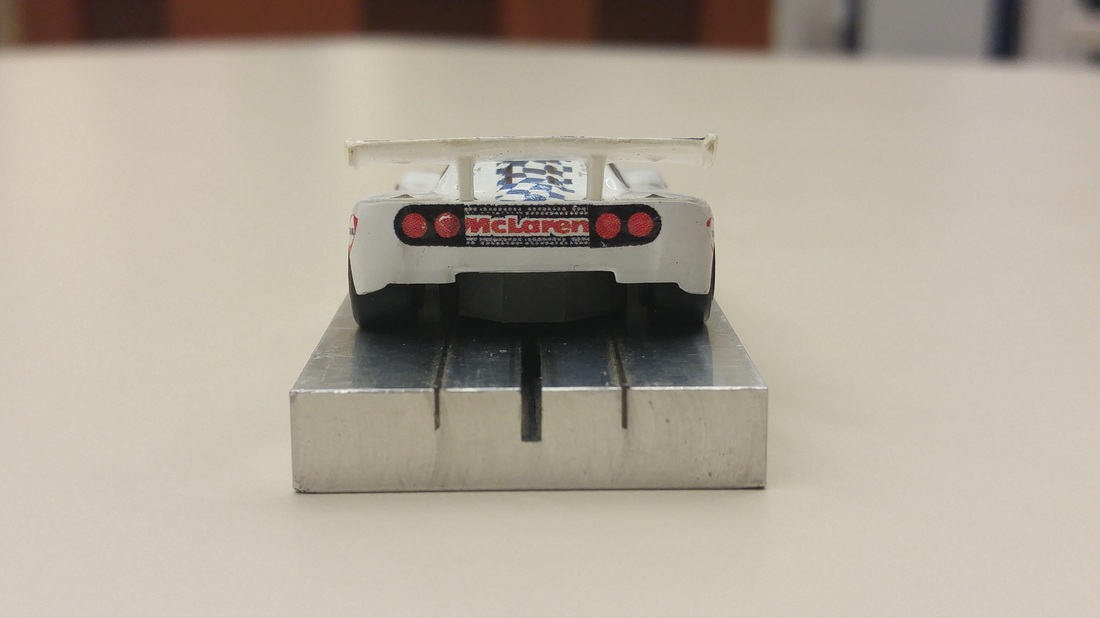
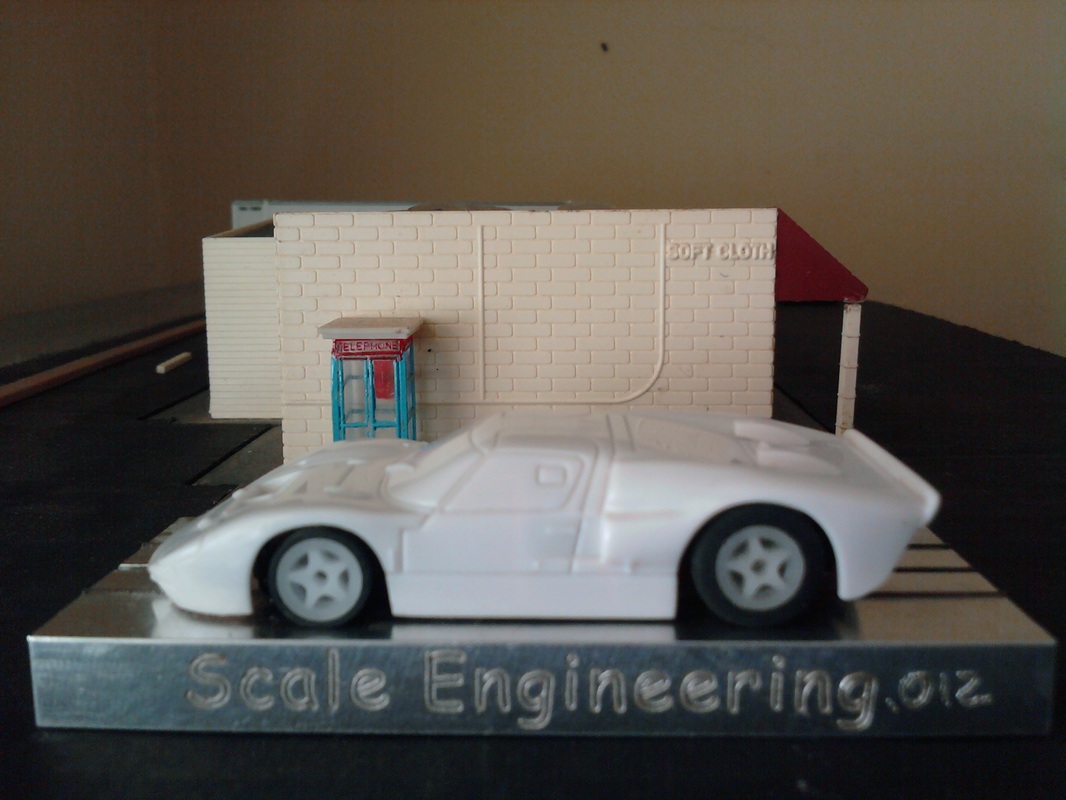
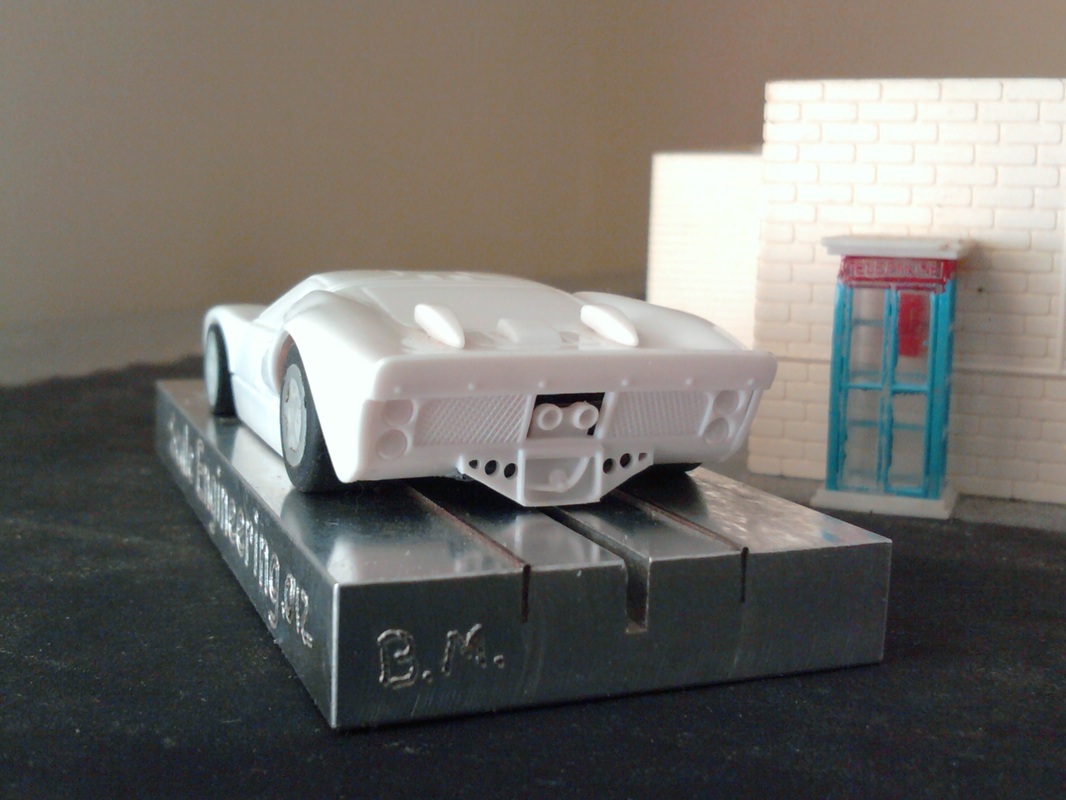
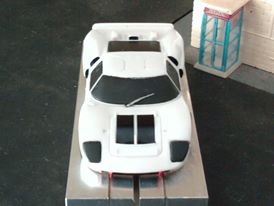
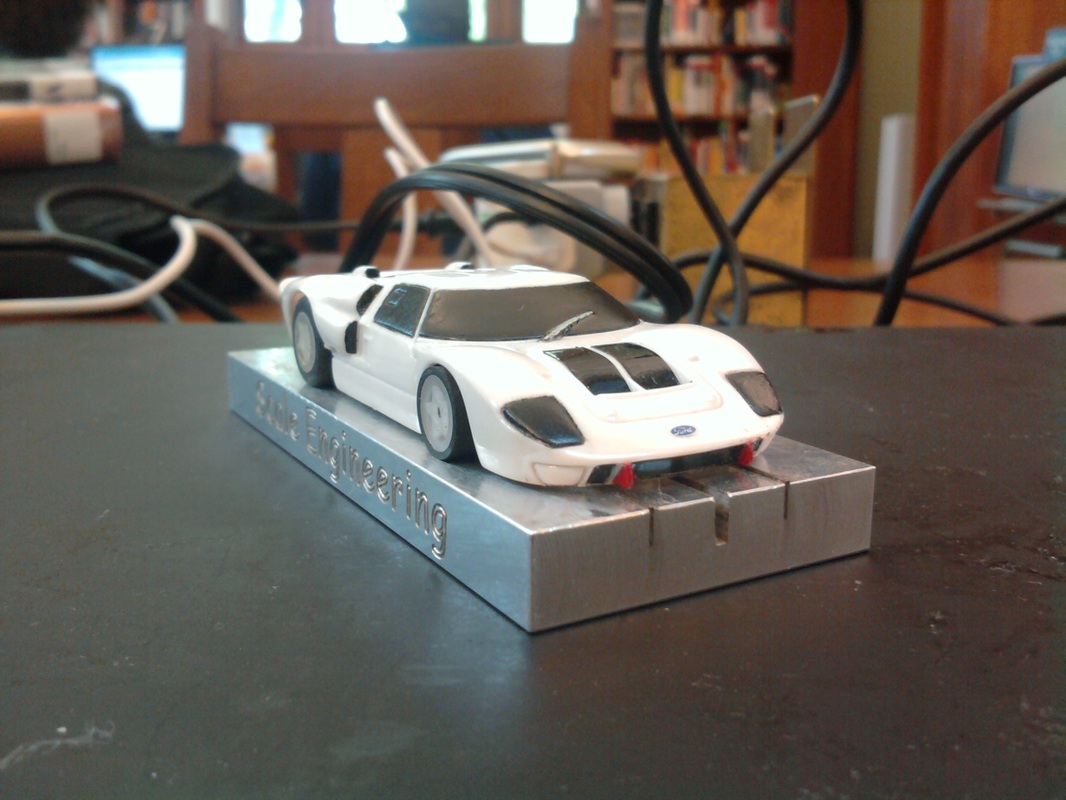
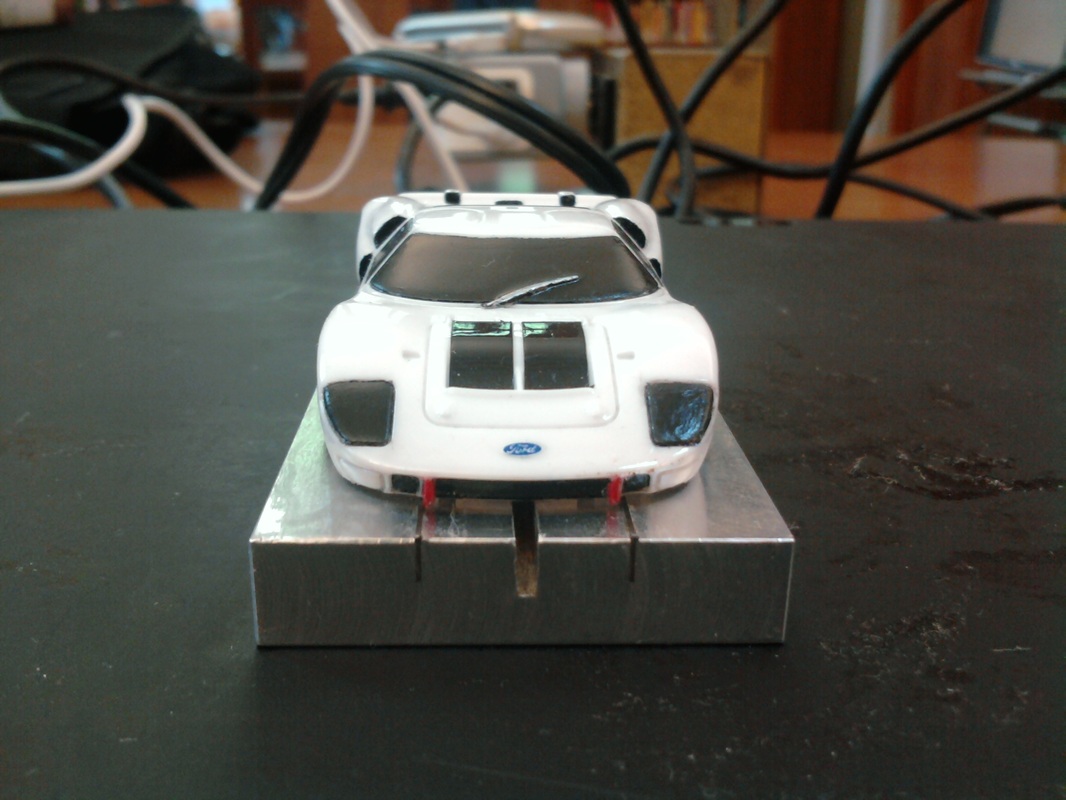
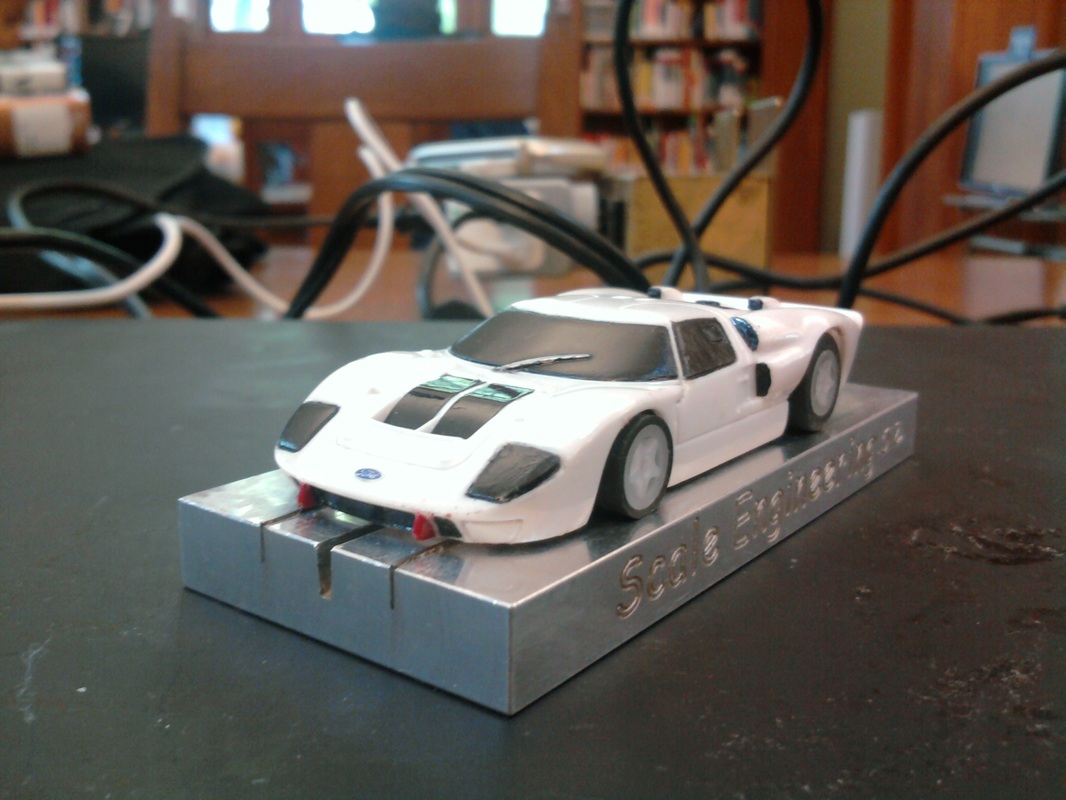
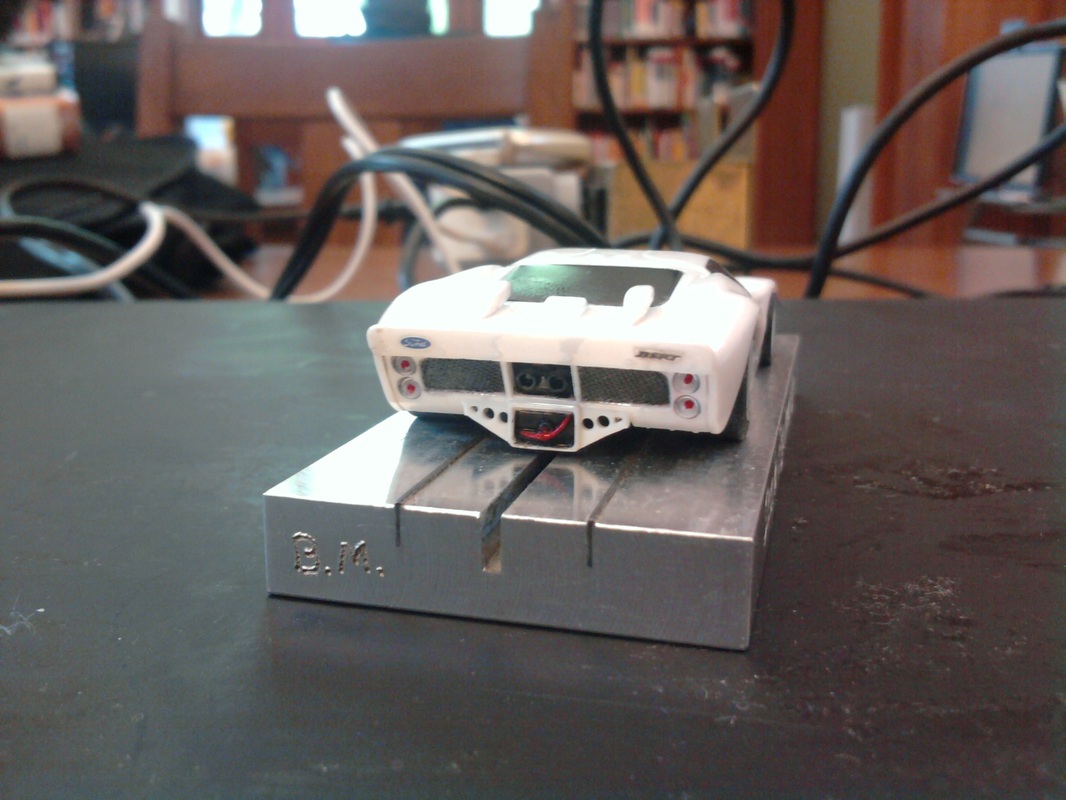
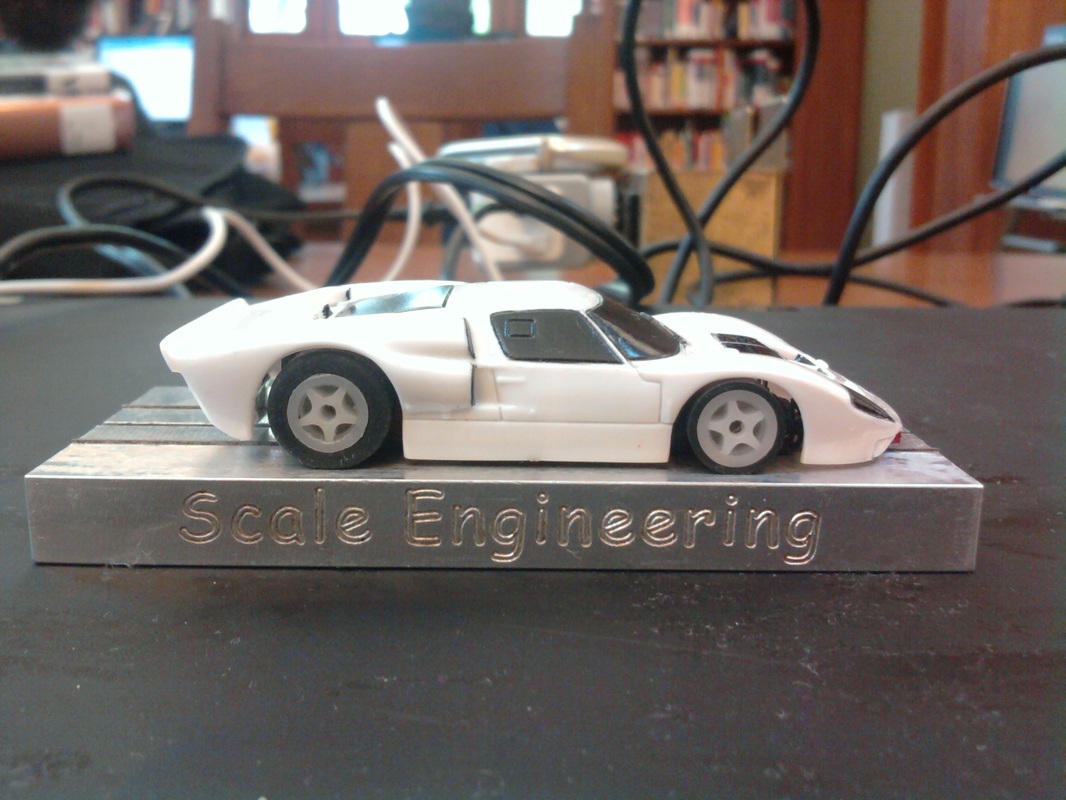
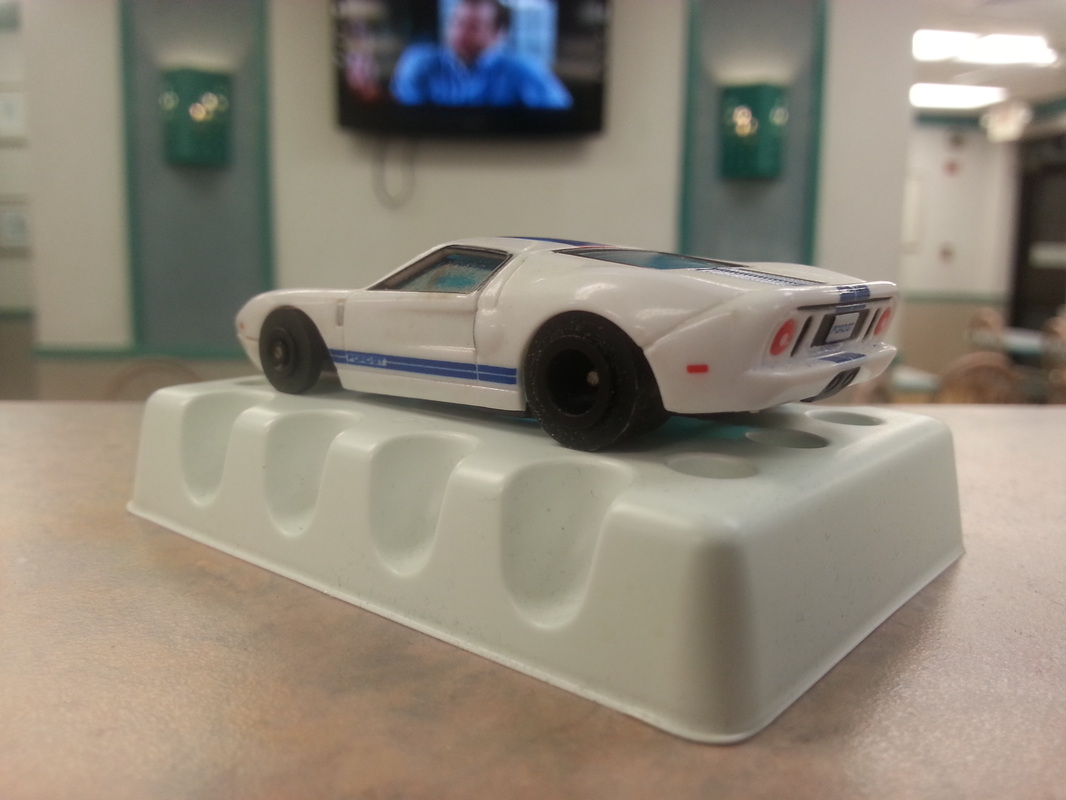
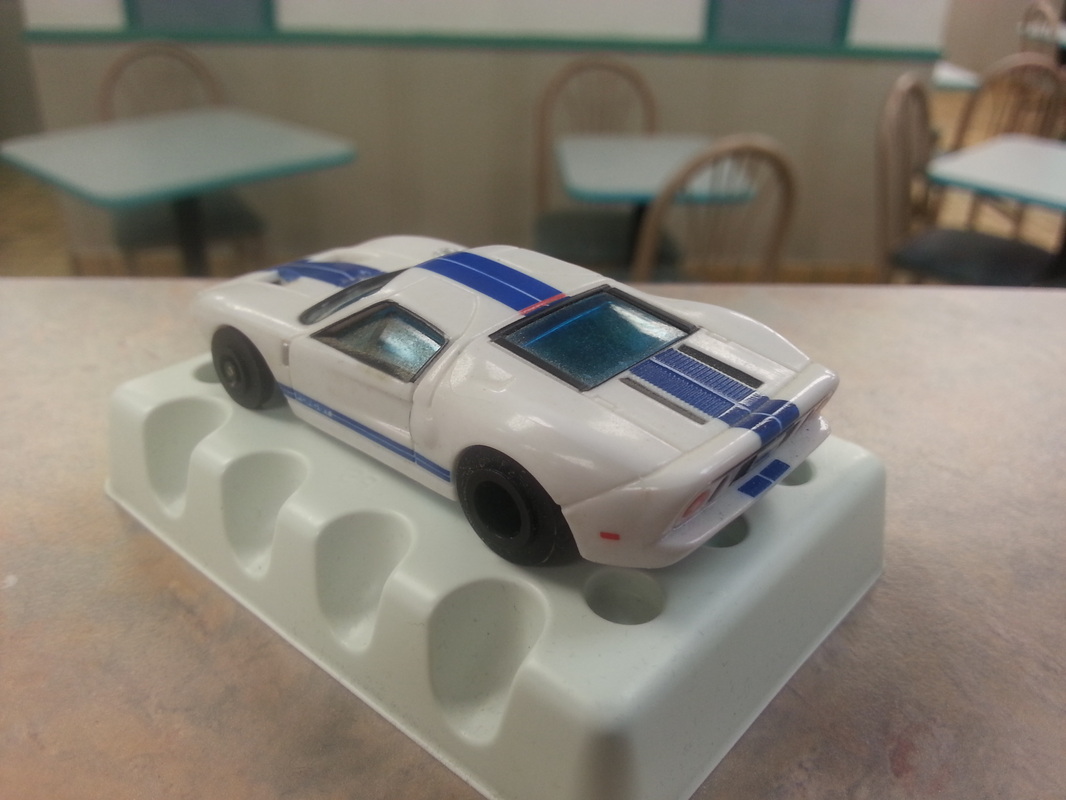
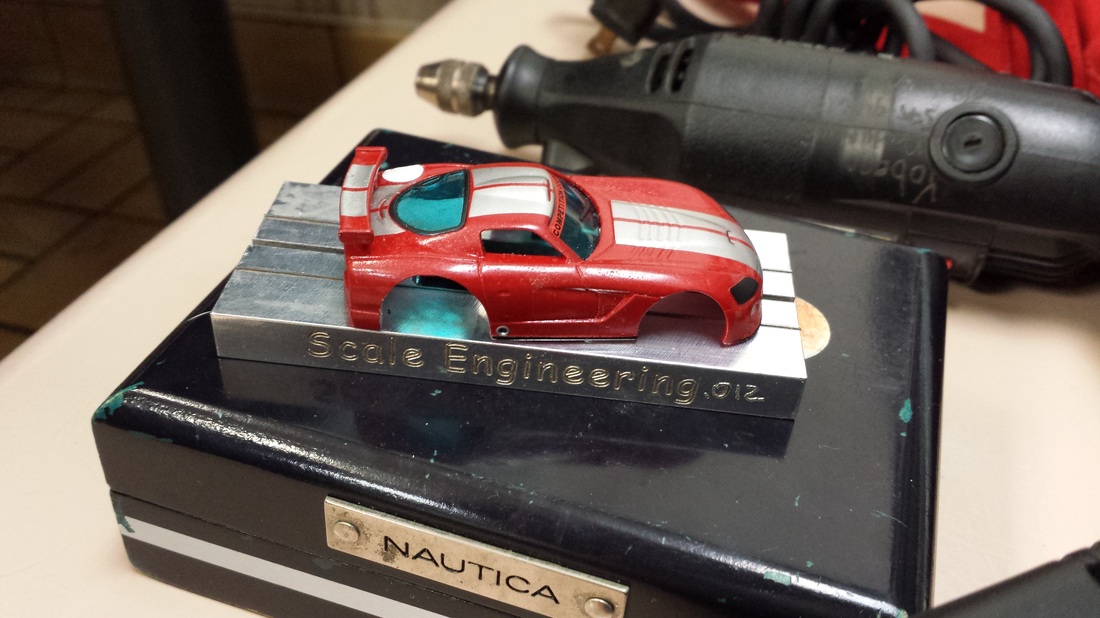
The J.L.M Ford GT 40 R
I have had several GT 40's and I have lowered them and they have performed well. But I wondered how well they would perform if we fully reworked the the body to remove all the excess "Air" from the chassis. Take a look and tell me what you think. The "R" stands for "Reworked".
I have had several GT 40's and I have lowered them and they have performed well. But I wondered how well they would perform if we fully reworked the the body to remove all the excess "Air" from the chassis. Take a look and tell me what you think. The "R" stands for "Reworked".

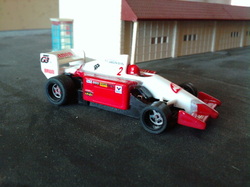
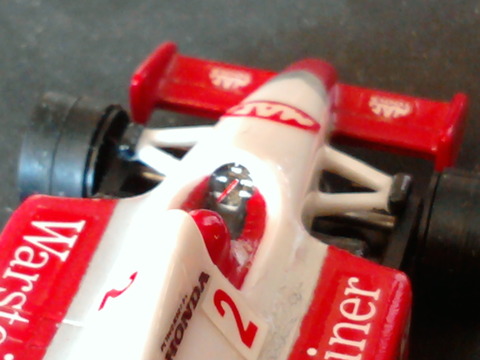
The J.L.M Racing "Red Bear" Indy racer has a reinforced front wing.
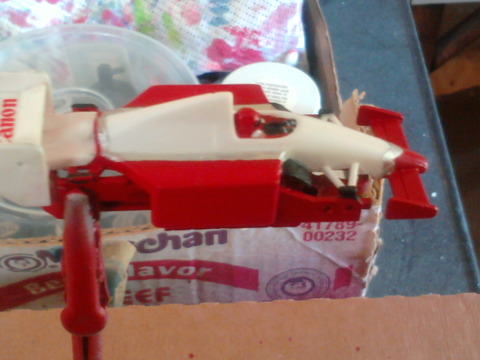
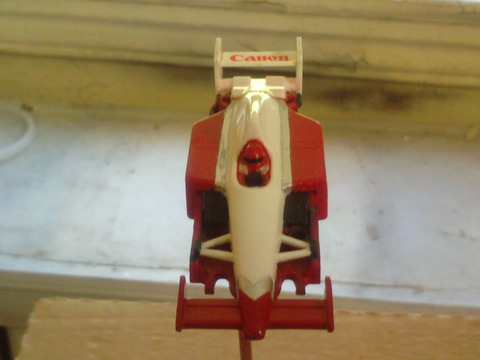
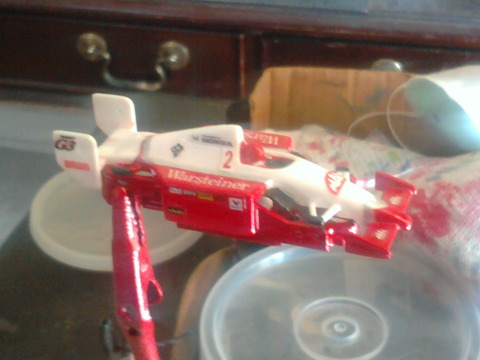

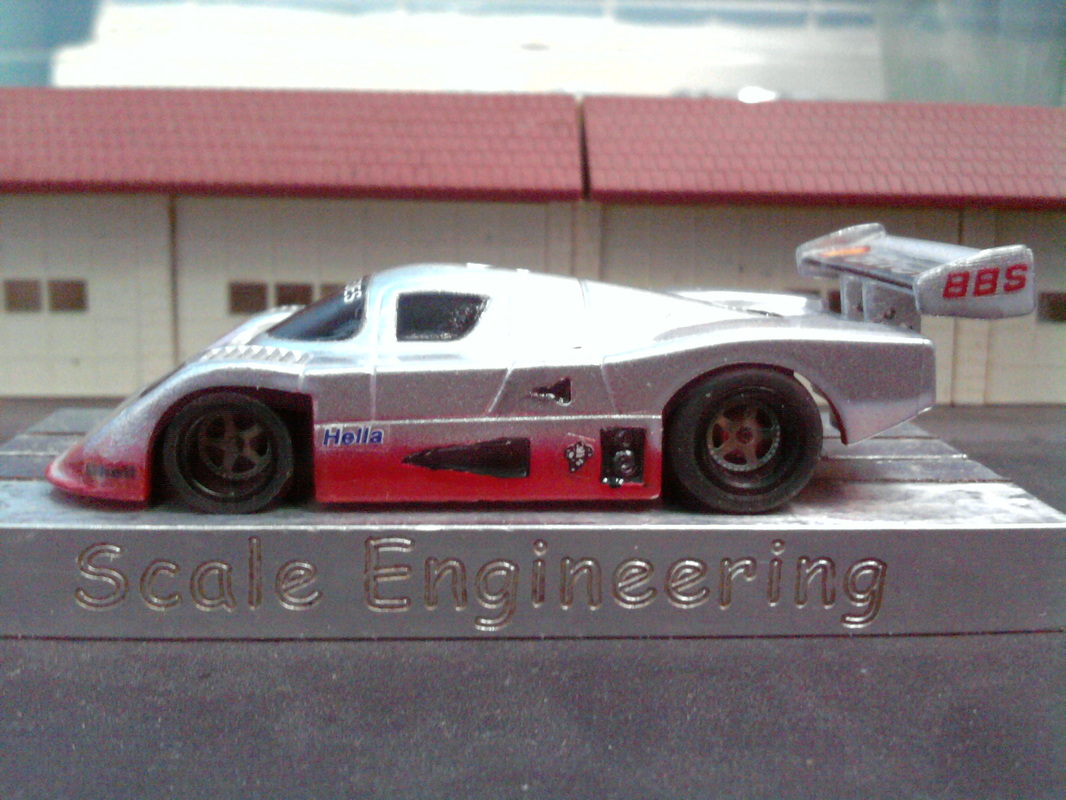
J.L.M Racing "Sauber" Re-fit Project:
Adding new BODY mounts to help center the wheels in the Sauber Mercedes chassis
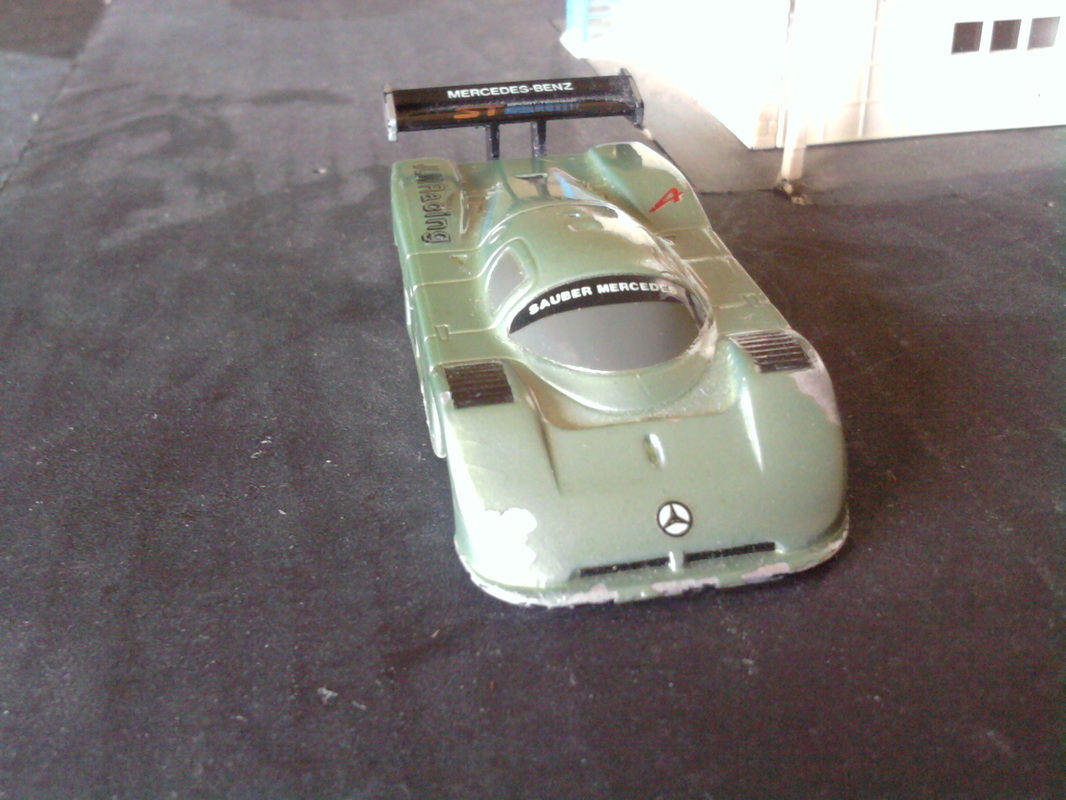
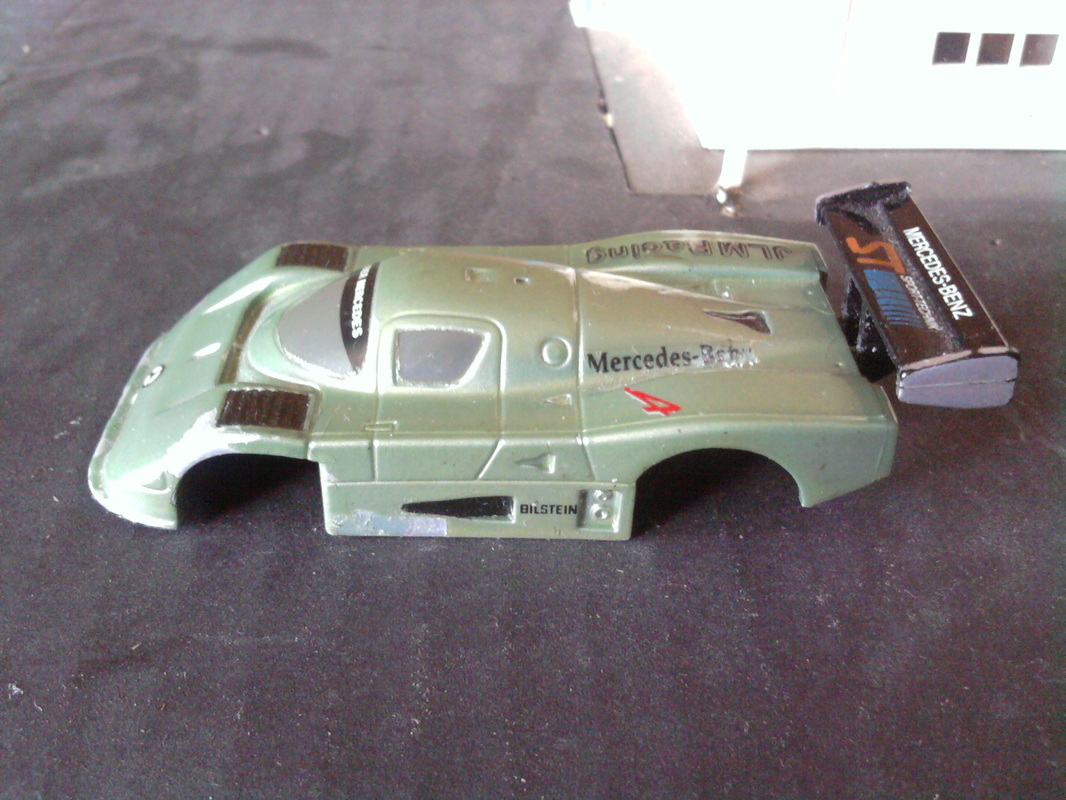
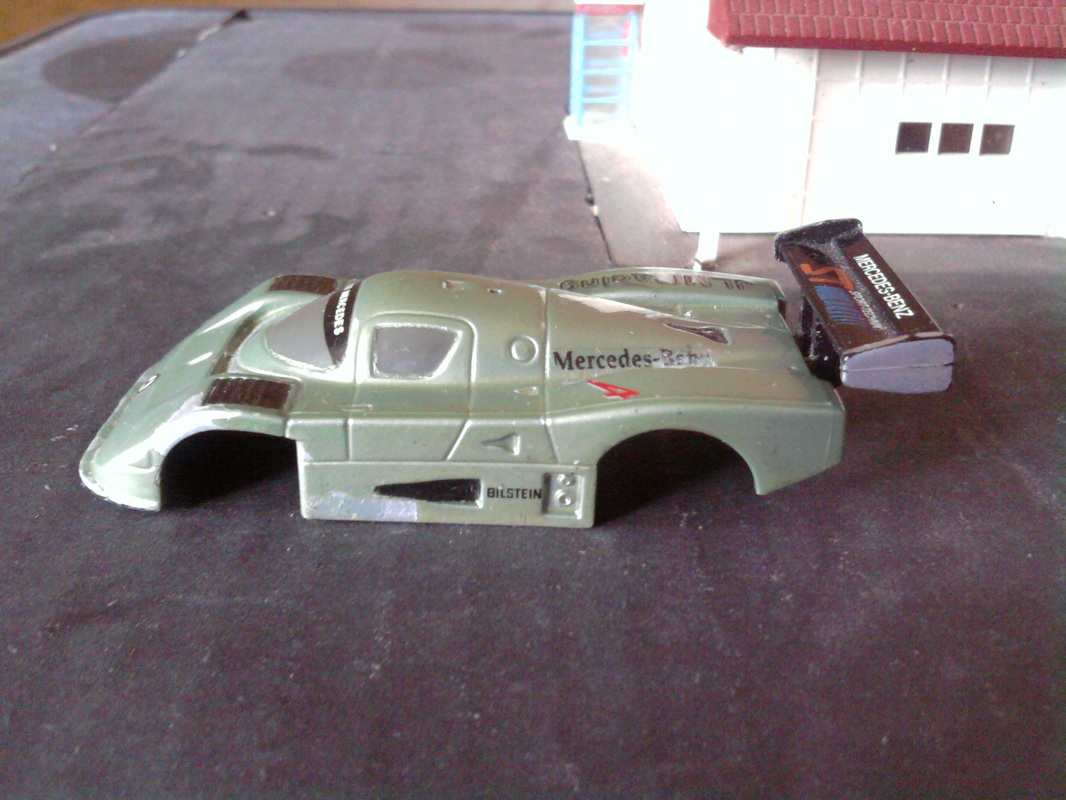
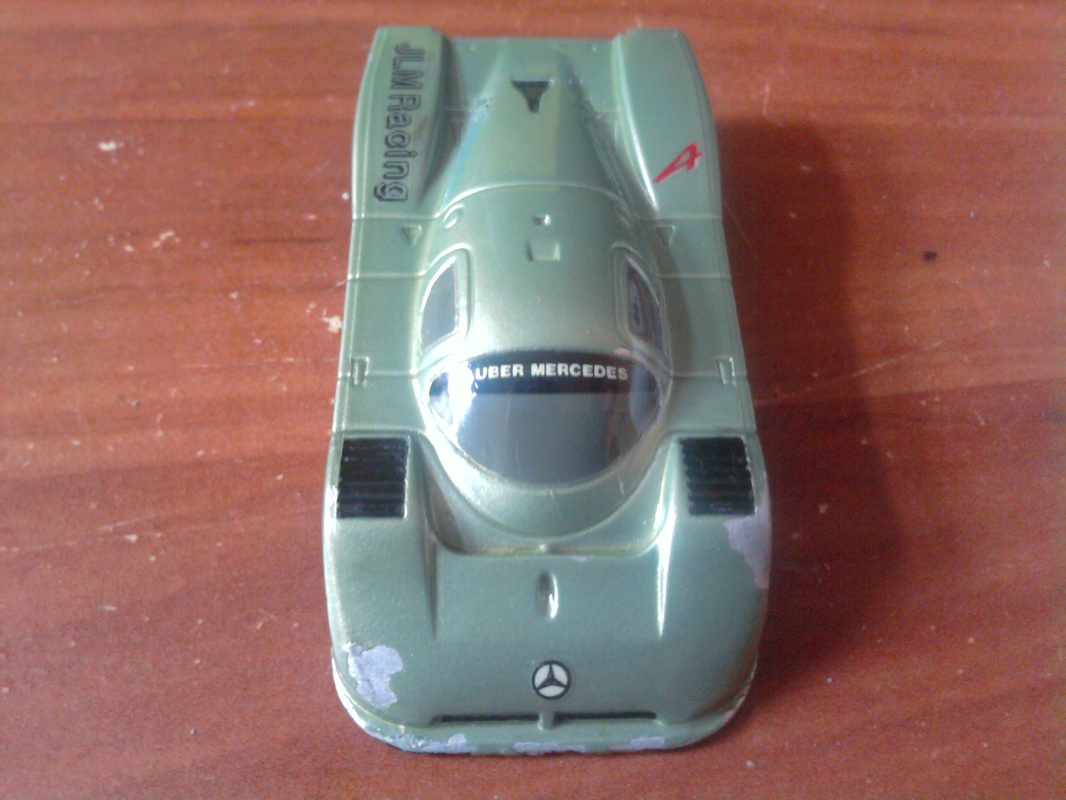
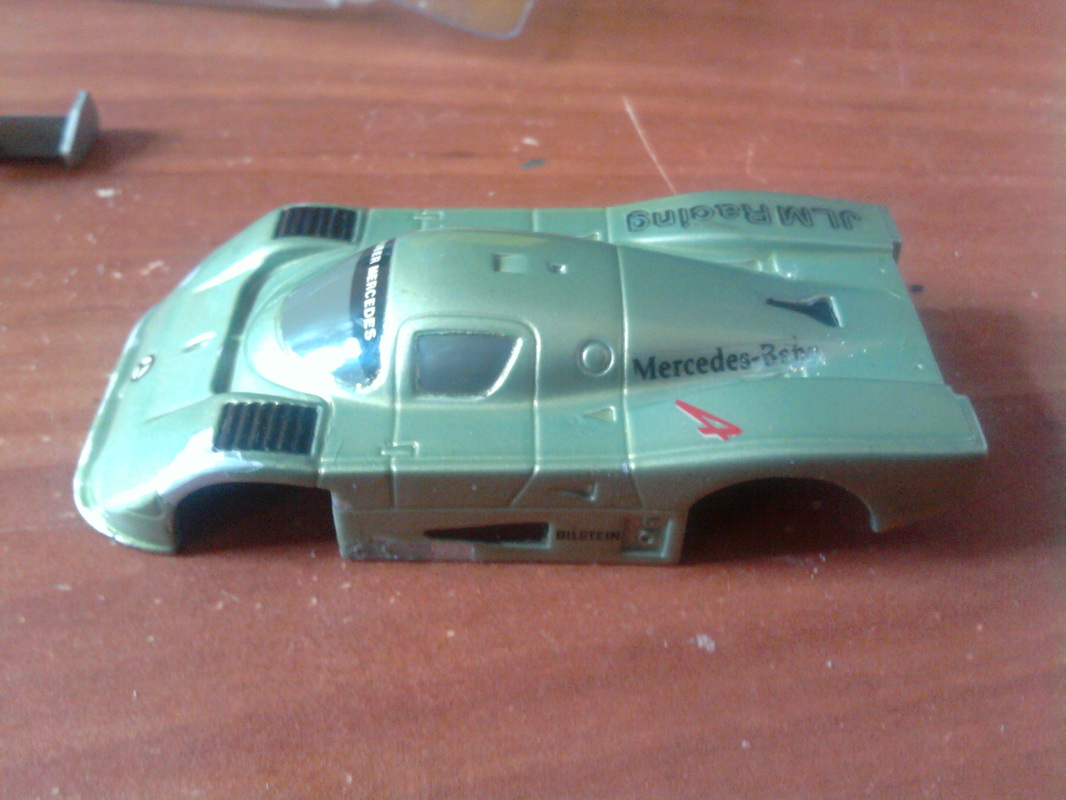
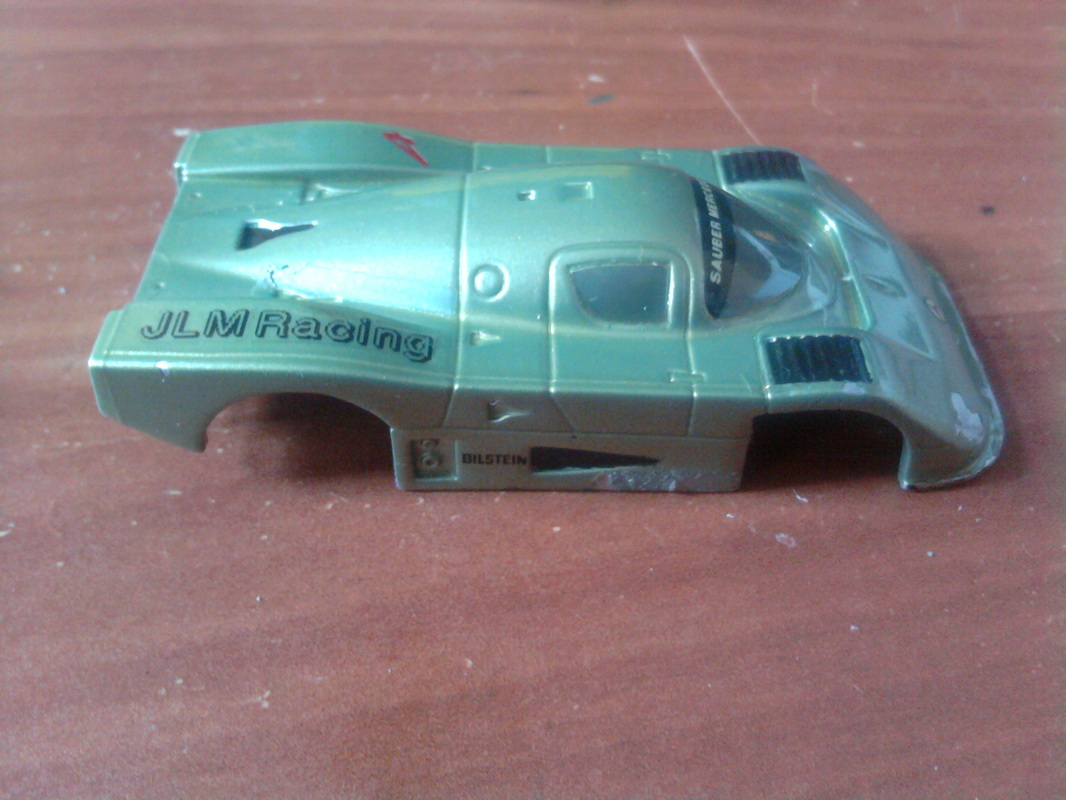
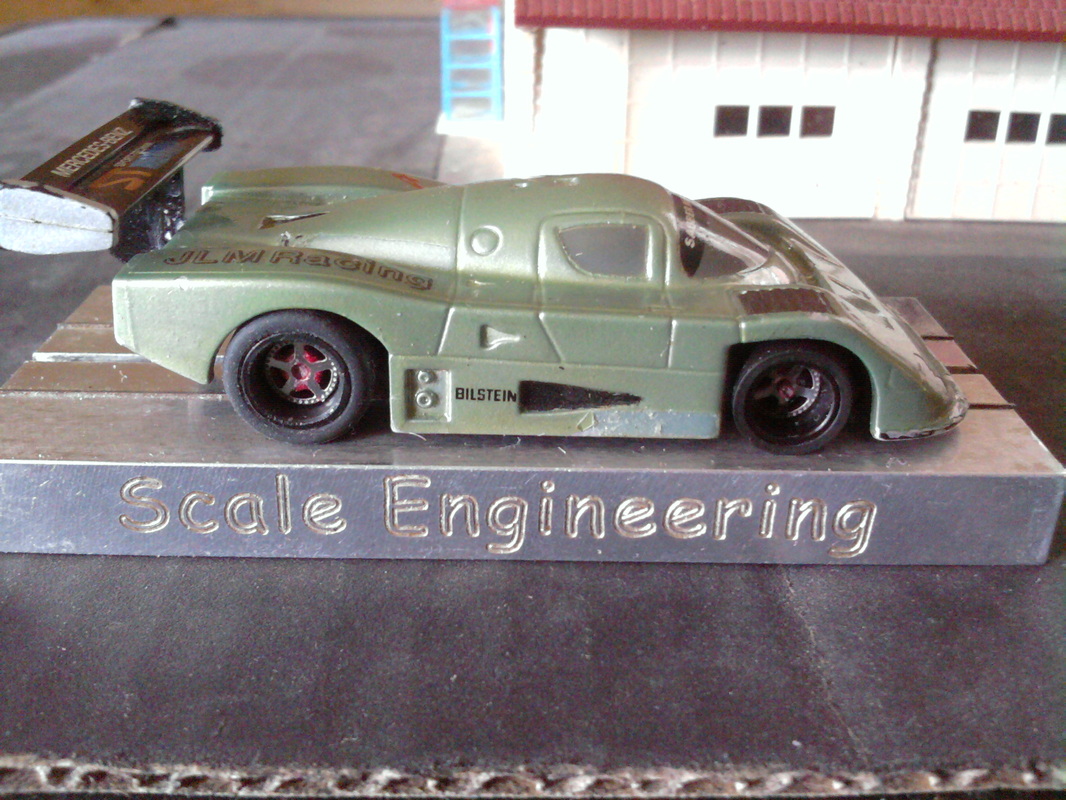
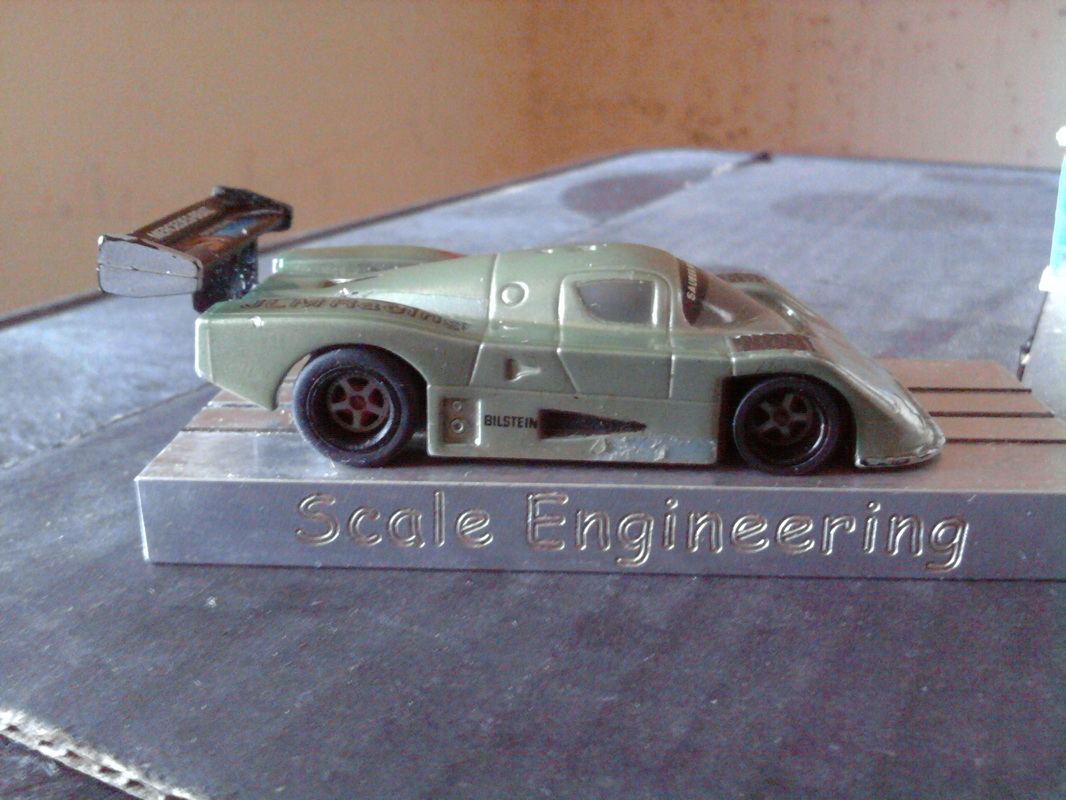

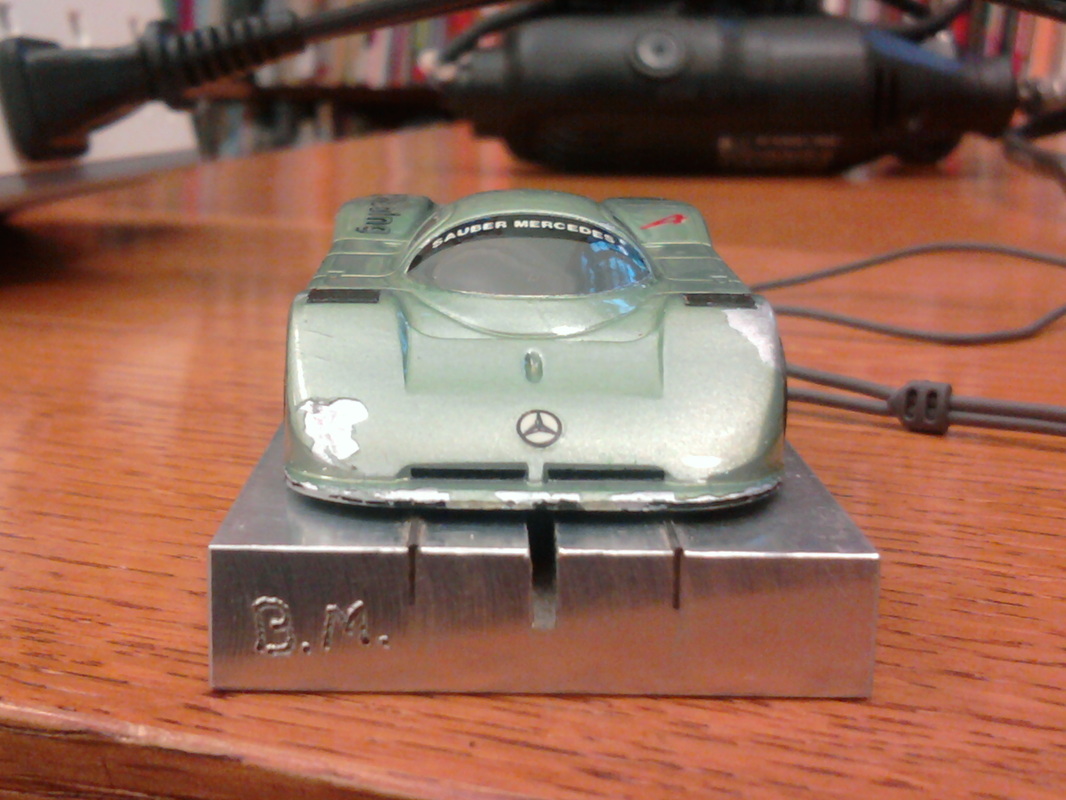
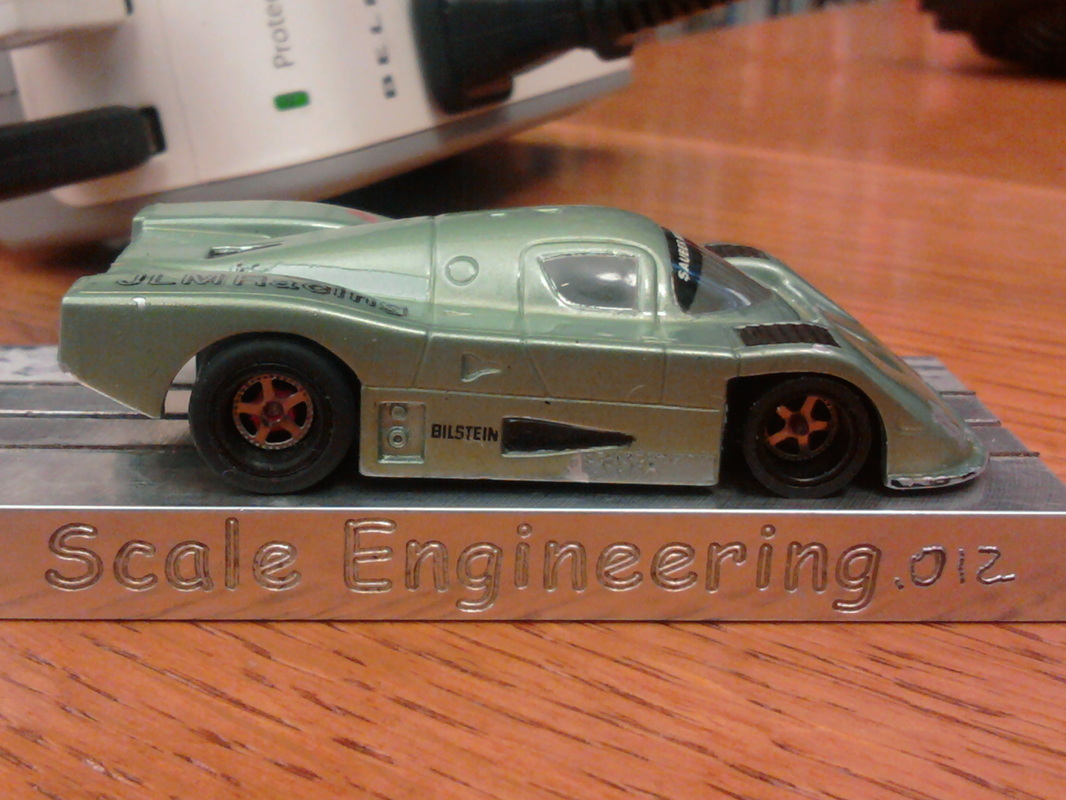
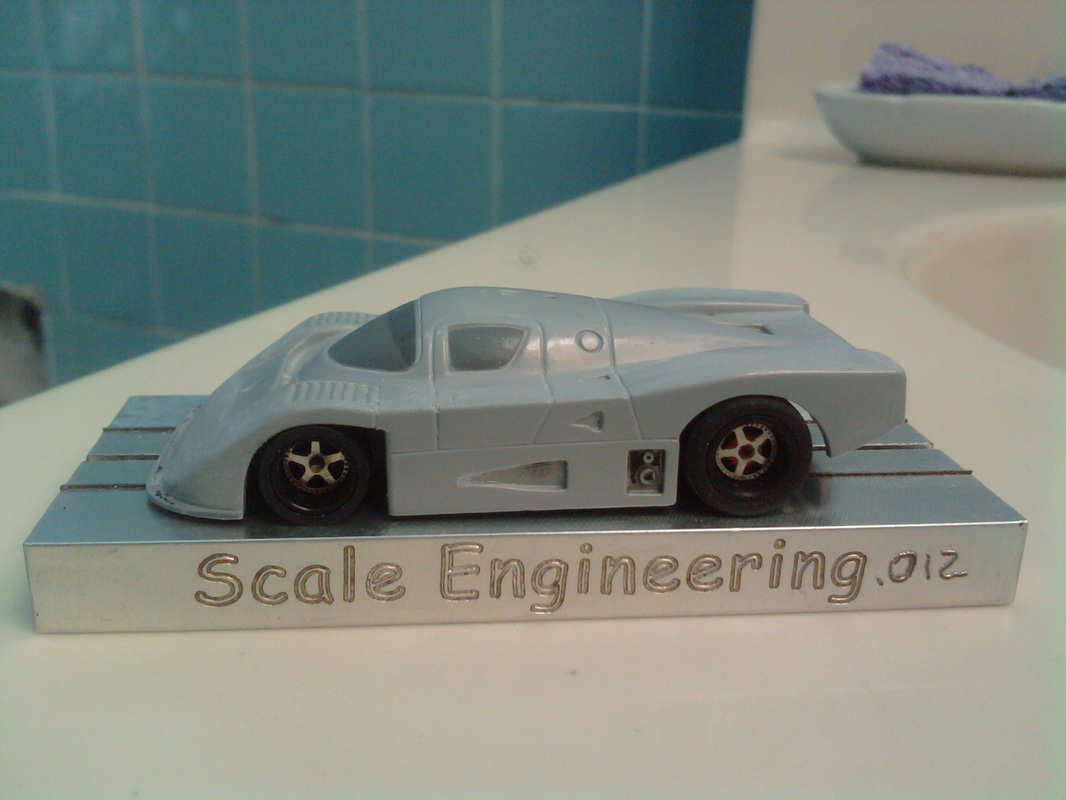
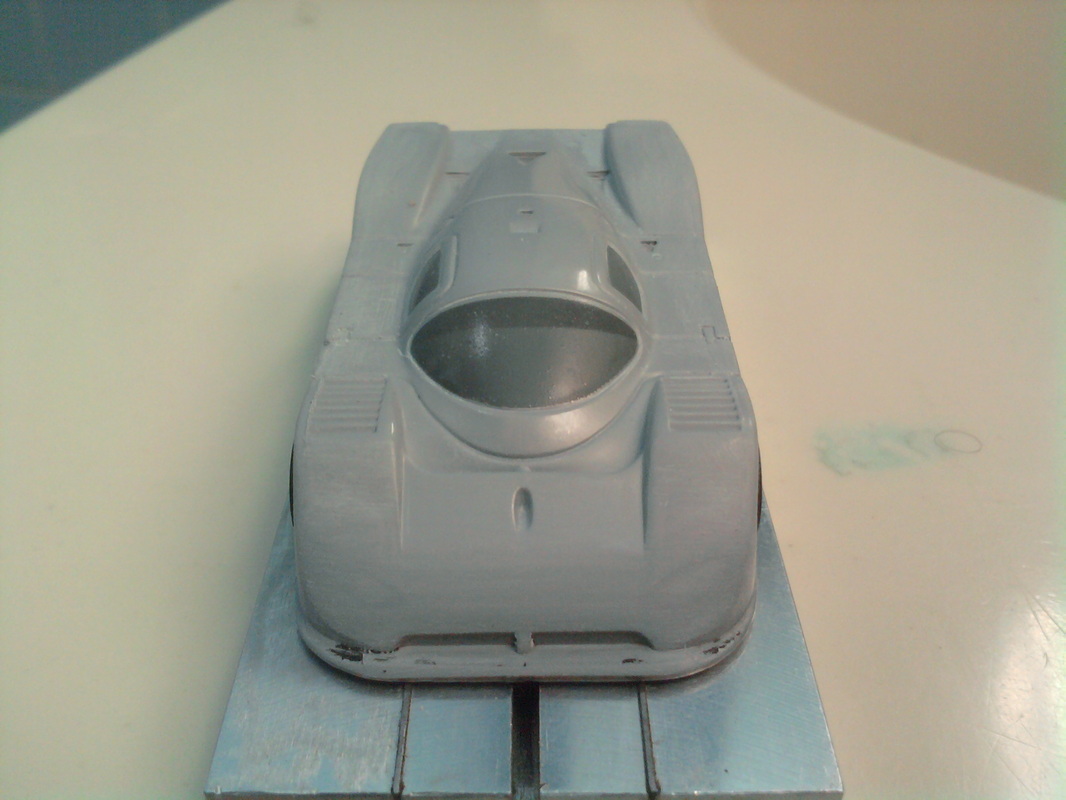
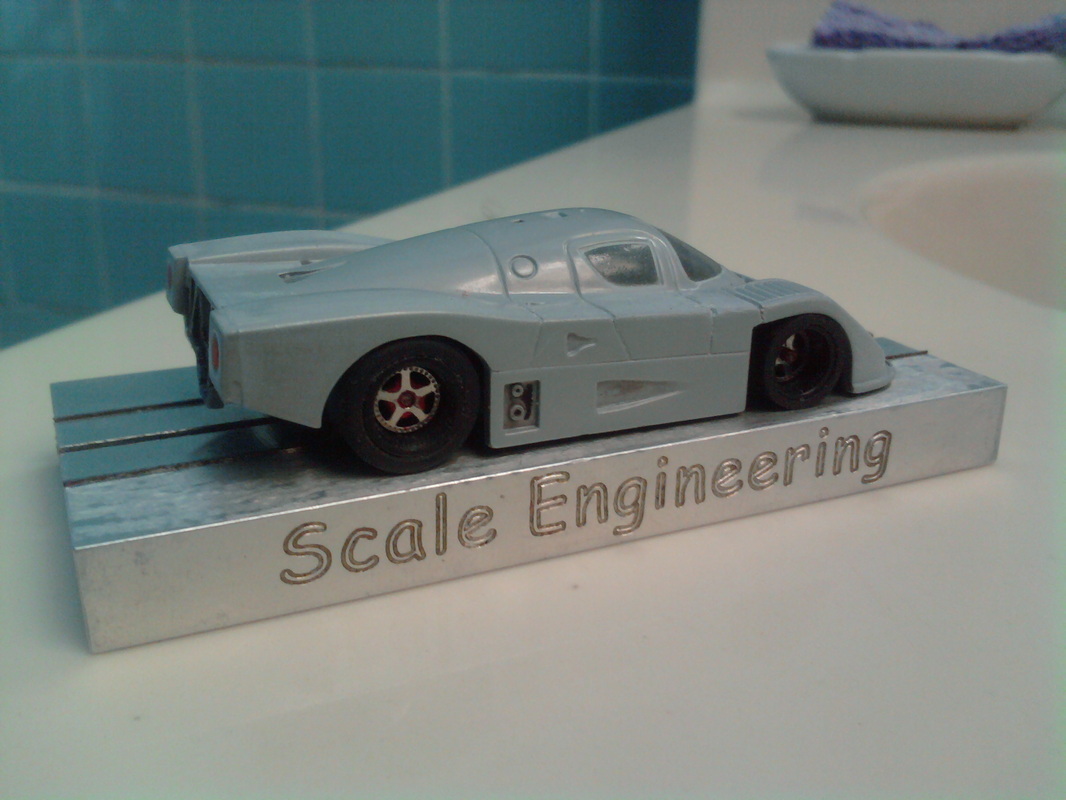
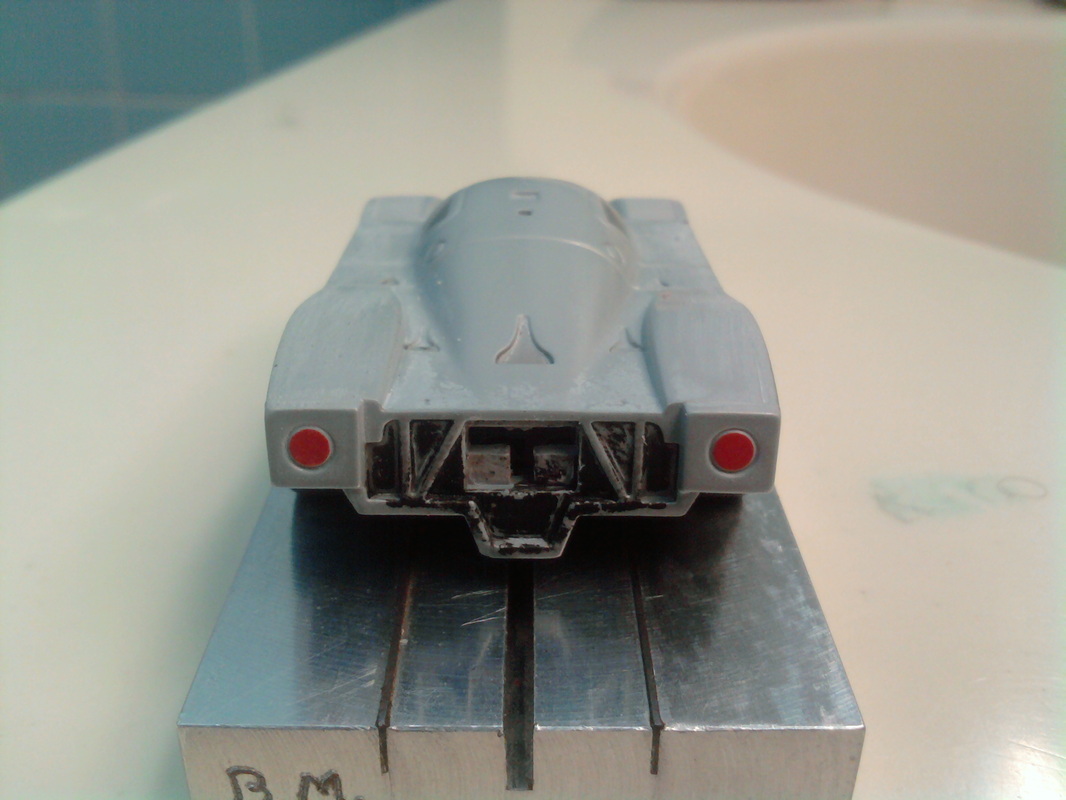
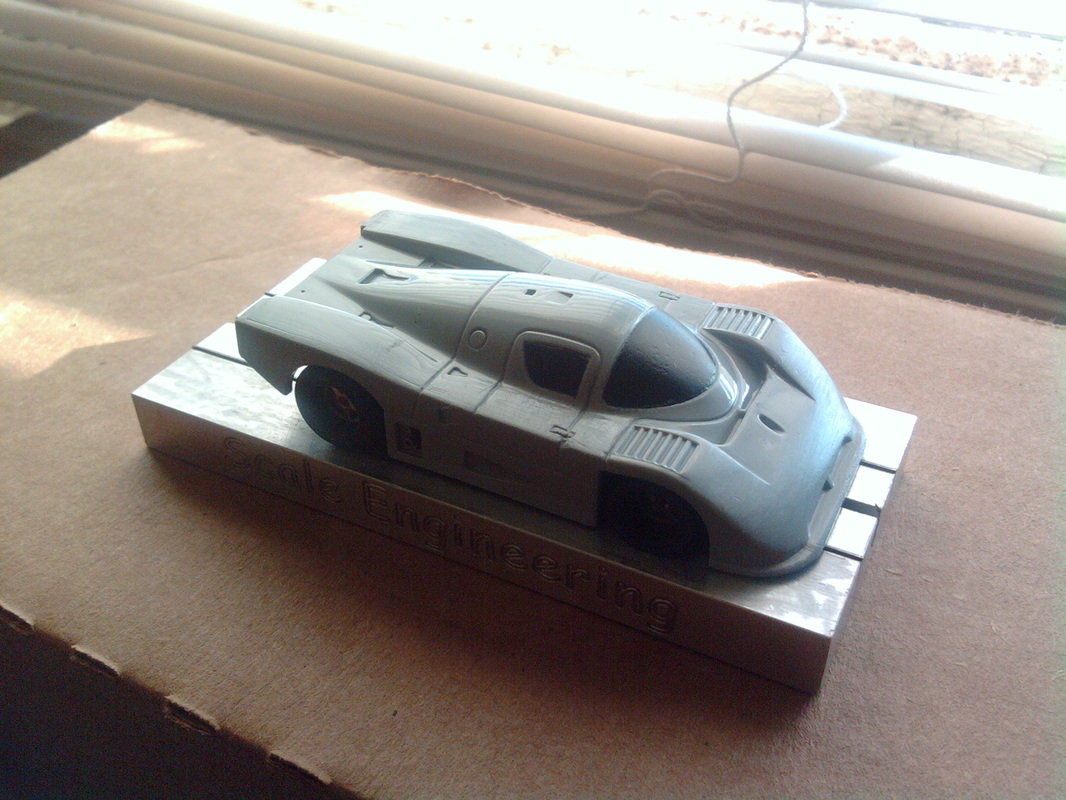
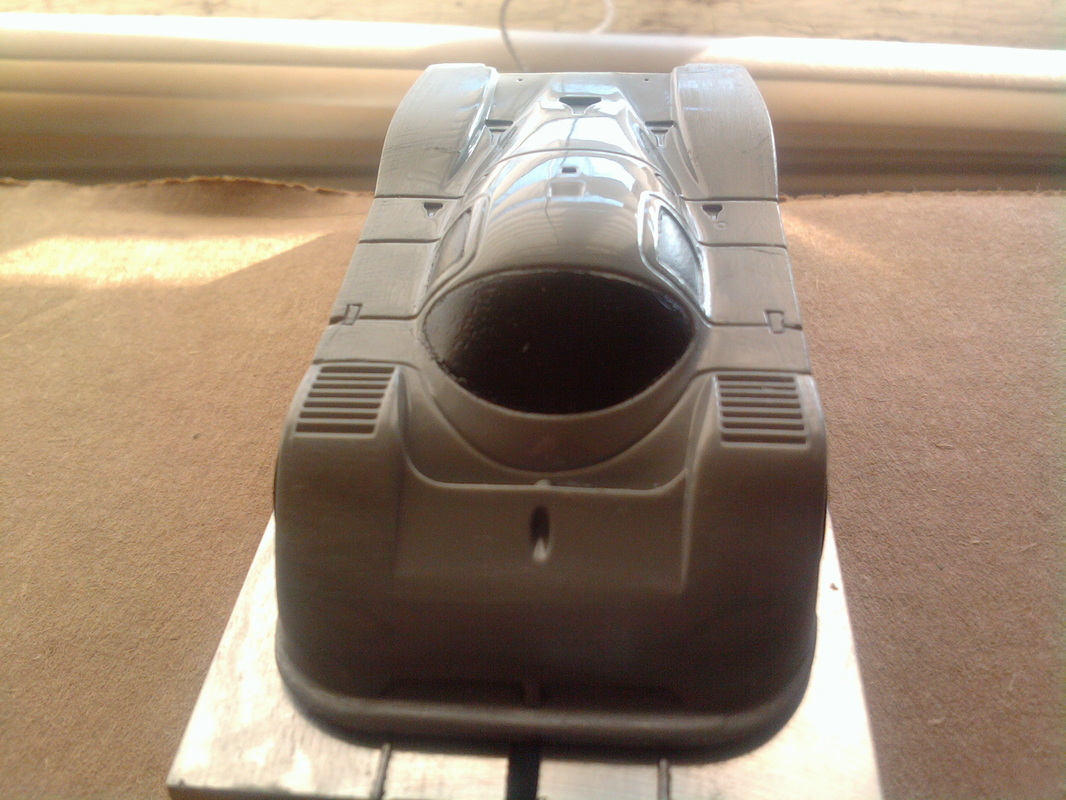

The finished body with re-mounted chassis
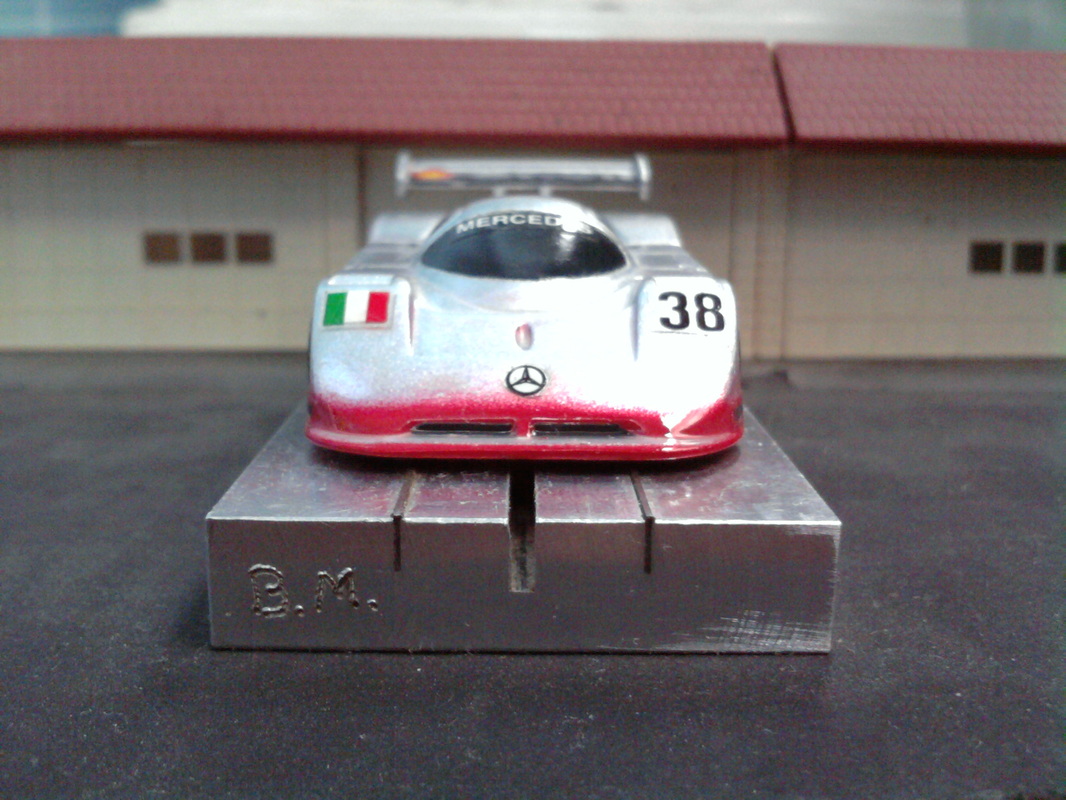
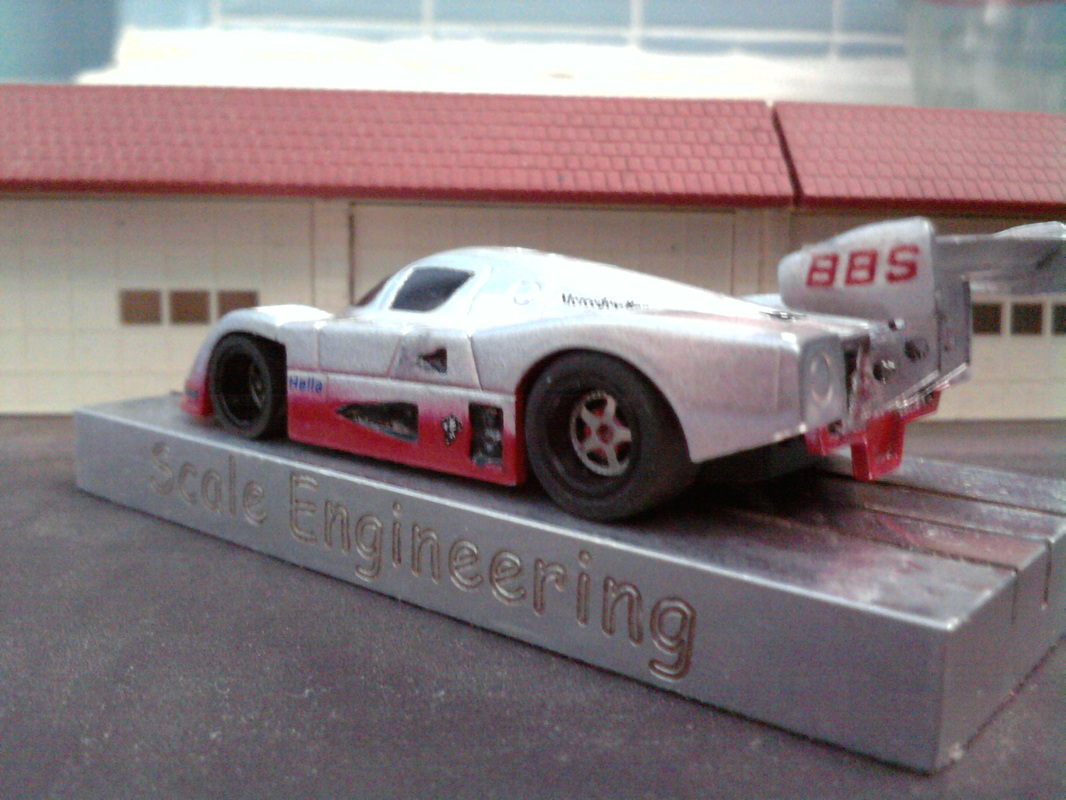
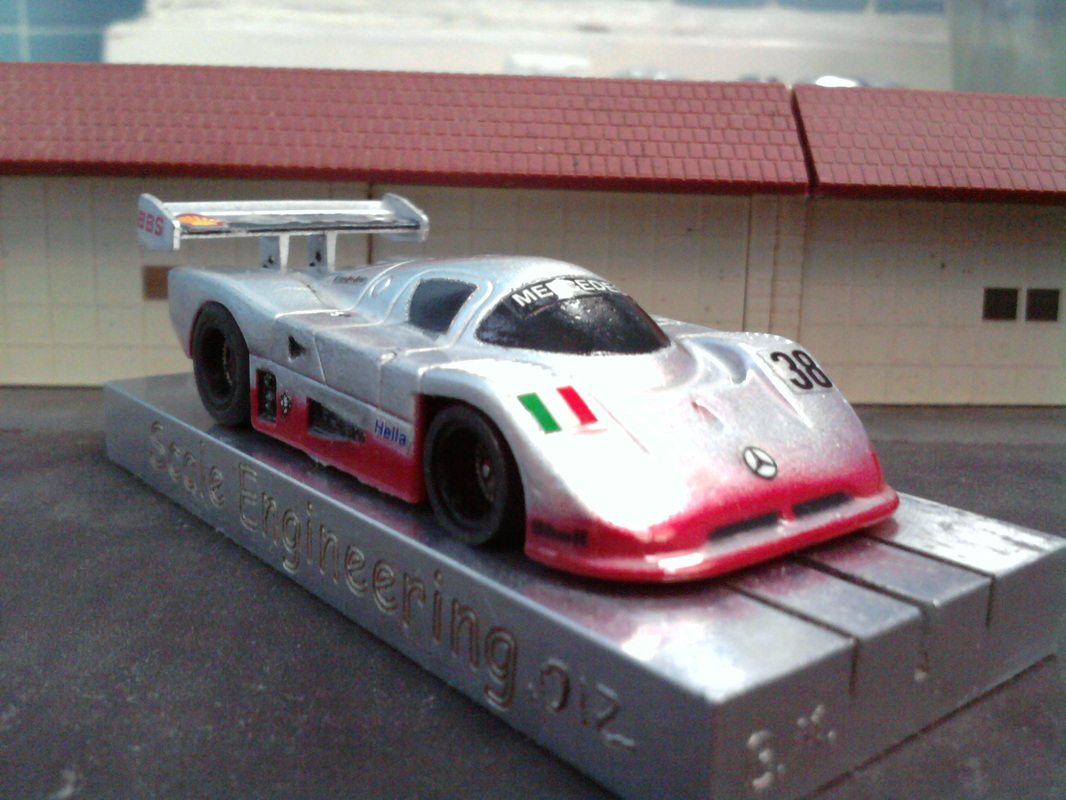
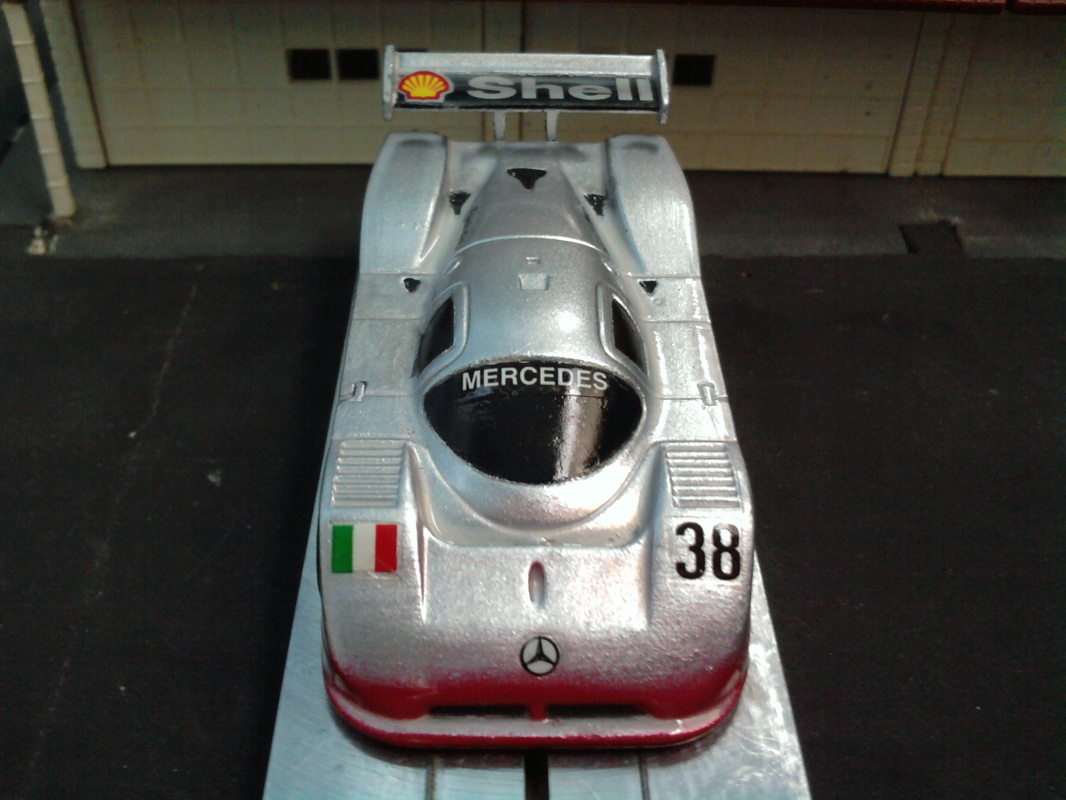
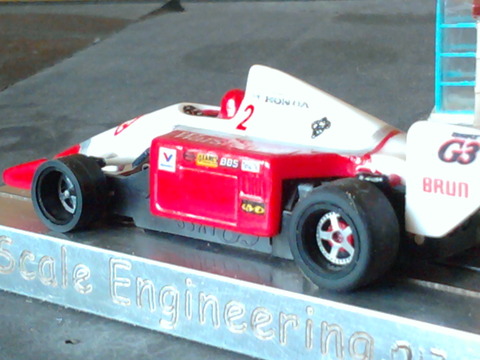
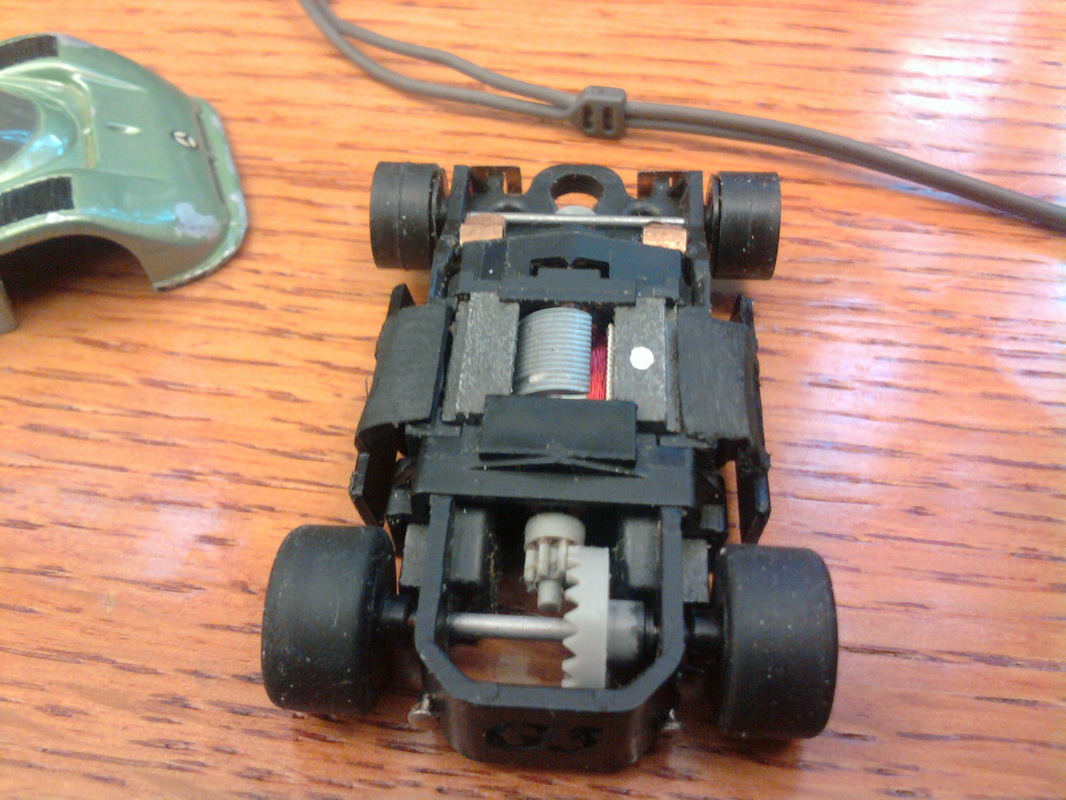
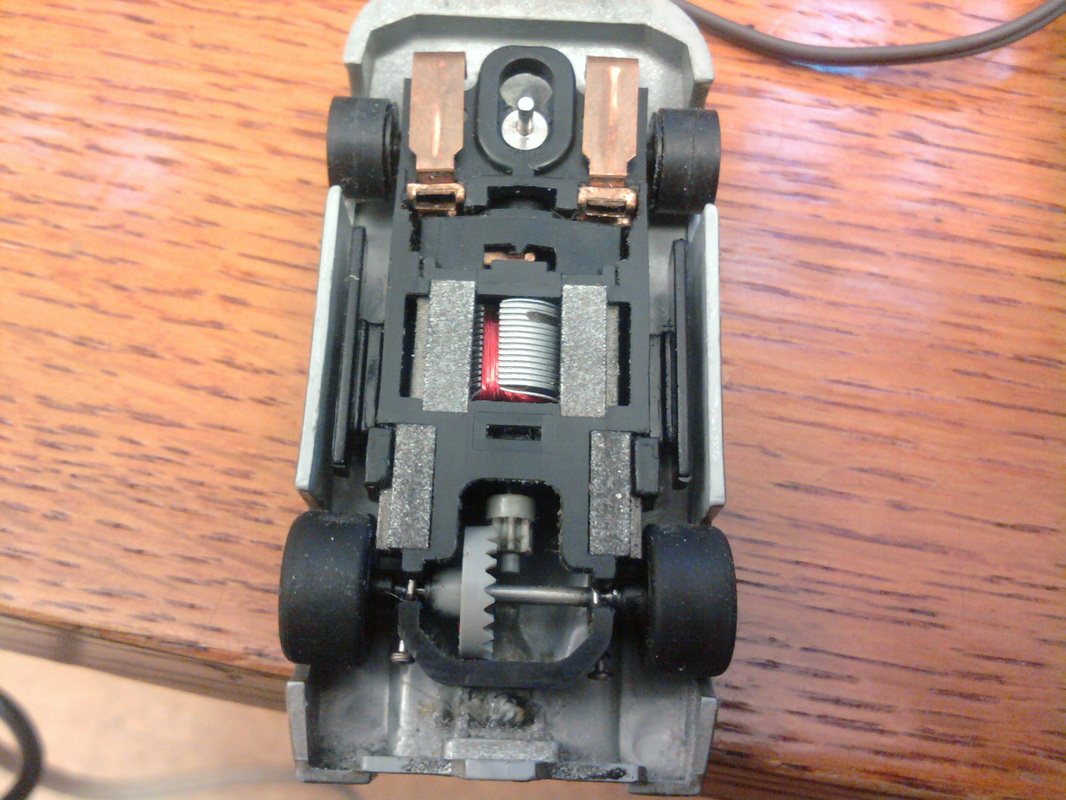
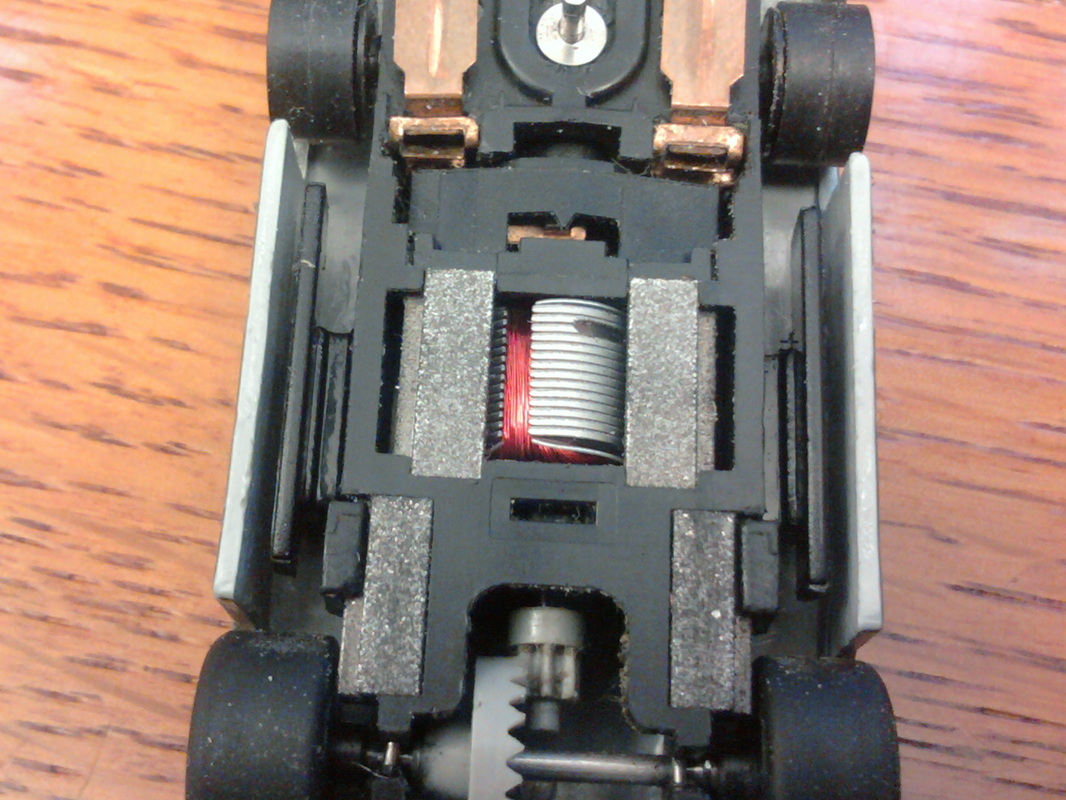
The Final Destination, on G3 G-Jet Chassis
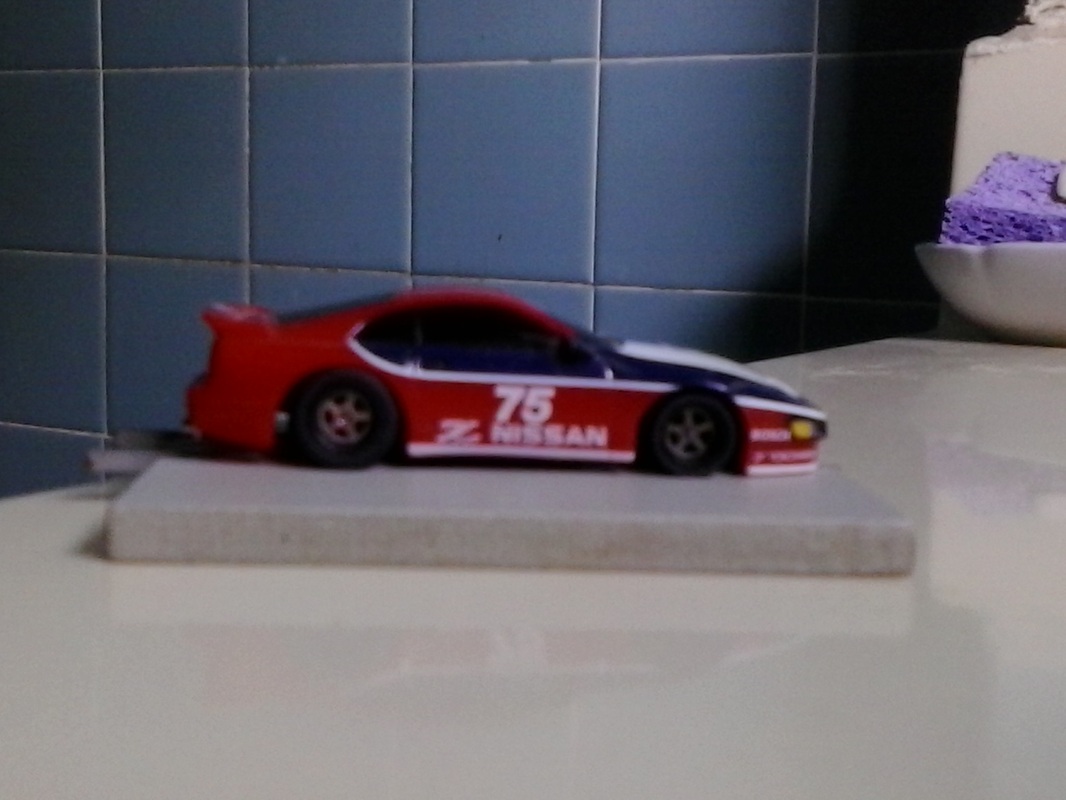
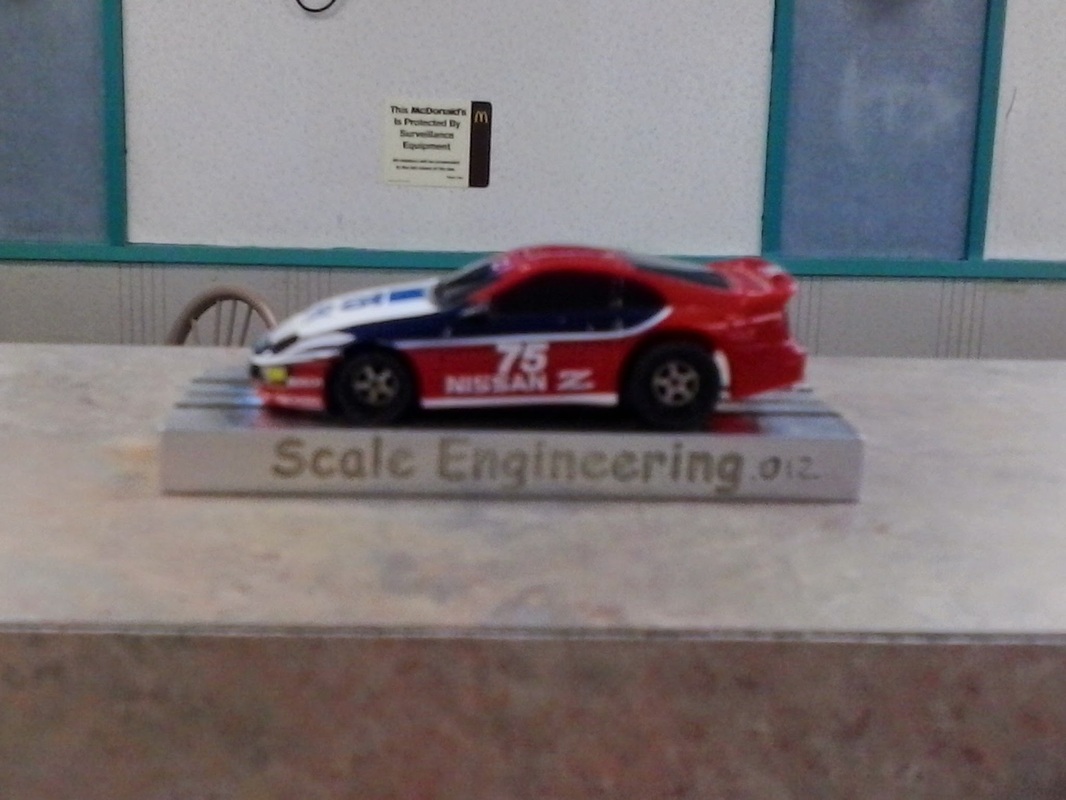
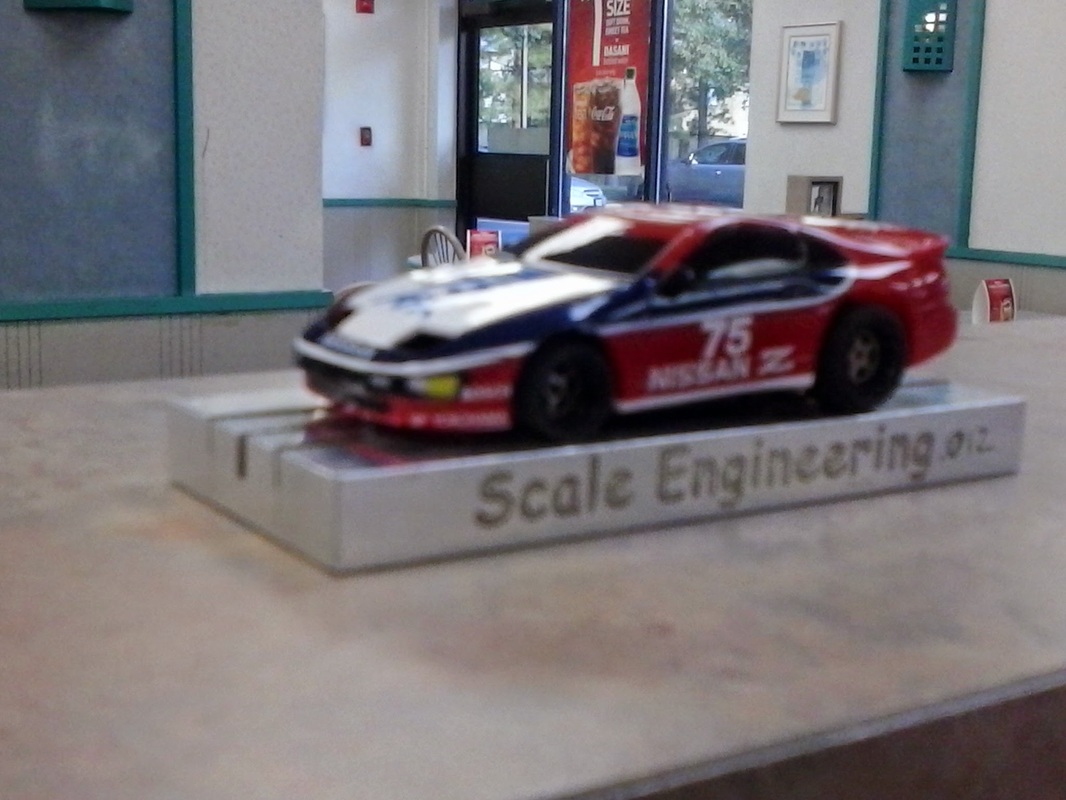
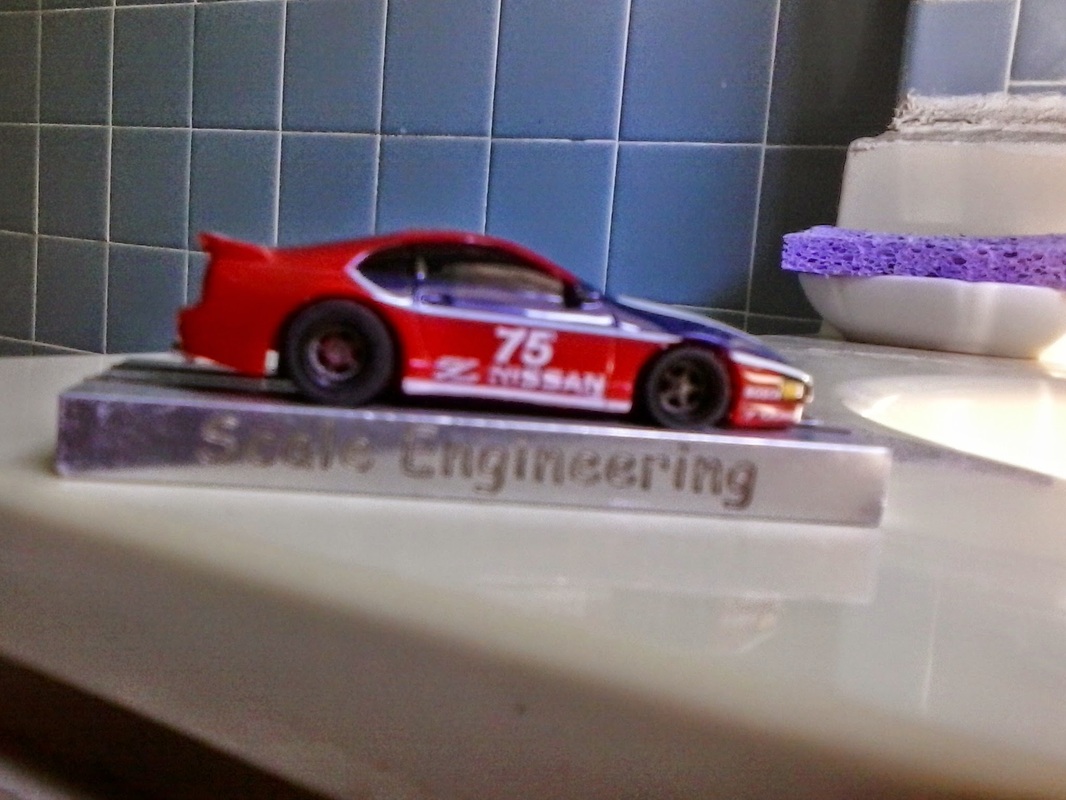
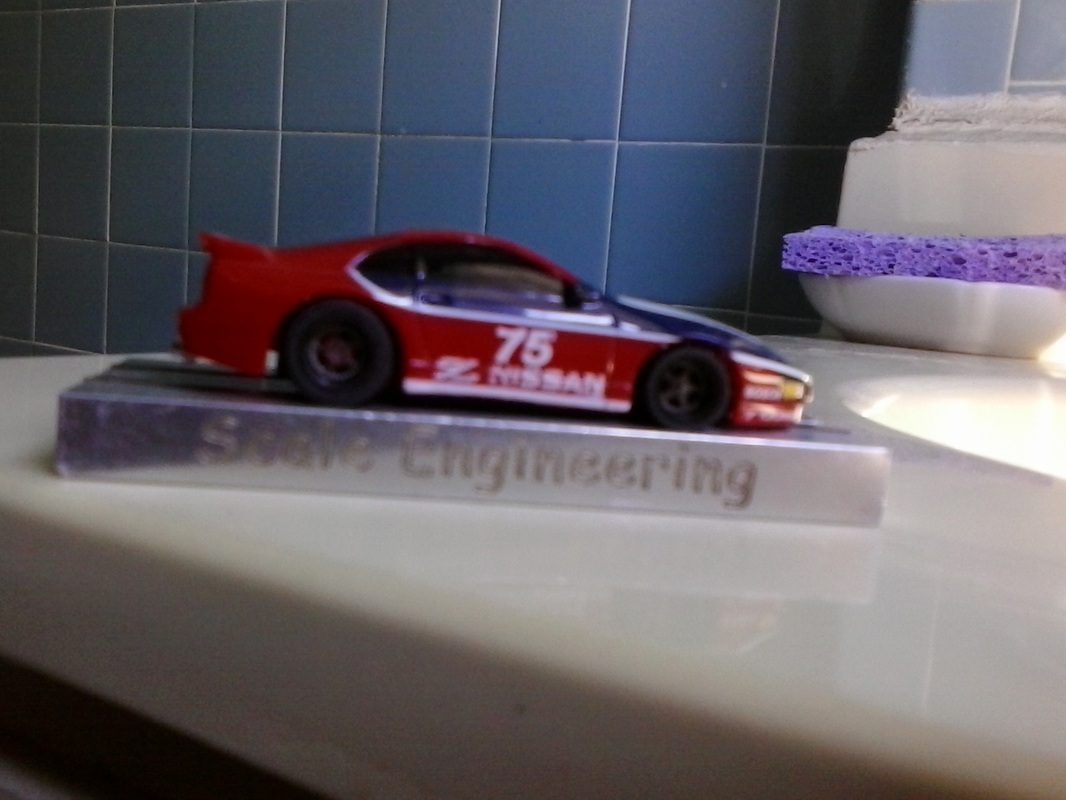
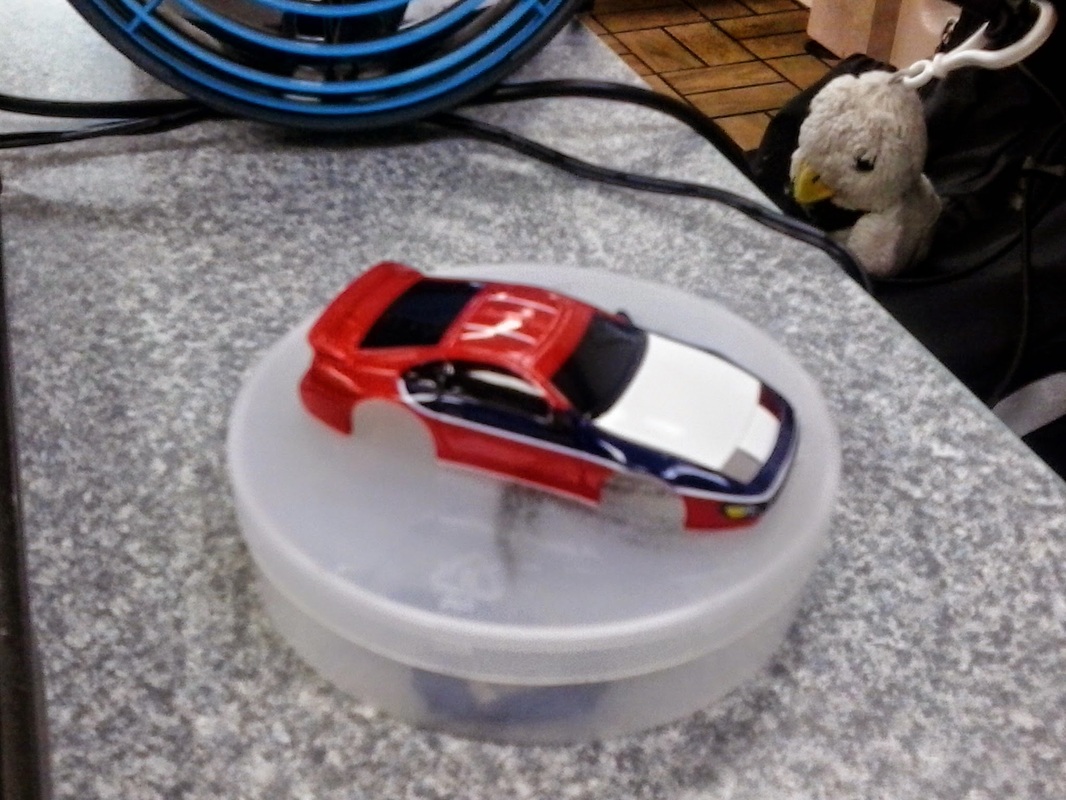
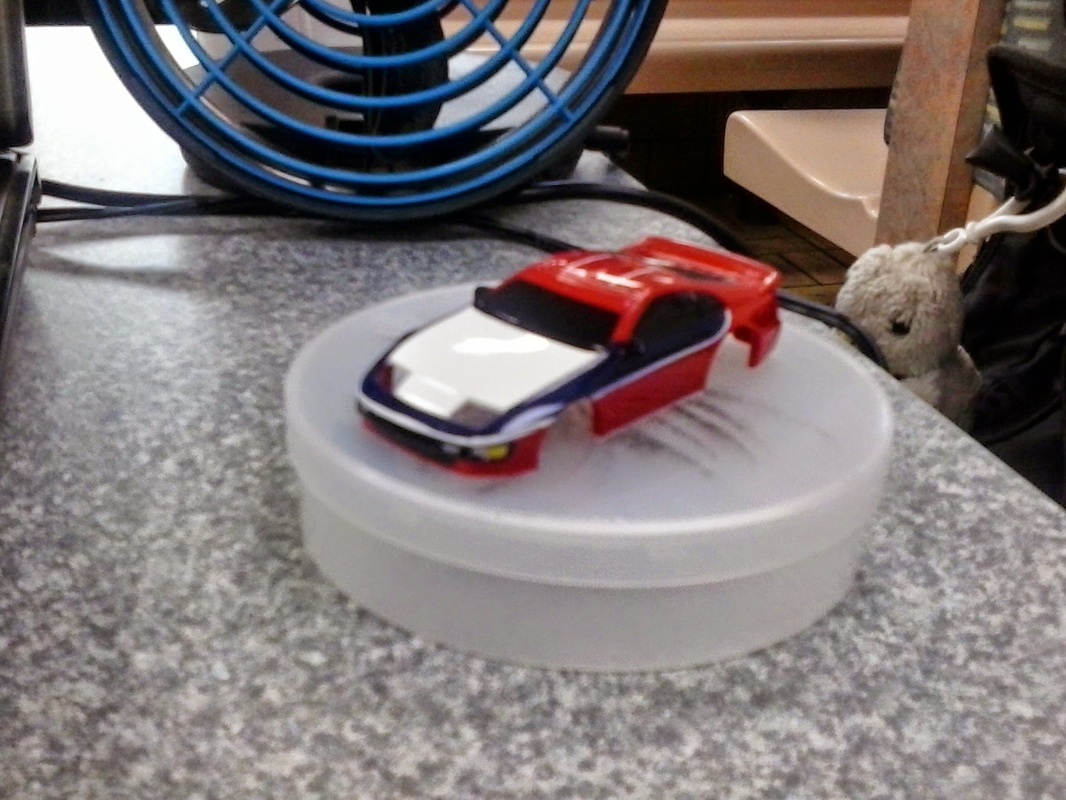
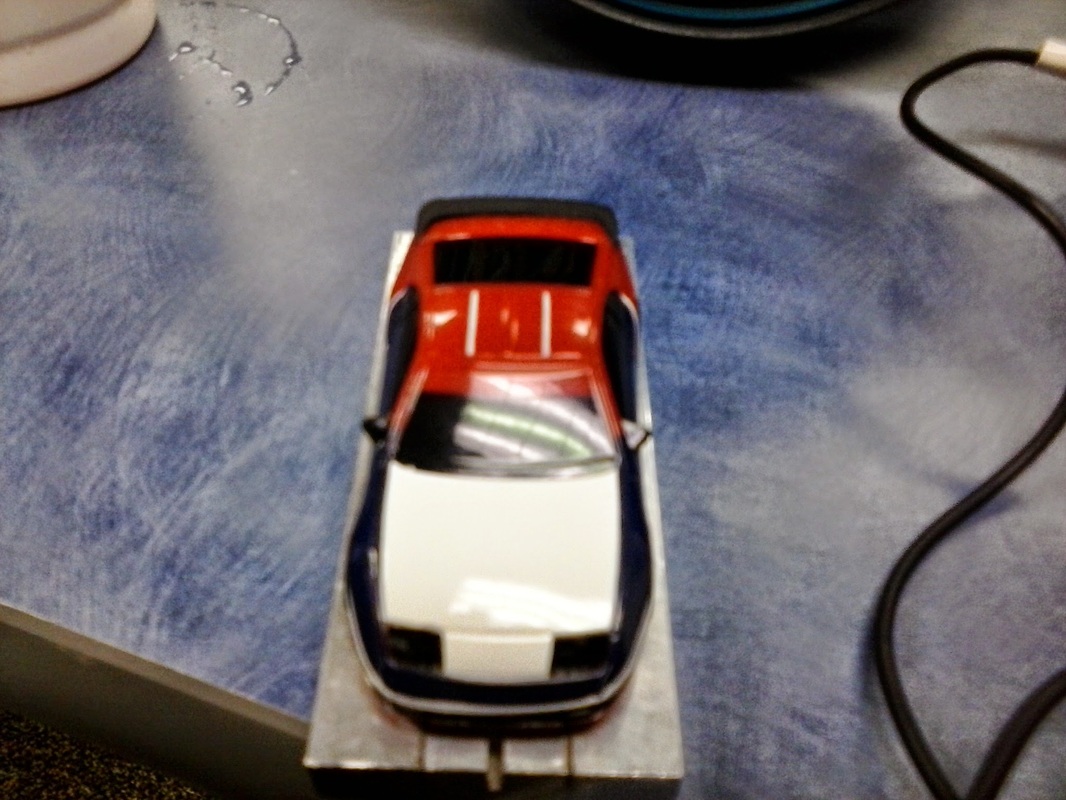
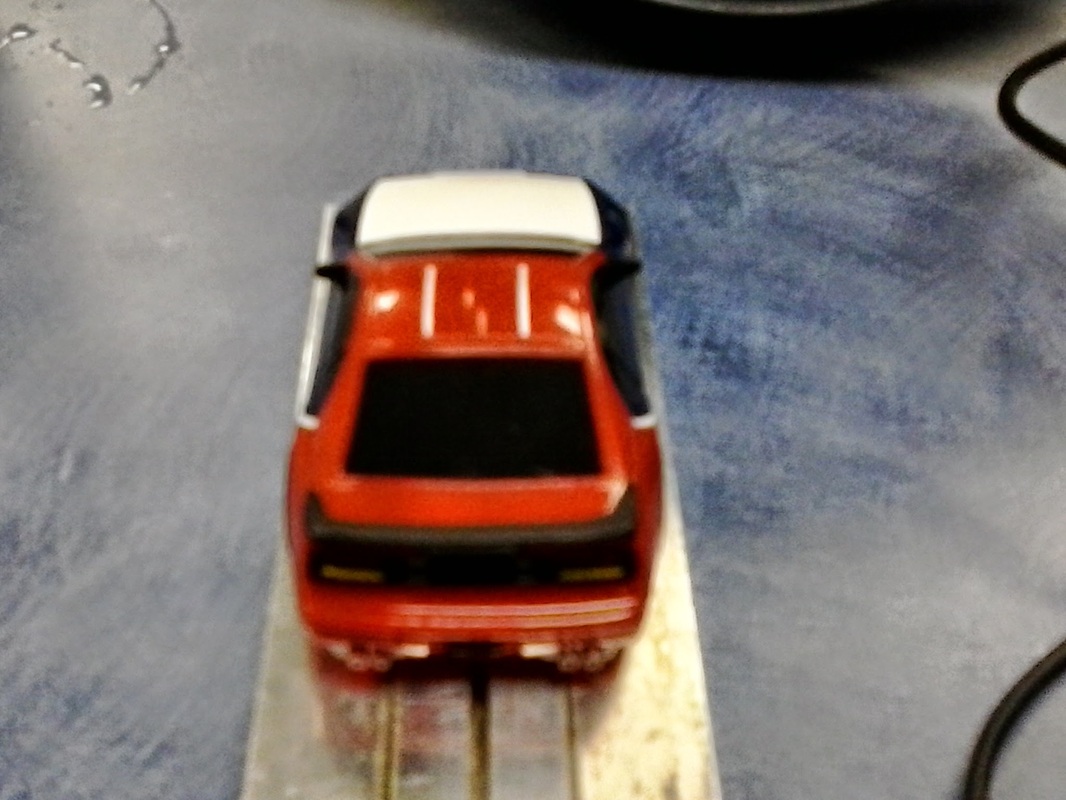
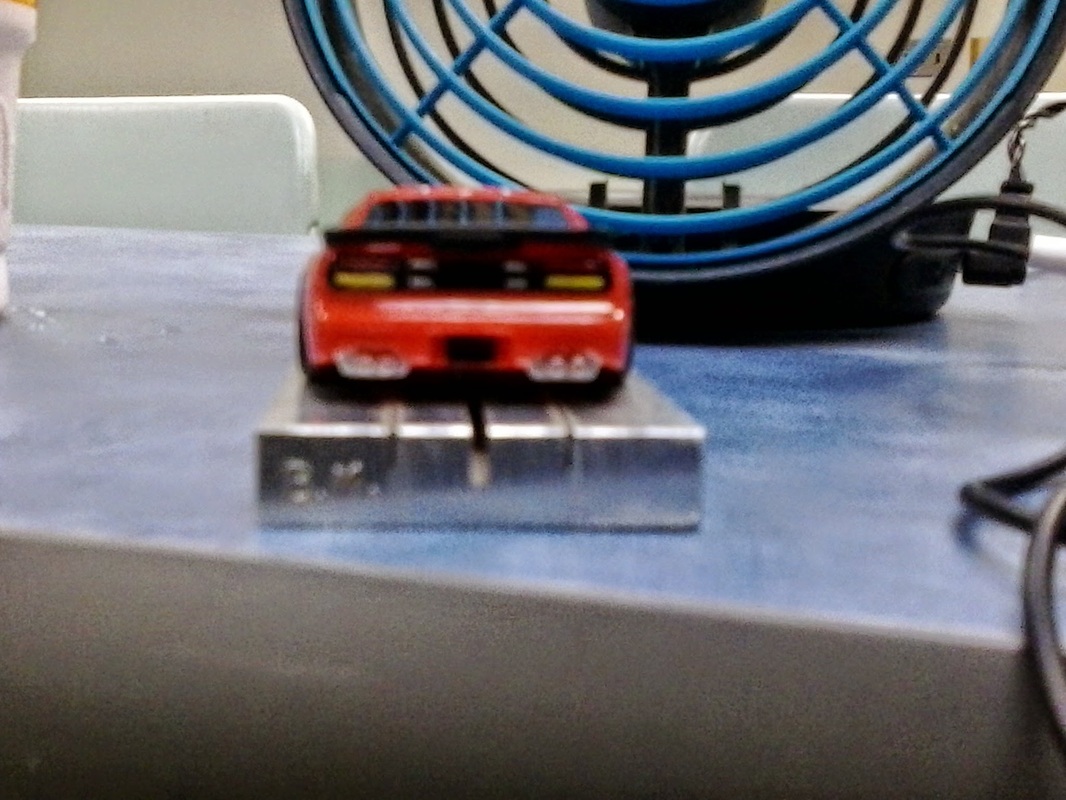
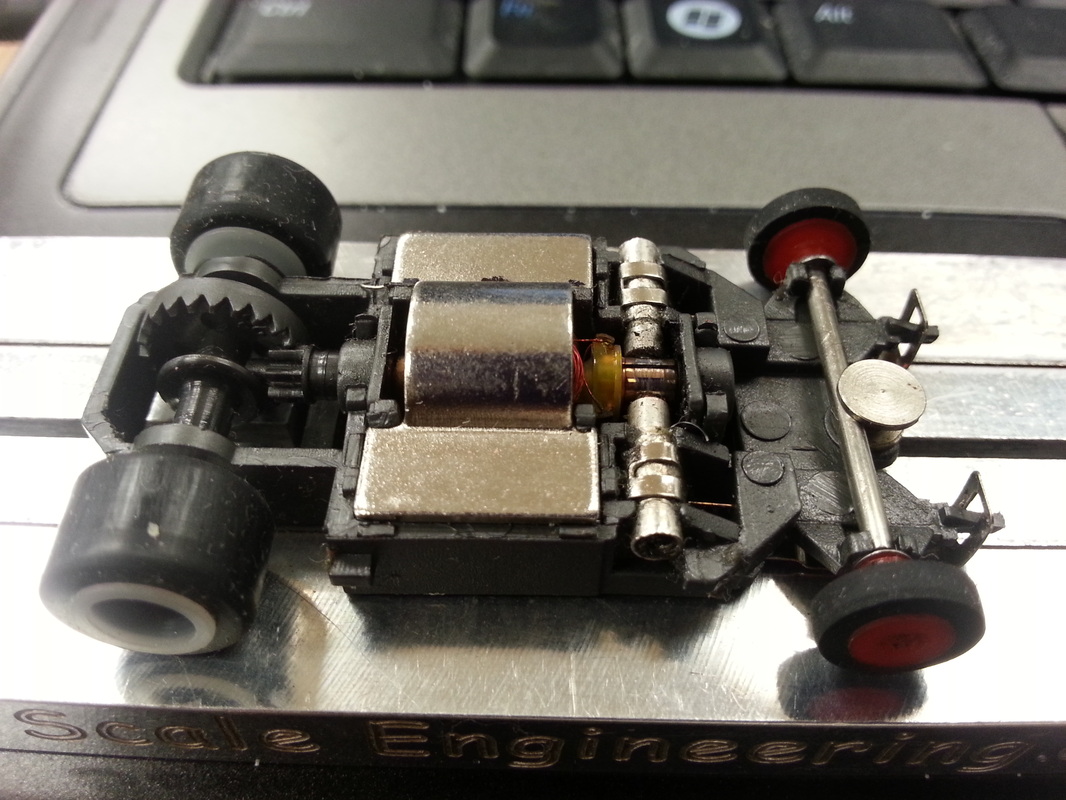
J.L.M Racing Nissan 300 ZX
this project is designed to lower and balance the classic Tomy 300 zx turbo.
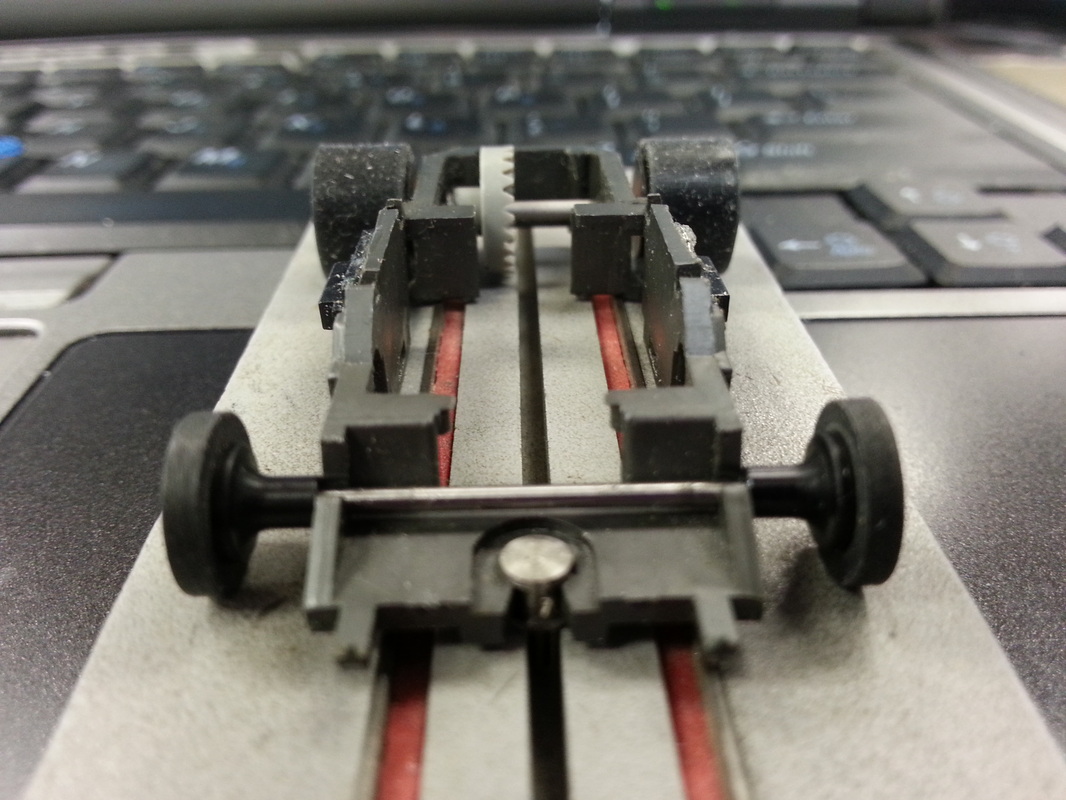
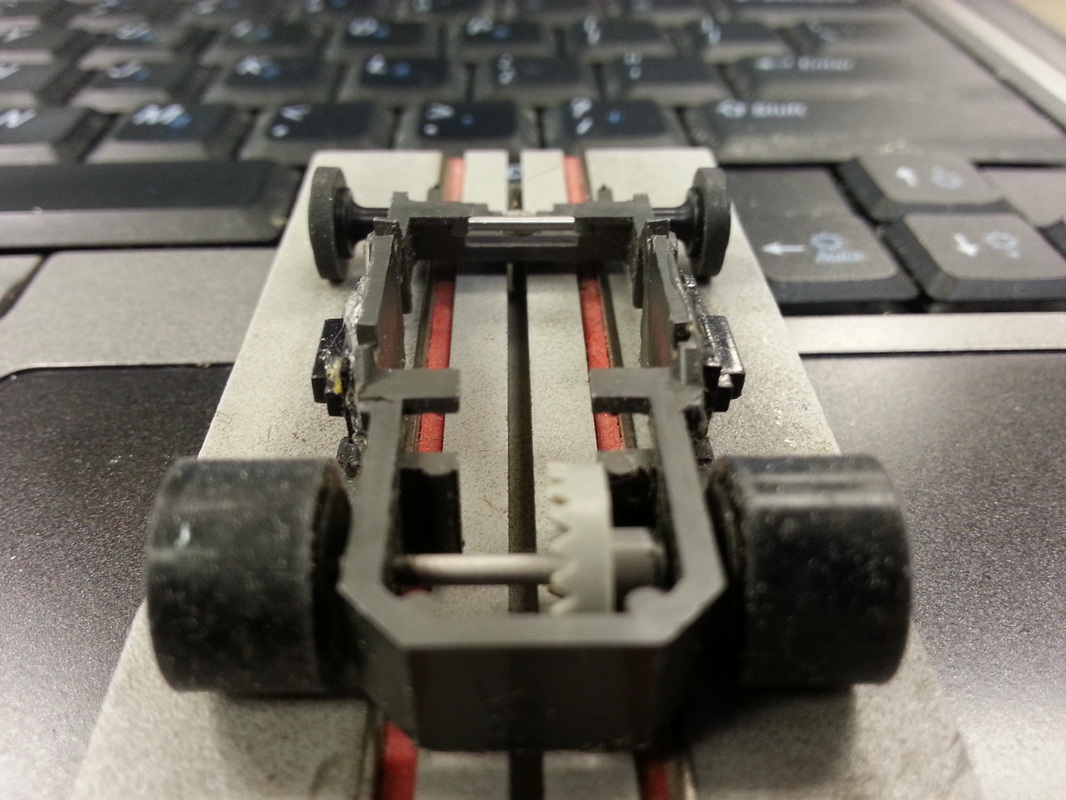
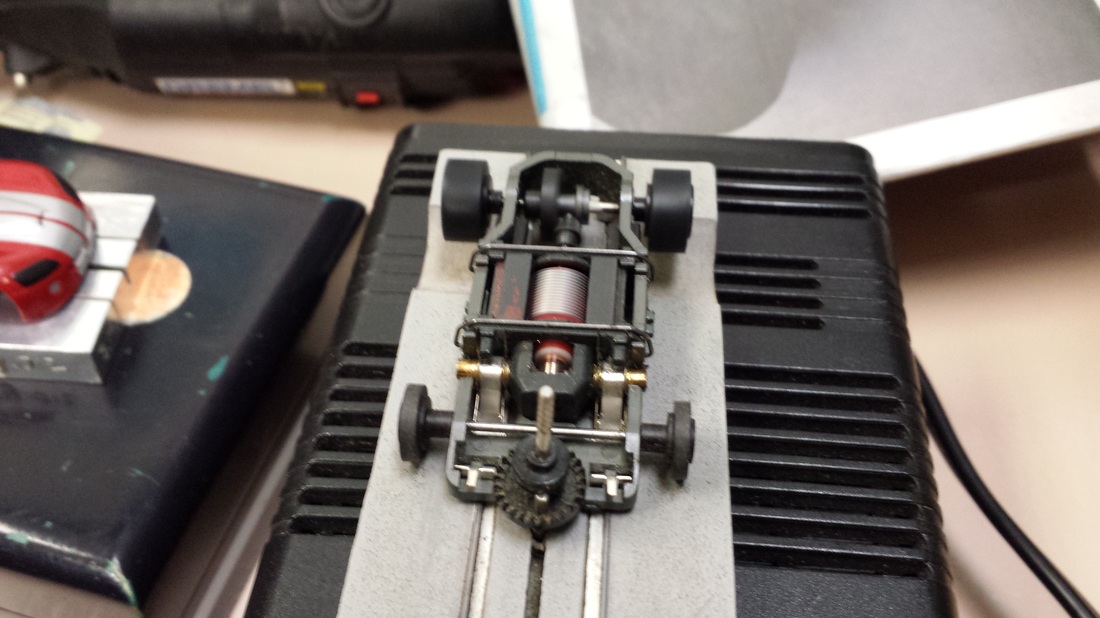
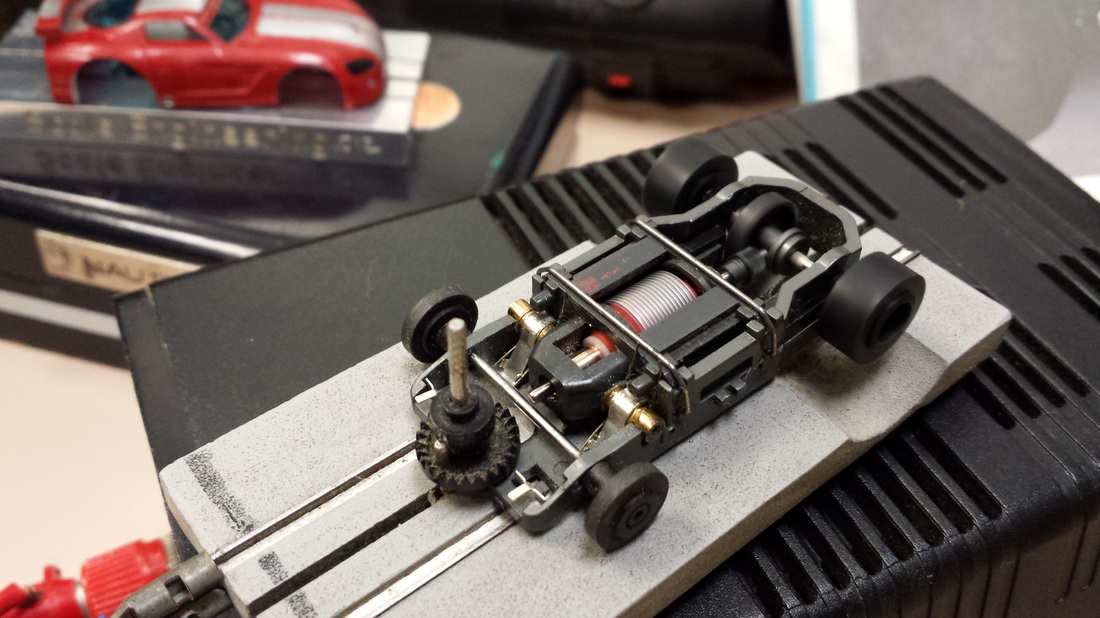
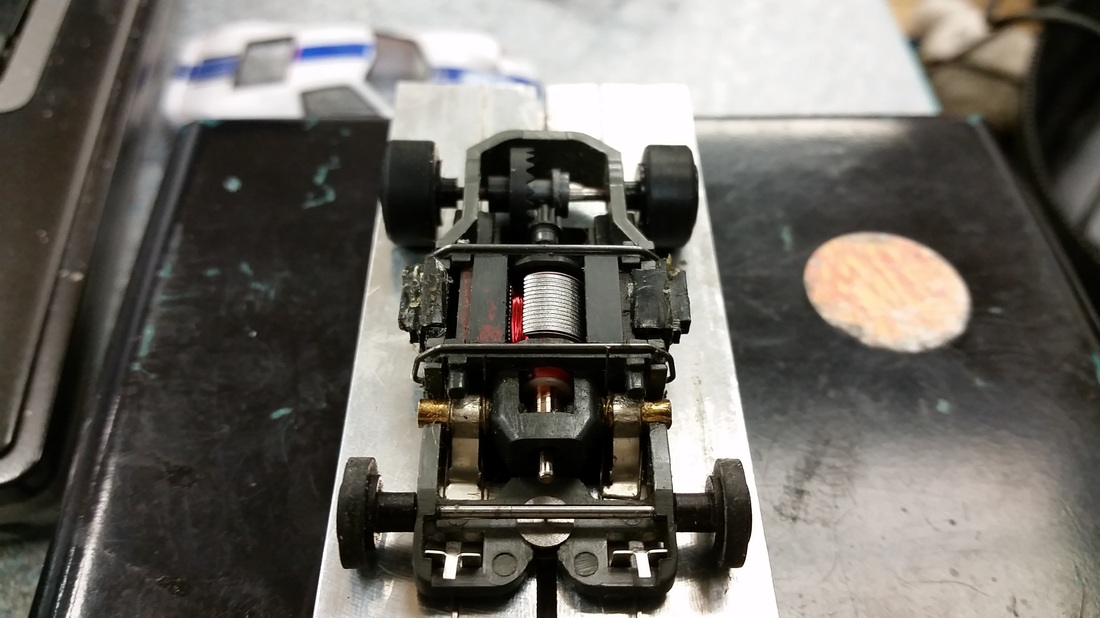
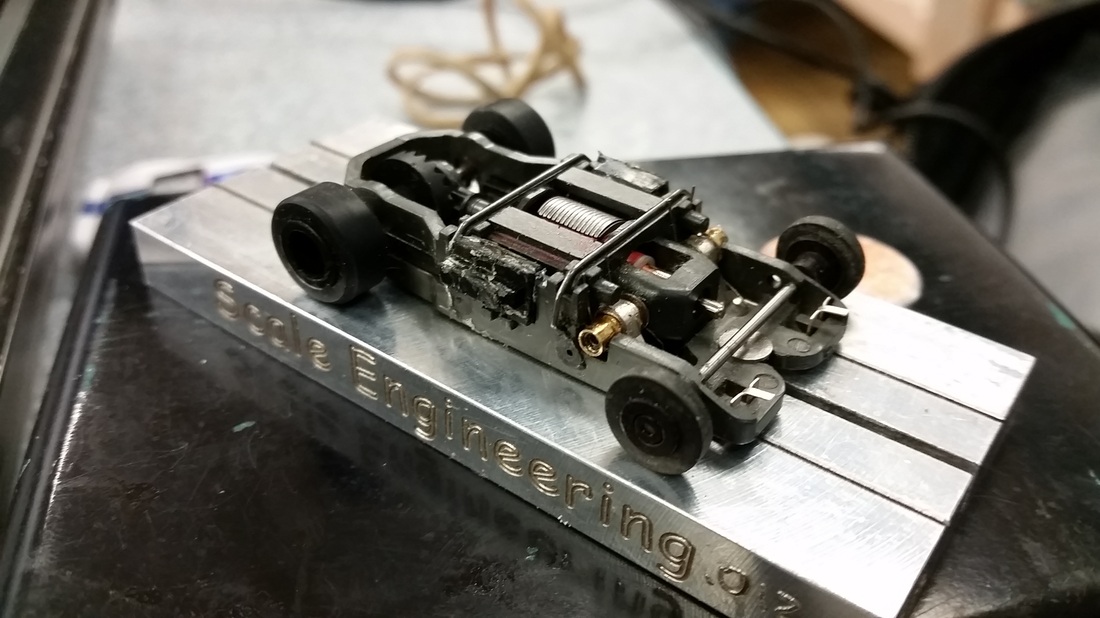
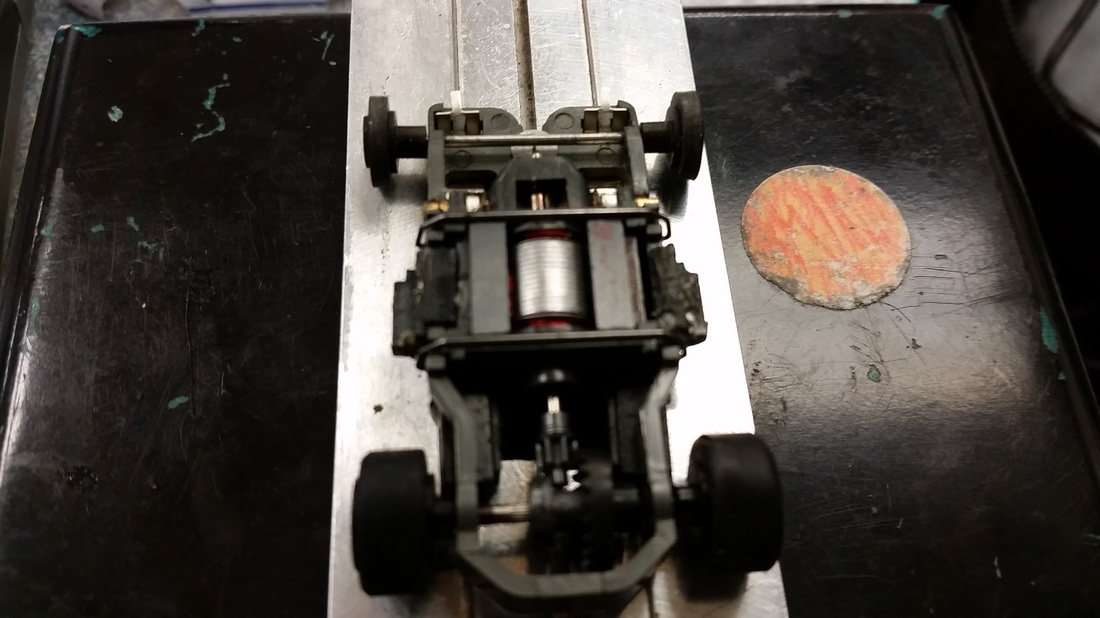
The SS Life Like re-Build
For many years I have just looked at my Life Like M-Chassis that's sitting with my trophy for the LL series from 1989. The chassis had been sitting for so long that the rubber on the O Rings had just "Popped" and fell off as soon as I moved the chassis.
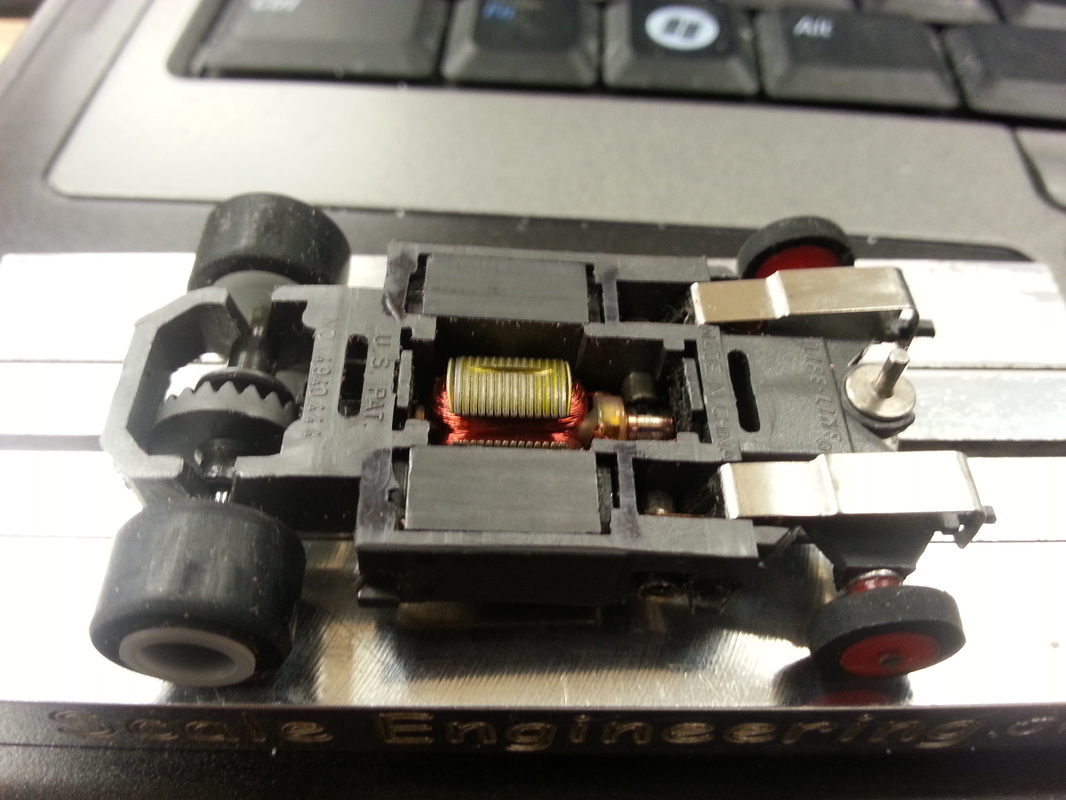
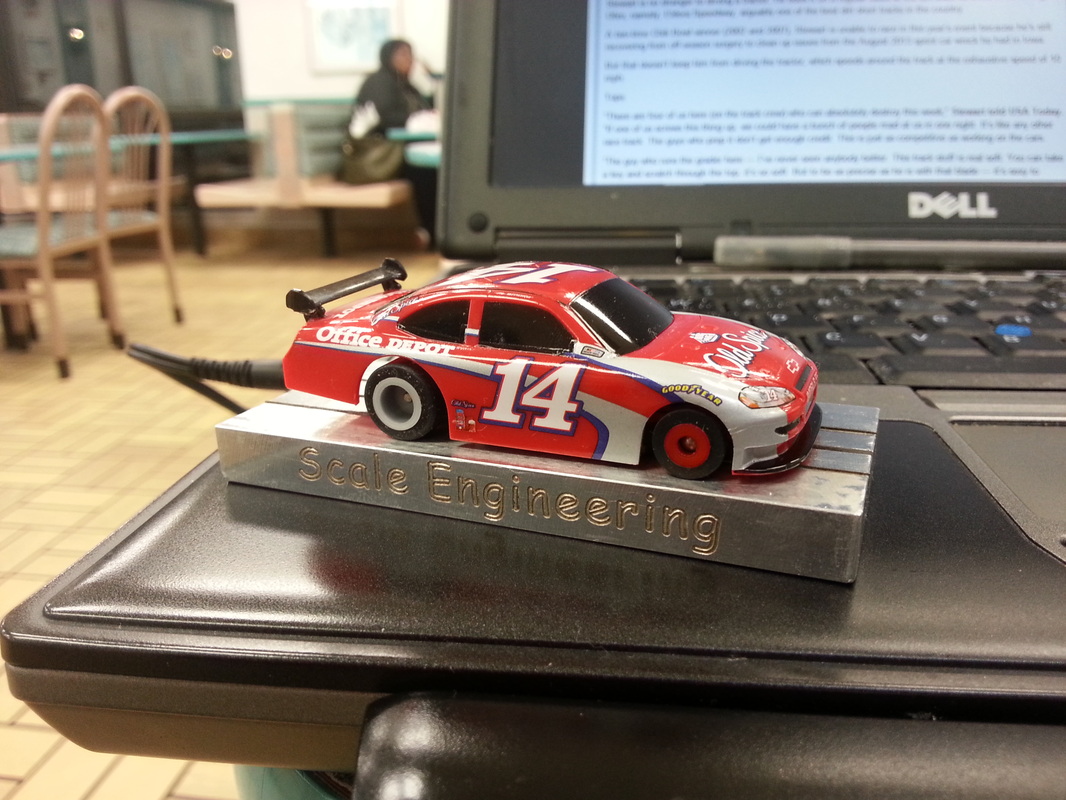
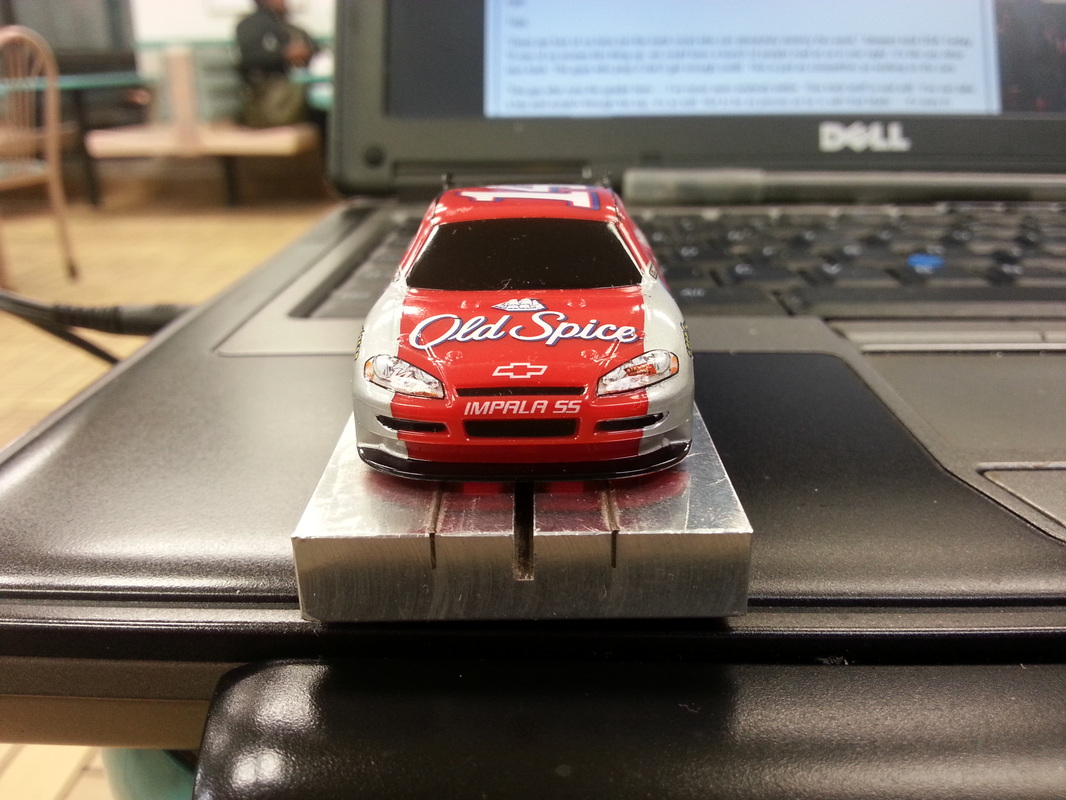
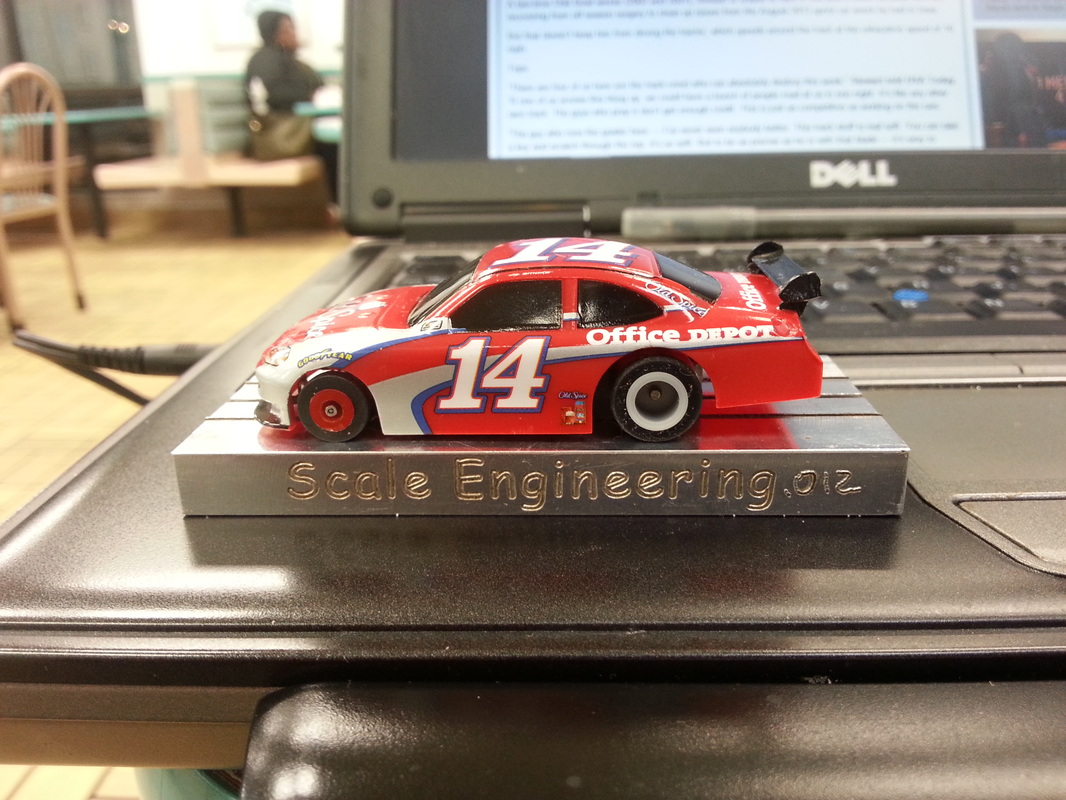
The chassis has been rebuilt and as you can see, it has a lowered Life Like Tony Stewart COT. I sent the chassis to my friend Neo in Greenbay WI for testing. Neo worked for LL and knows and races Life Likes and is the creator of the M-Tek Life Like. Below is the You Tube link of the first round of testing.
https://www.youtube.com/watch?v=Brbrp-mAwws
Here is the link to the second round of testing:
https://www.youtube.com/watch?v=pd3_MFeZgys
Here is a quote from Bob "Neo" Colleran about our LL SS build:
"Your car is very smooth with good speed. Might compare to inline class legal M Car to illustrate the difference. Most don't realize the difference that the body makes in the inline class. You can take one type of car that was not the best choice and make it the car of choice just by allowing a different and better body."
Bob "Neo" Colleran
Just finished the third round of testing and our M-Car is still holding it's own.. Still one full second behind the M-Tek....
Track owner Dave Deville's thoughts on the M-Car:
It wasn't bad. I thought it handled great and was quicker than a regular M Car, especially for having the C.O.T. body on it. I could tell. Its a great car.
Dave Deville
I watched and concluded the gap should be much bigger. Either Yobear is a demon builder or the M-Tech is seriously flawed as well as over-priced.
Deane M Walpole
J.L.M Racing Presents
The “White Knight” Project
Just coming off the Life Like rebuild and enjoying the test results that are being presented by Bob “Neo” Colleran. We recently made a trade that netted 4 new Mattel Tyco chassis with fresh 3 ohm armatures, and I got to thinking “What if” After seeing how the 3 ohm armatures run in the M-Tek, we wanted to see if we can get a car that we were having problems developing with our normal chassis and chassis mounts. We went to the vault and pulled out the old sets of Tyco Narrow chassis that we used during the old C.R.L. GTP challenge years ago.. The problem was to finding a body that would work.
Say hello to our next custom project, the "White Knight"GT-40.
The Auto world Fort GT 40 had been a problem for us to work on, the G3 chassis would not let the body sit low enough to be effective. But the altered mount Tyco Narrow chassis seems to work great. We will need to message the body a tad and we need to work on the chassis because we want to use adjustable brush barrels so the chassis has to be drilled. The chassis will feature original phase two traction magnets, ceramic motor magnets and the Mattel 3 ohm armature. We will be using the same techniques that were used in the “T.P.P.” Project that you can find in the SCI achieves. We will post the progress reports as we go along.
Once we saw that the body sat very low on the chassis and looked "Normal" we decided move forward on the project. First of all we had to tweak the body just a tad to make sure that the chassis would be free and clear when we load the internals and the pick up shoes. Even though BSRT makes P10 Motor and traction magnets for the classic Tyco chassis, we are going retro and will use a set of original "Phase 2" traction magnets and ceramic motor magnets.

My blast from the past, one of our original Tyco "HK" with the modified mounting clips that we use years ago before there were replacement clips. I had to re-set one of the mounts so the body would set level.
With that being done we will now work on the chassis.. Just like in the T. P. P Build (SCI Archives) we are going to drill the chassis to accept adjustable brush barrels. then build it up from there.
With that being done we will now work on the chassis.. Just like in the T. P. P Build (SCI Archives) we are going to drill the chassis to accept adjustable brush barrels. then build it up from there.
Before drilling we are going to do fitting using the bulk head assembly from the Mattel Tyco chassis to make the drilling mask is correct.
Due the the fact that I can't get the chassis to sit correctly under the body in a way that is functional for my standards, I'm officially shelving the project until I can find the right chassis that will work correctly with this body.
I will however still use the 3 ohm Mattel armatures in another great build...stay tuned.
I will however still use the 3 ohm Mattel armatures in another great build...stay tuned.
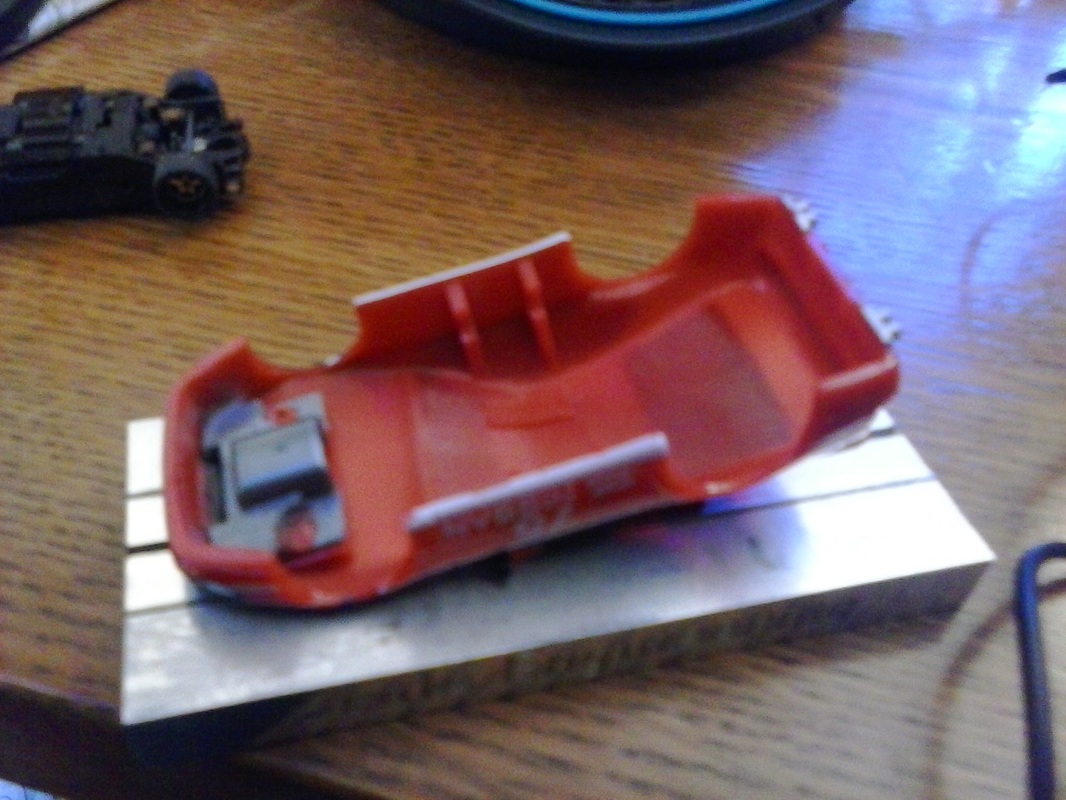
Let's finish the "Red Devil"
I really wanted to finish the" White Knight" but the chassis just would not work right, so I need to continue my momentum so I went to the garage and pulled out and old T1 chassis that I was working on years ago. Say hello to the Red Devil.
I was working on the jumbled AW Viper Body. I don't know what AW was thinking when they created the Viper. They did a great job on the details, but they made the body too small and on top of that the wheel base was 1.4. But it would work as a racing body.The chassis is perfect, we just need to add the Mattel 3 ohm armature. We will work on getting the mounts to grip better....
I was working on the jumbled AW Viper Body. I don't know what AW was thinking when they created the Viper. They did a great job on the details, but they made the body too small and on top of that the wheel base was 1.4. But it would work as a racing body.The chassis is perfect, we just need to add the Mattel 3 ohm armature. We will work on getting the mounts to grip better....
Replace the armature with the 3 ohm Mattel and now I'm breaking it in. Then we will turn our attention to finishing the body.....

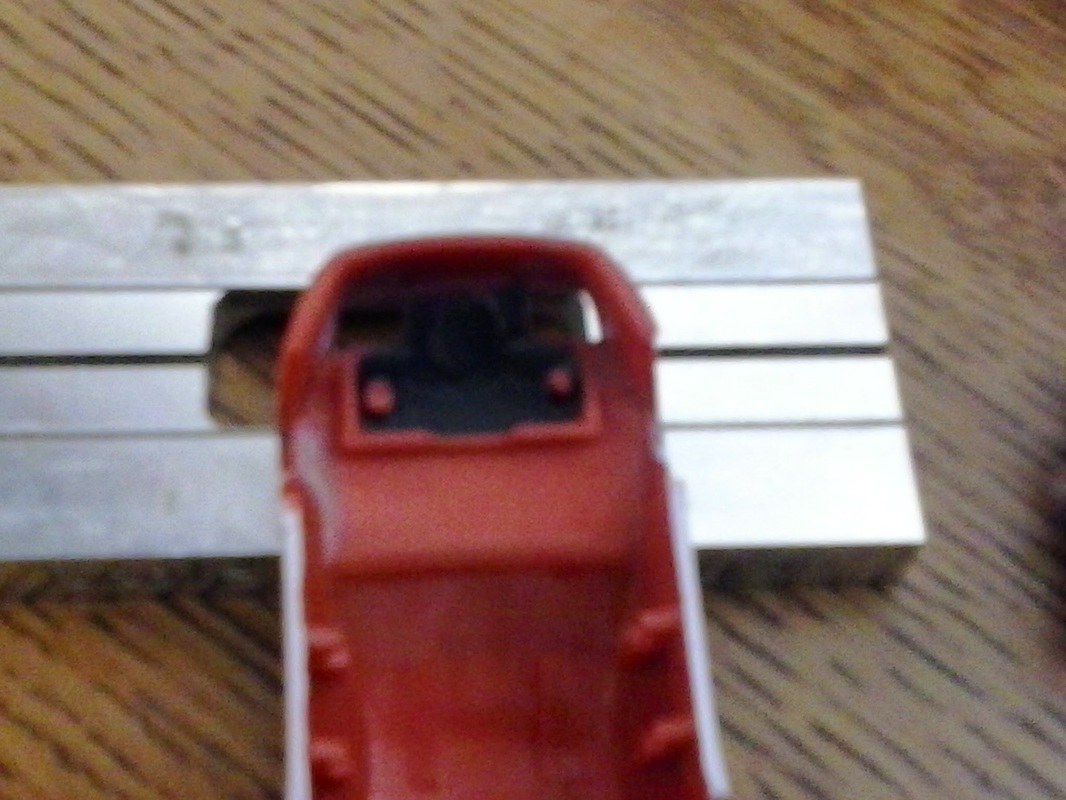
Now that the armature and brushes have been broken in and the tire walls rounded, it's time to look at mounts of the body again. The mounts are a custom job. They are designed to mount a Tyco narrow chassis to a Tomy body They fit rather well but need to be slightly modified to account for the slight curvature of the body sides. Also as a side note we are trying the .250 round double flange rimes from Harden Creek Slots. We normally use a rim thats .255 wide. These are .225 wide.
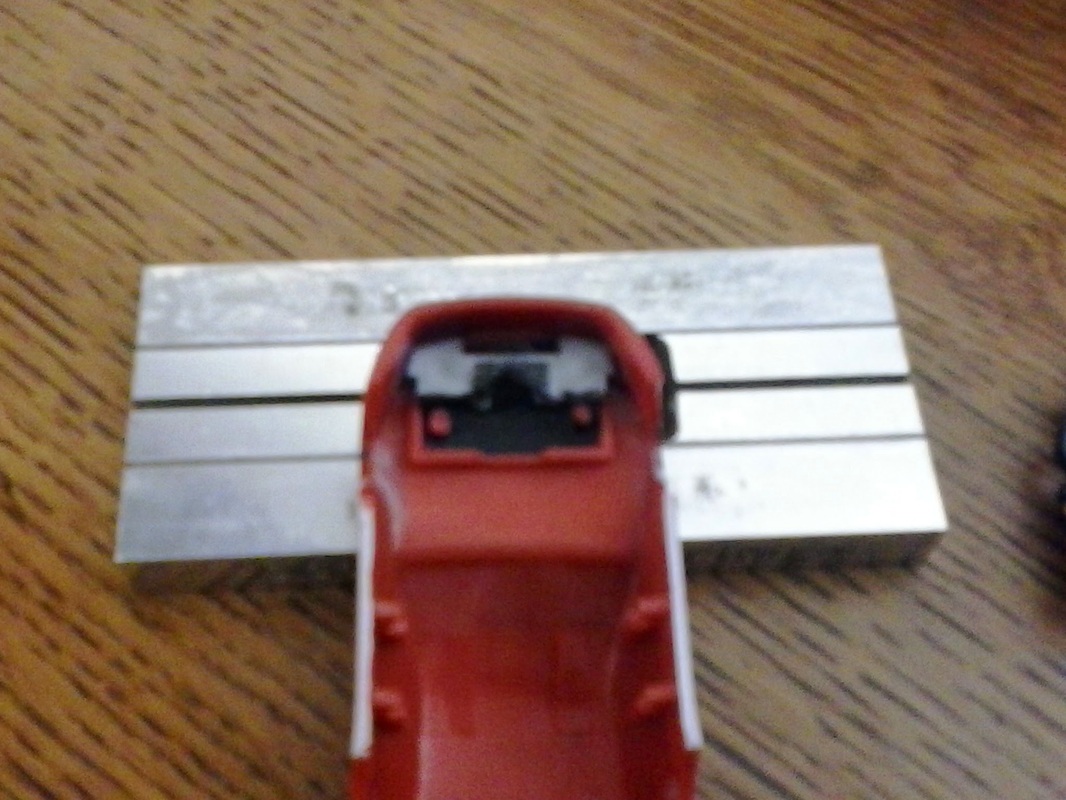
Sanded the mounts down a tad to try to match the angles. Next is to pull the mounts and soak the body got possible painting and then re-mount the mounts.
Sanded the mounts down a tad to try to match the angles. Next is to pull the mounts and soak the body got possible painting and then re-mount the mounts.
OK Change Up!
OK, hold on to your pants! OK I started the White Knight with the AW Ford GT, I could not get the Tyco chassis to work. So I shelve the project and pull out another project the Red Devil that was designed for I Slottech T1 chassis that I loaded a Mattel 3 ohm armature in. Well long story short, an Idea hit me "Biong" try the chassis under the the "White Knight"...and TADA! The White Knight is BACK ON! With a 3 ohm armature the chassis moves....
The T1 Chassis I'm using for the project has been fitted with G+ mounts for the project. Here are some shots..
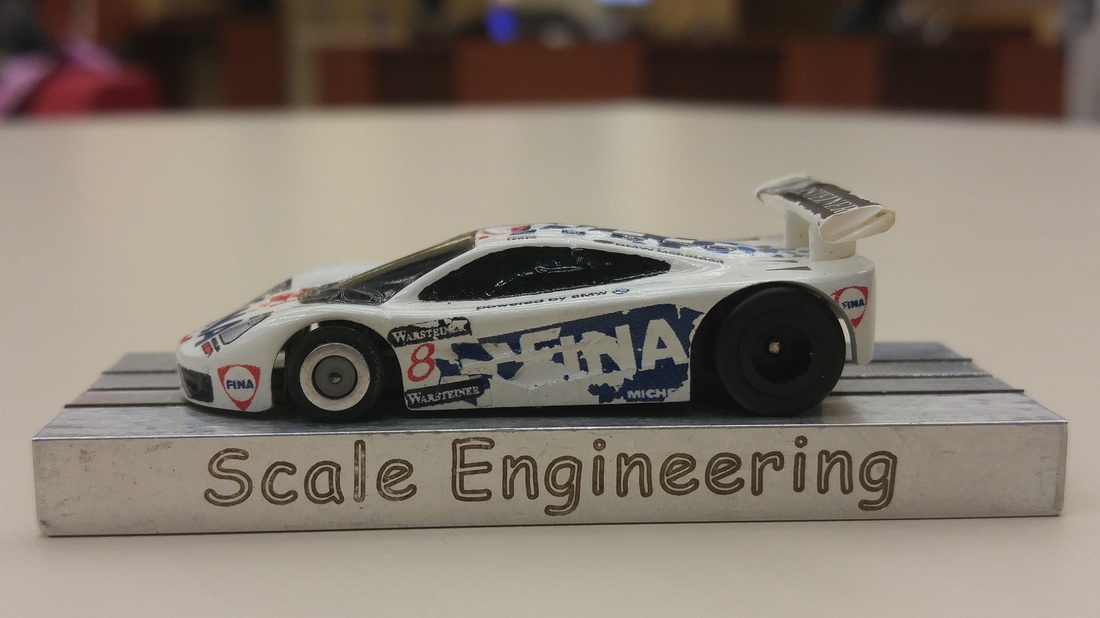
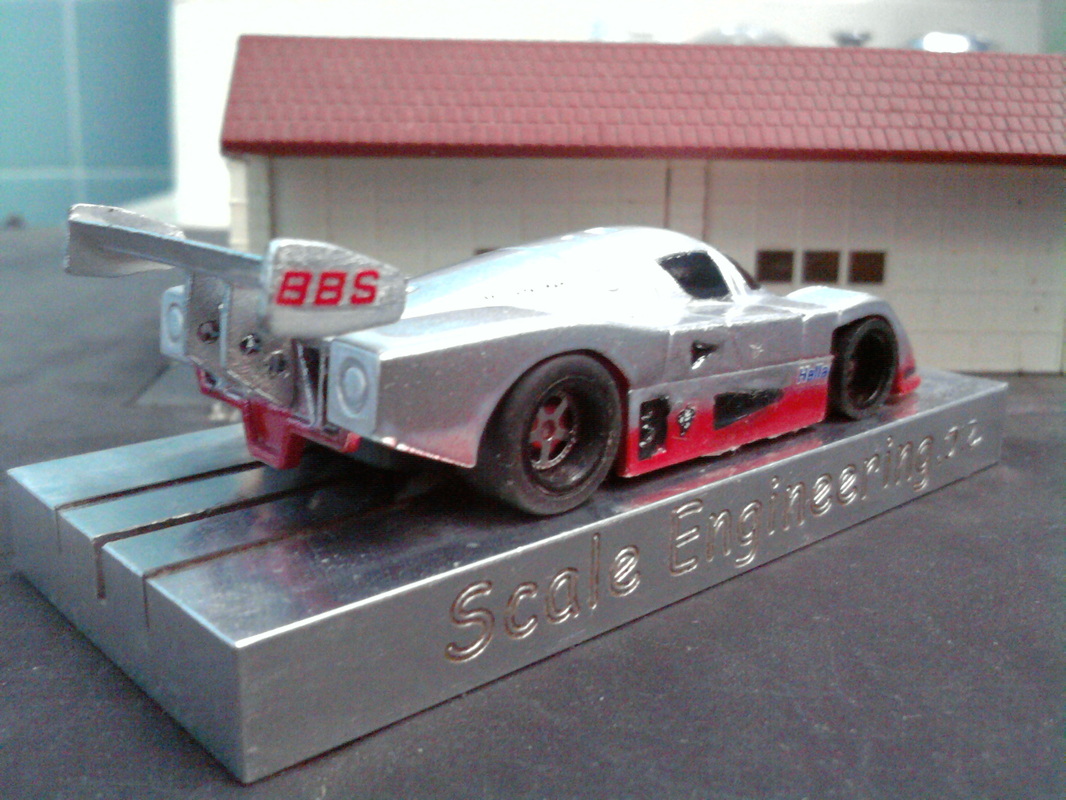
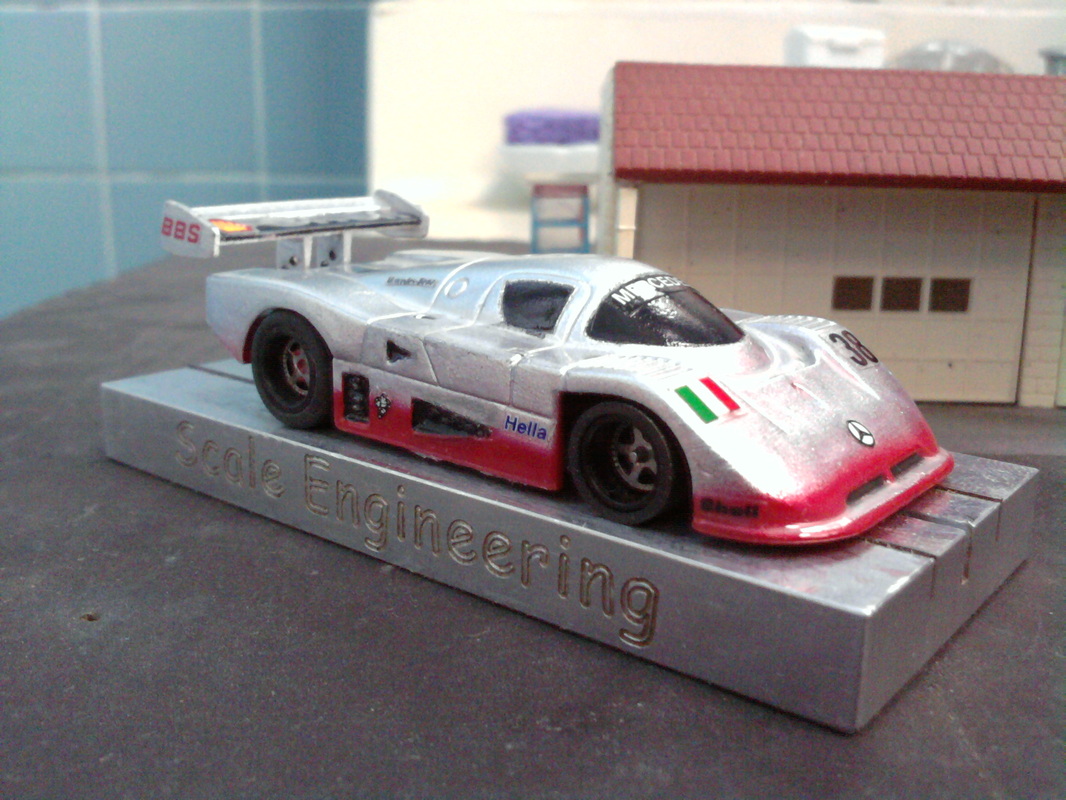
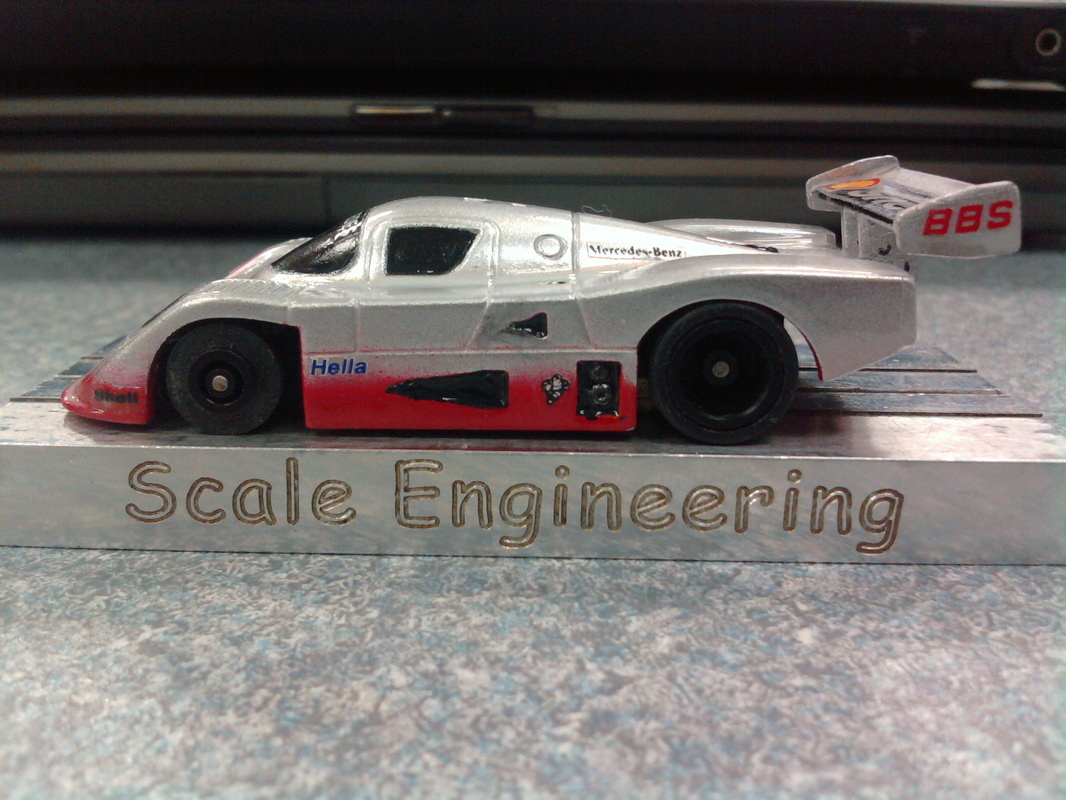
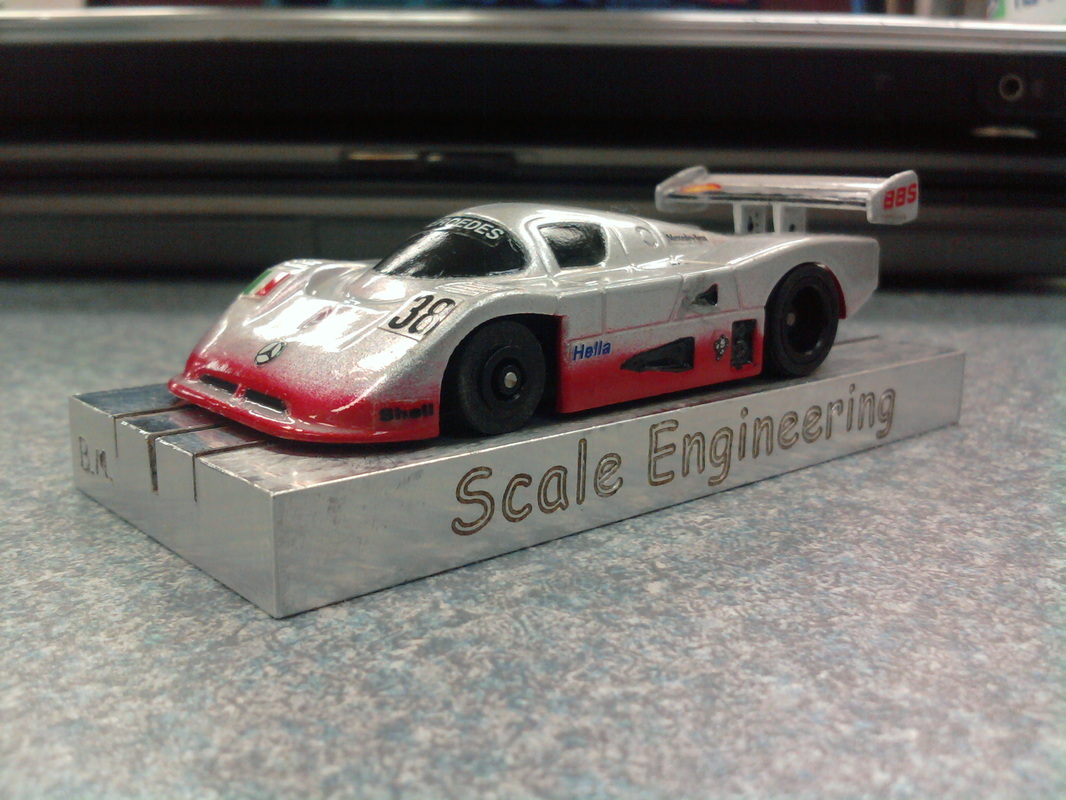
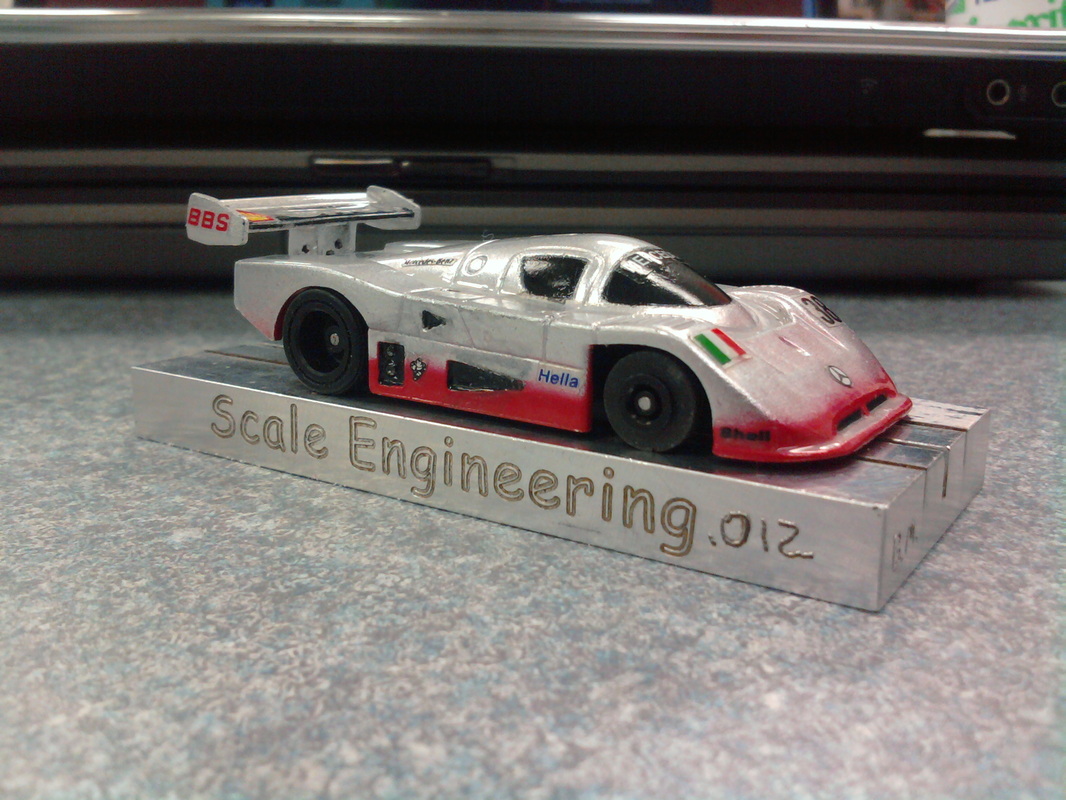
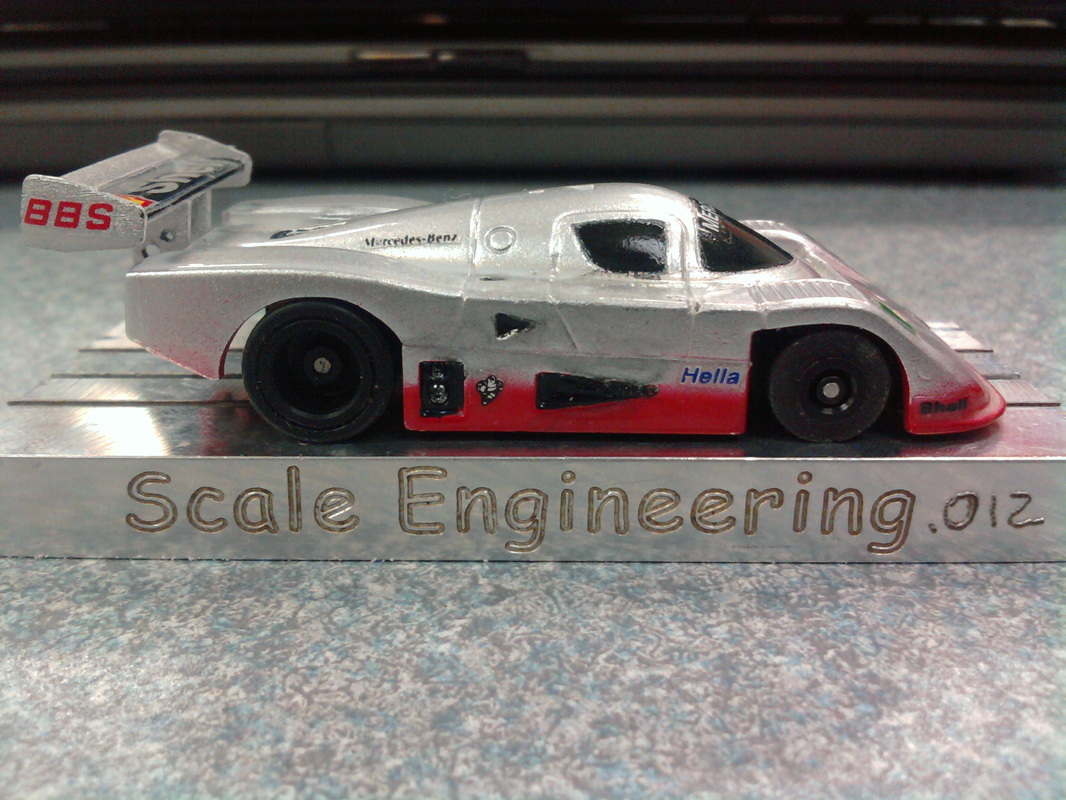
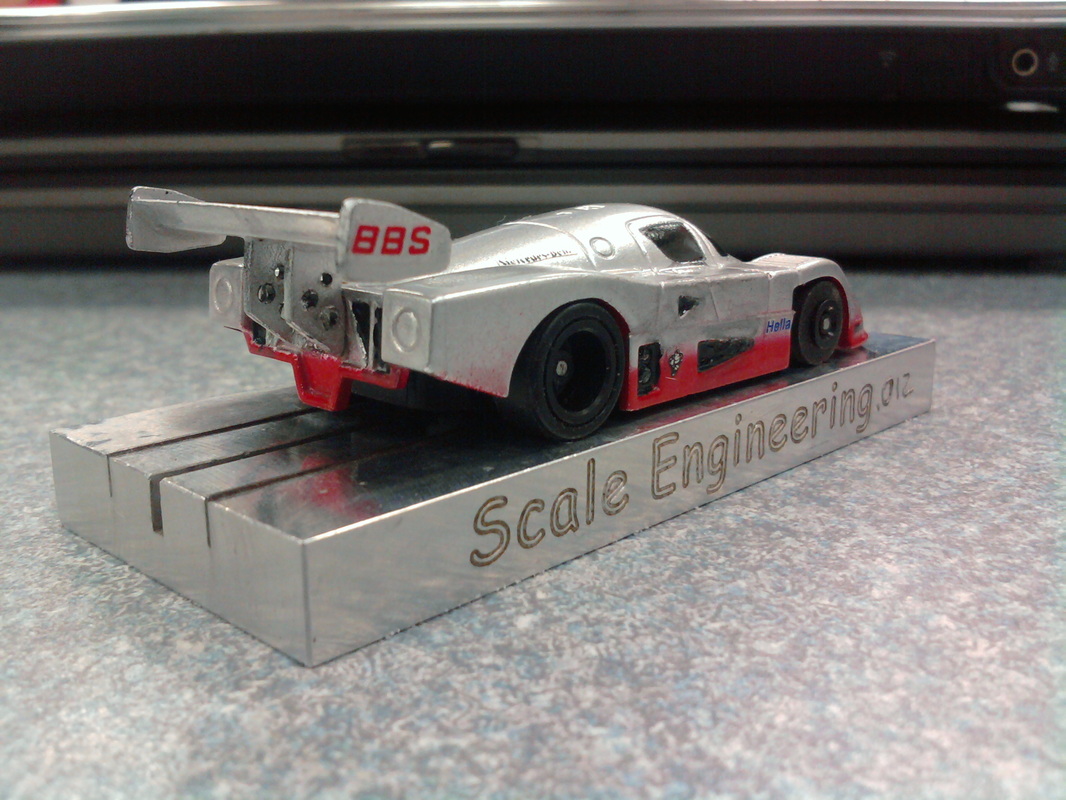
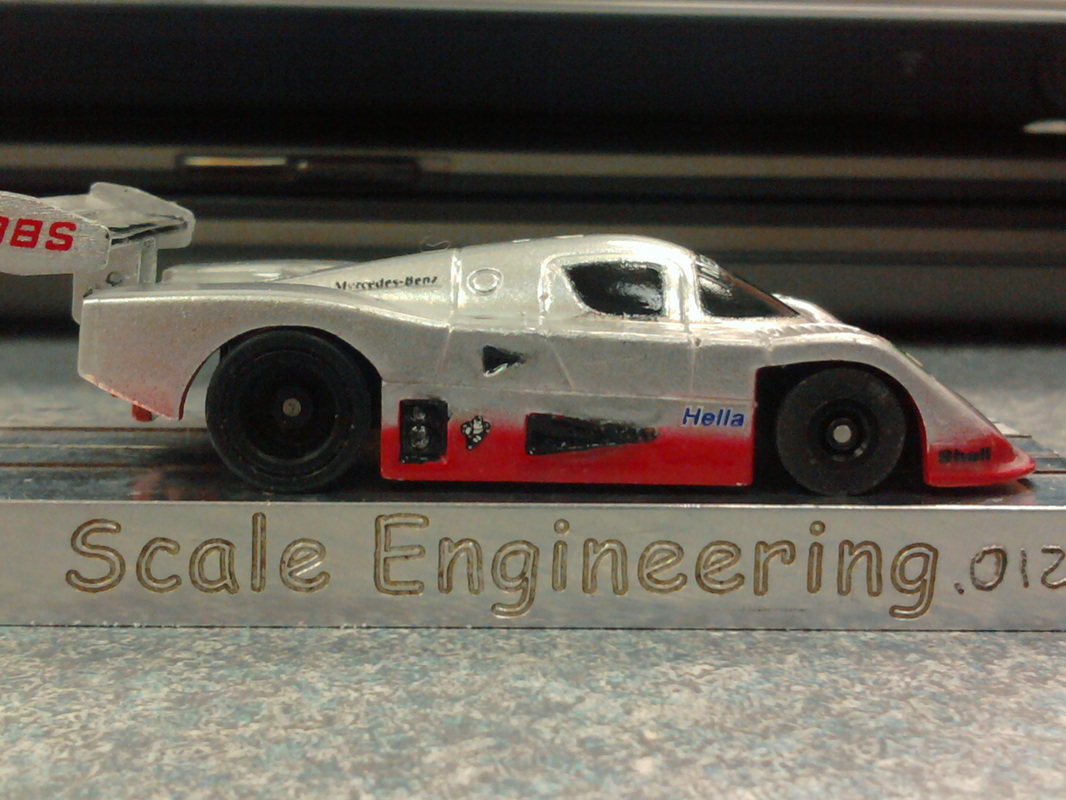
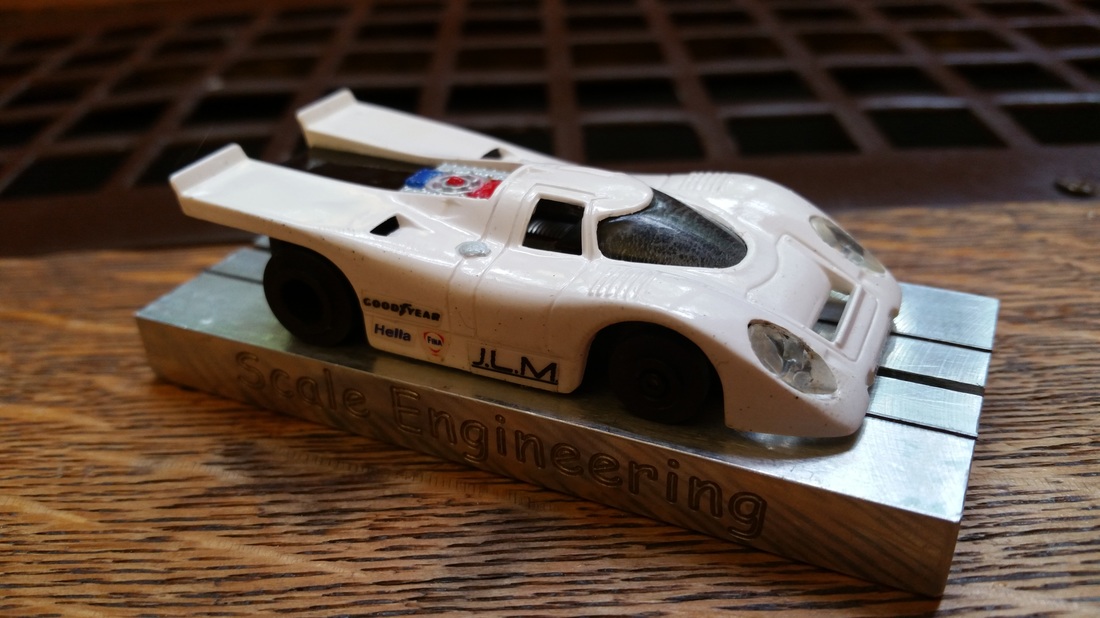
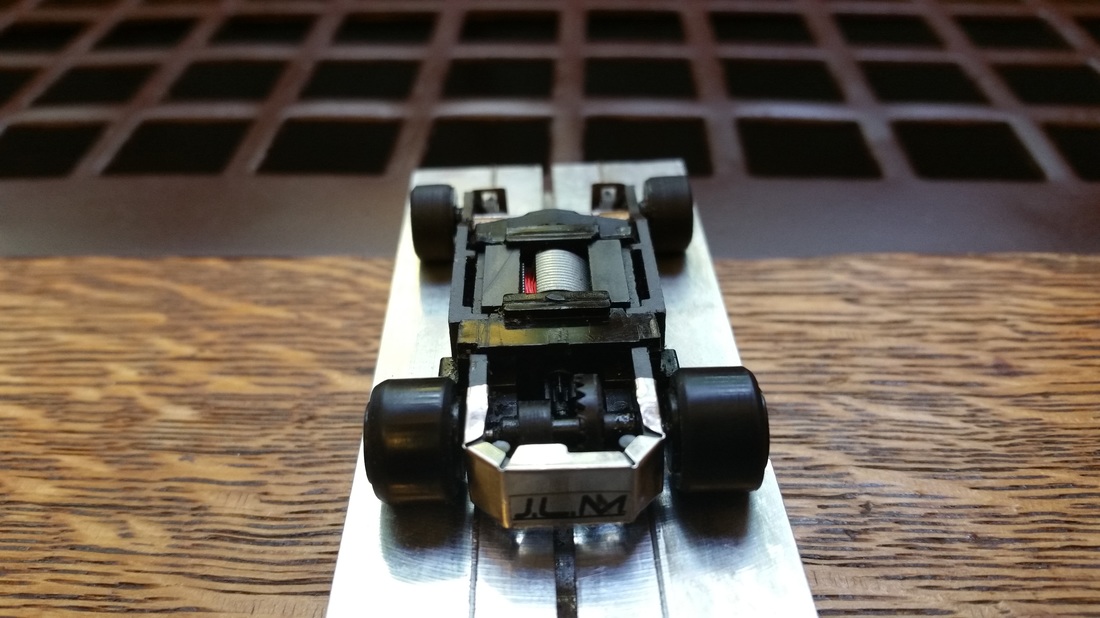
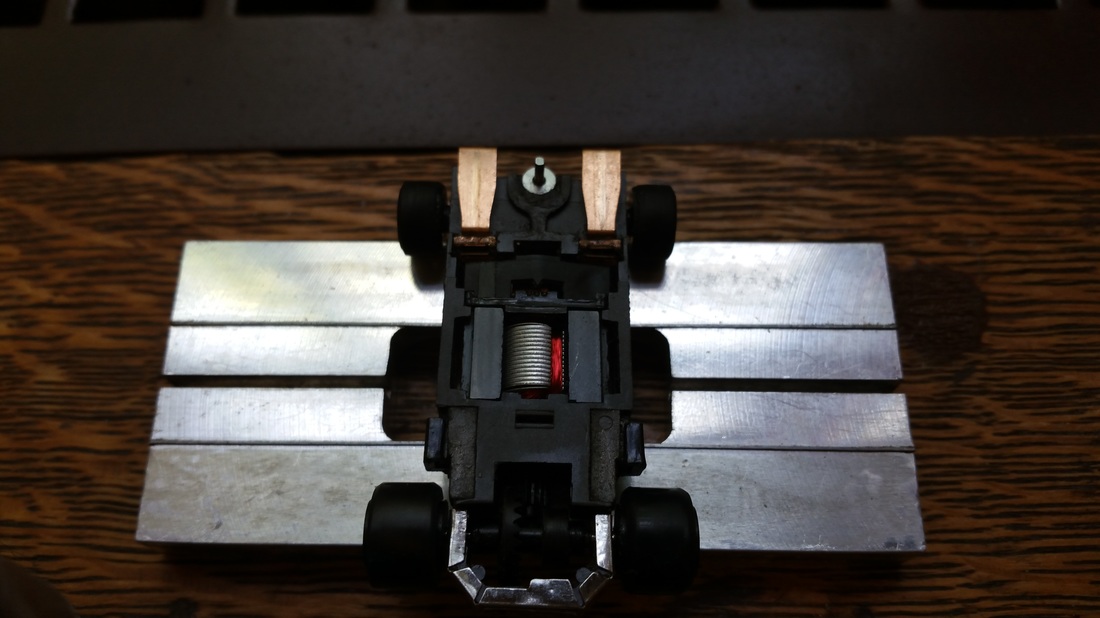
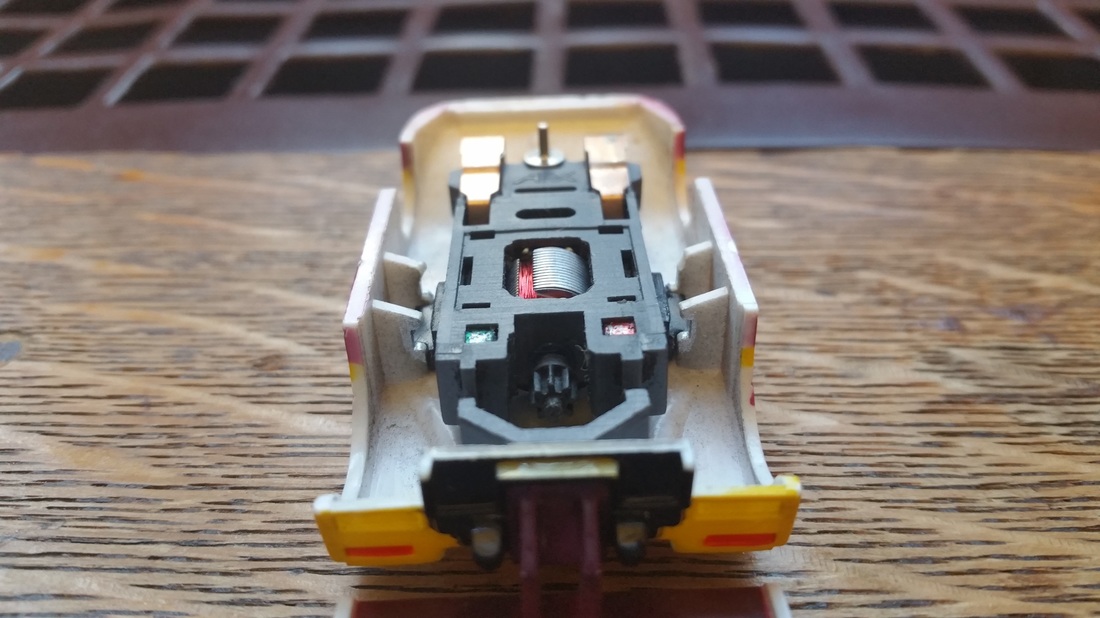
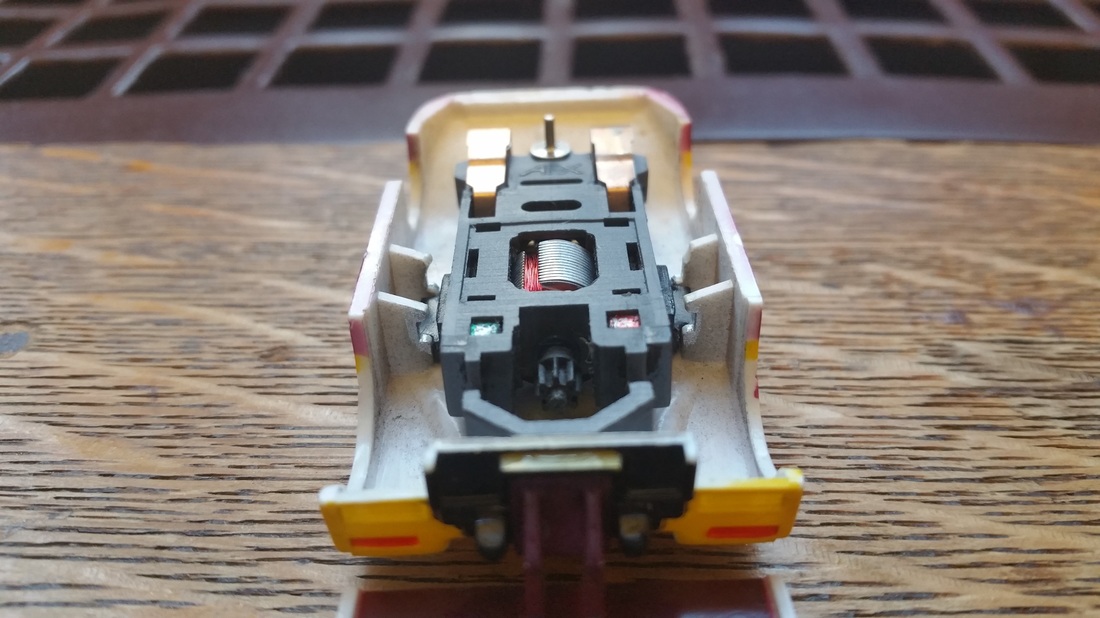
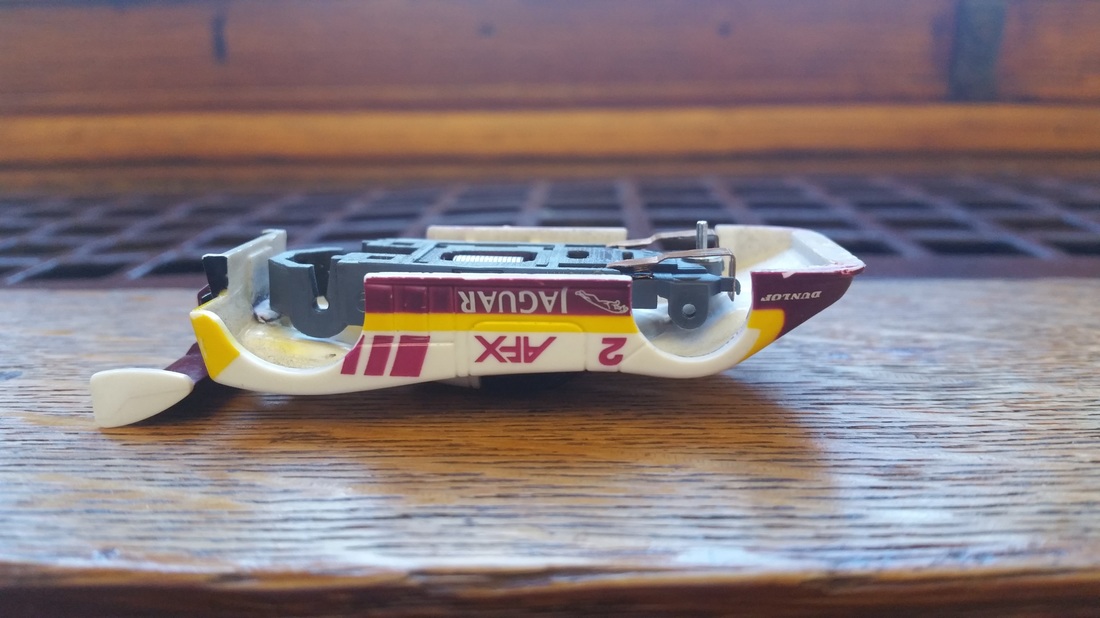
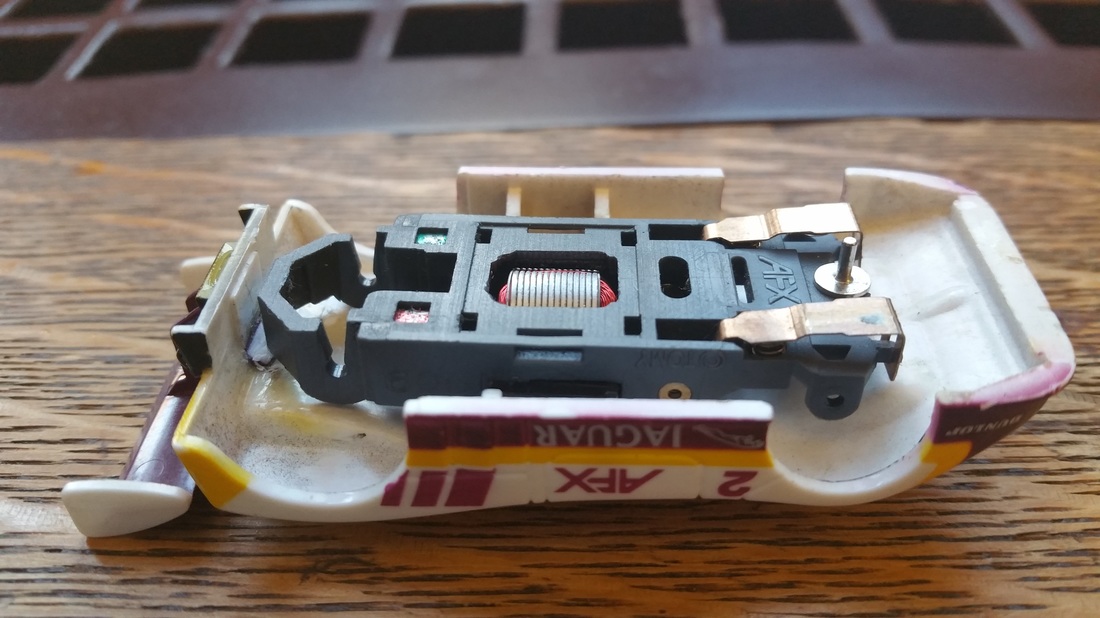
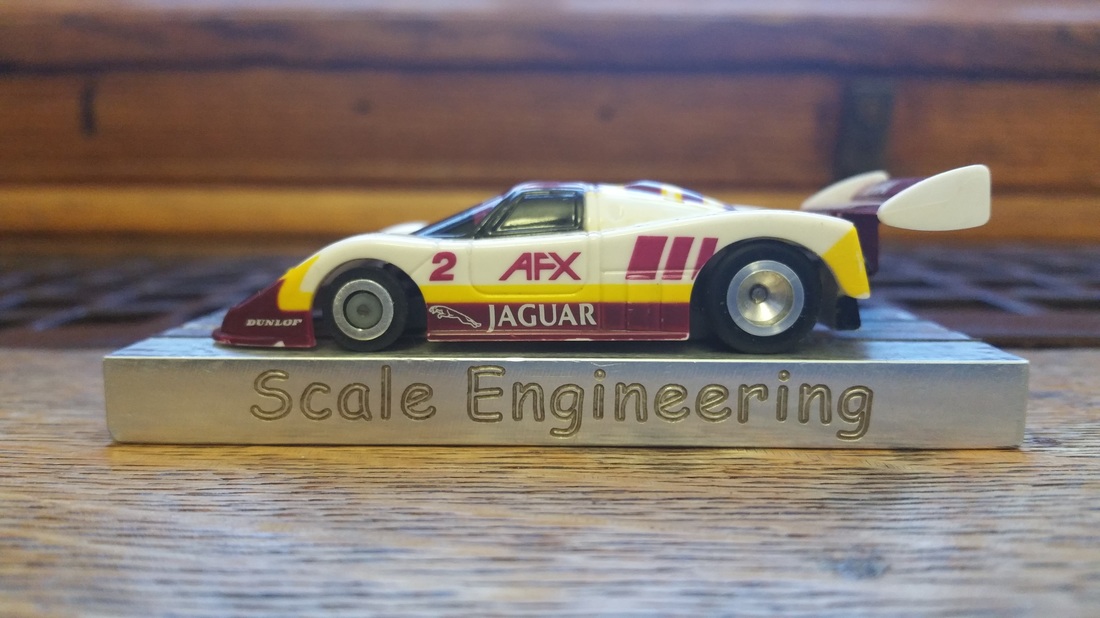
The J.L.M Racing Porshe 917 SG+N

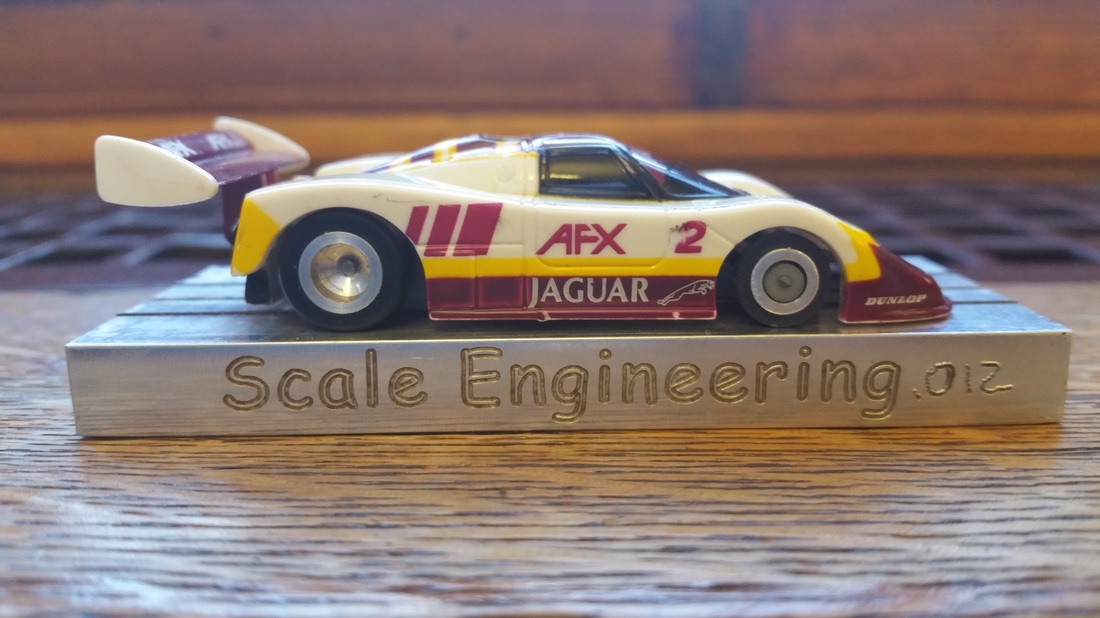
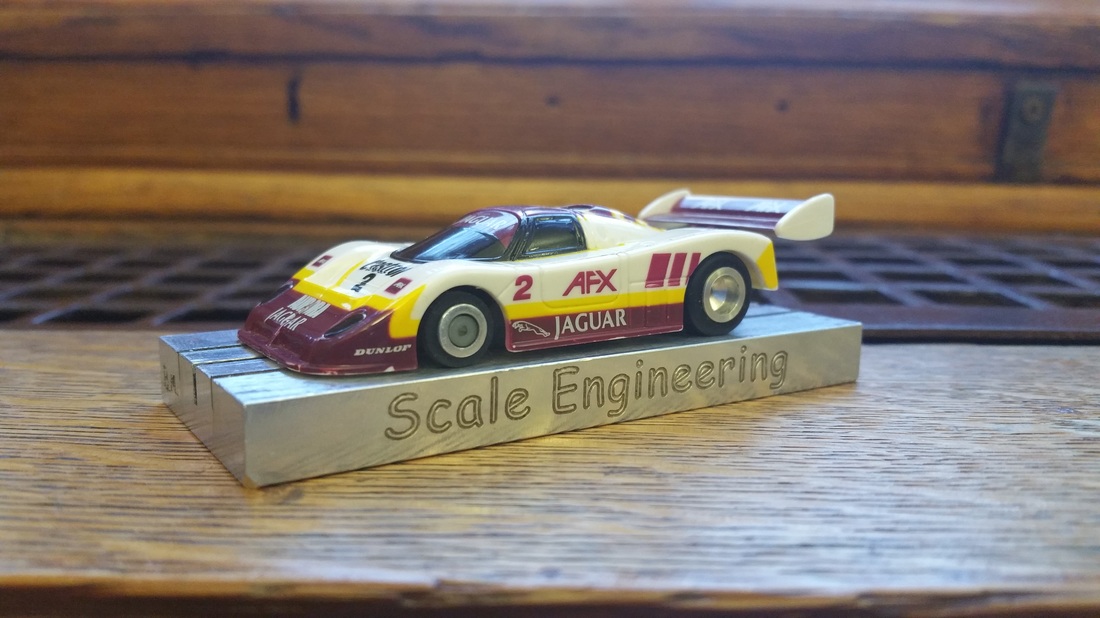
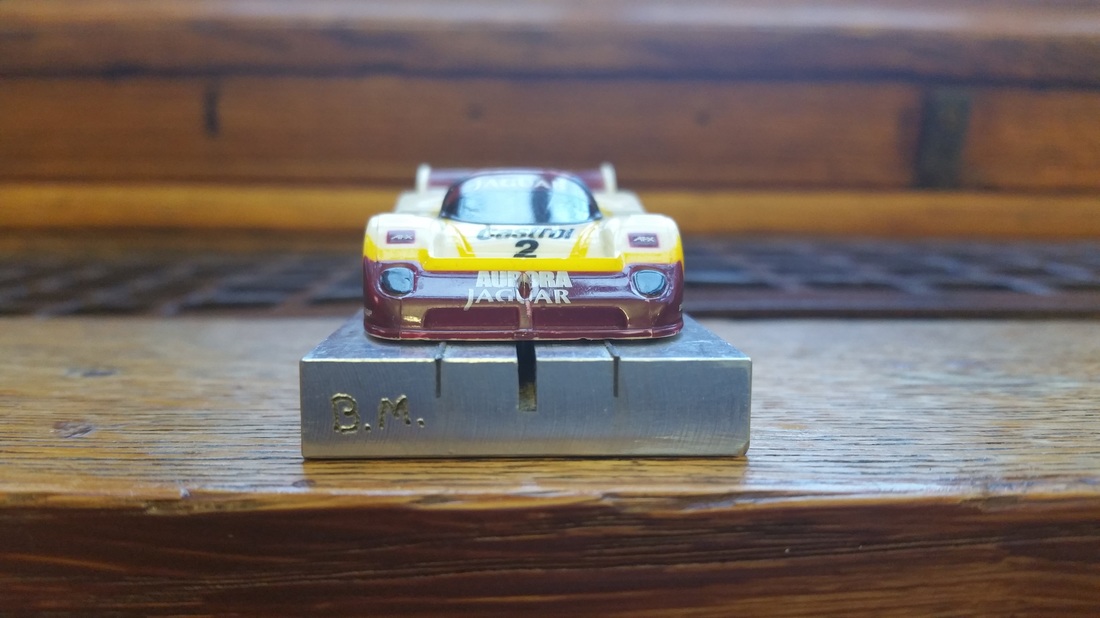
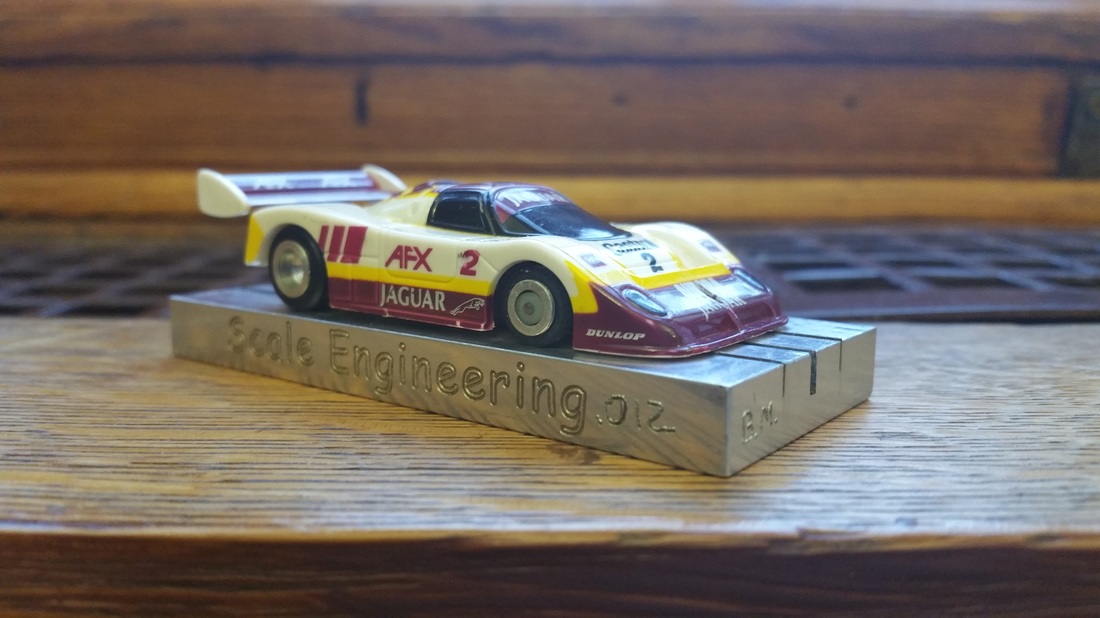
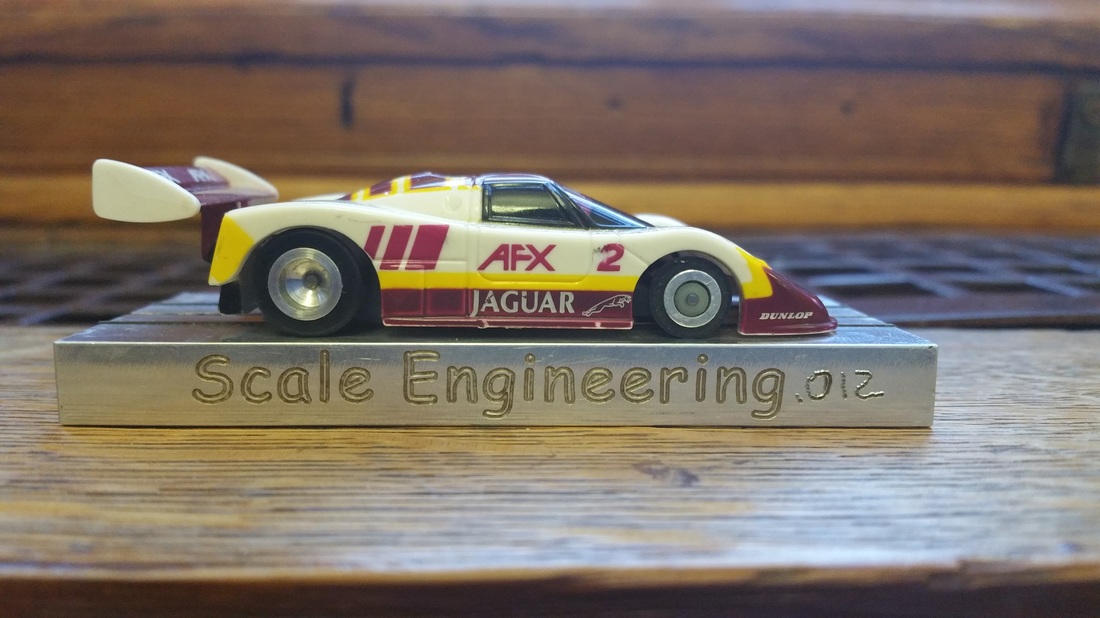
The Mega G 1.5 Jag GTP..
Instead of the standard J.L.M Racing drop, we could not create the "Slide Guide" with the body mounts, they could not be modified. So we made the body clip the "Slide Guide" with increadible results.
Instead of the standard J.L.M Racing drop, we could not create the "Slide Guide" with the body mounts, they could not be modified. So we made the body clip the "Slide Guide" with increadible results.
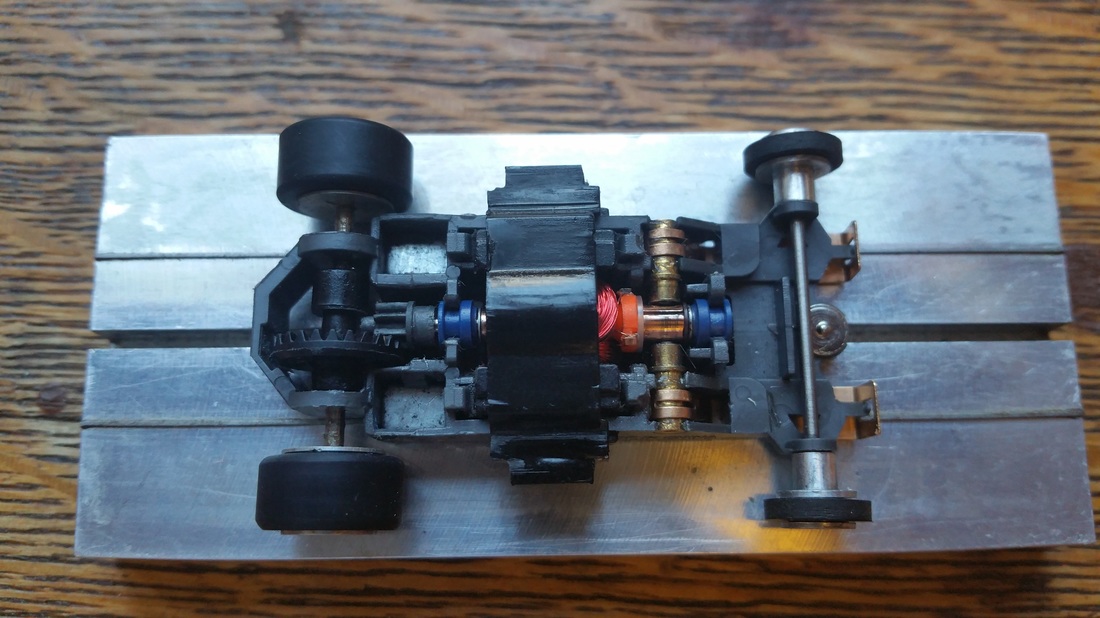


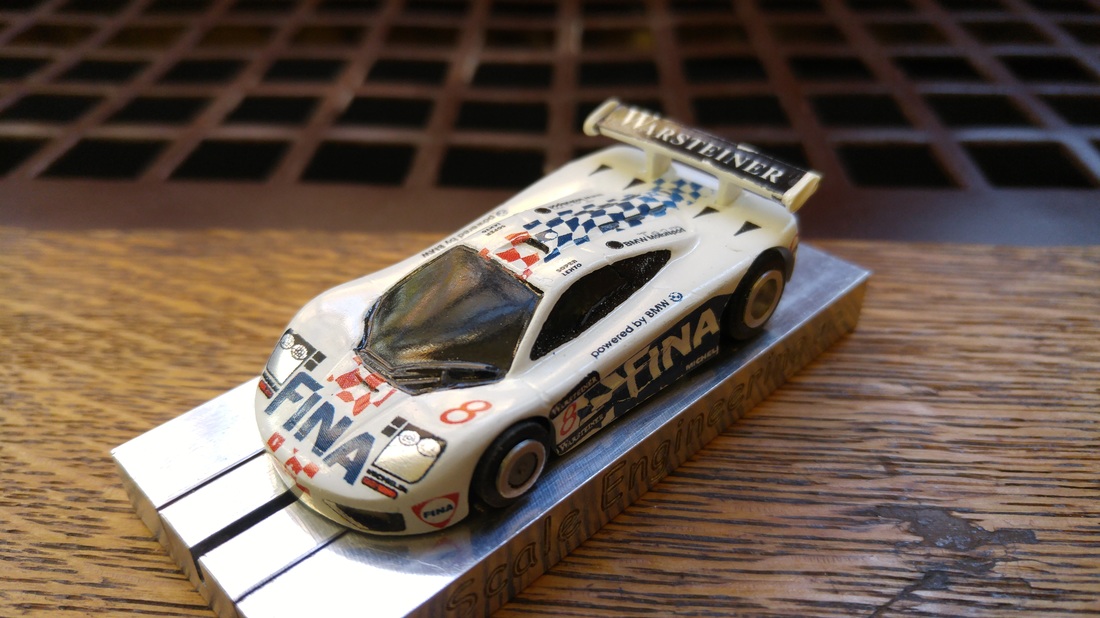
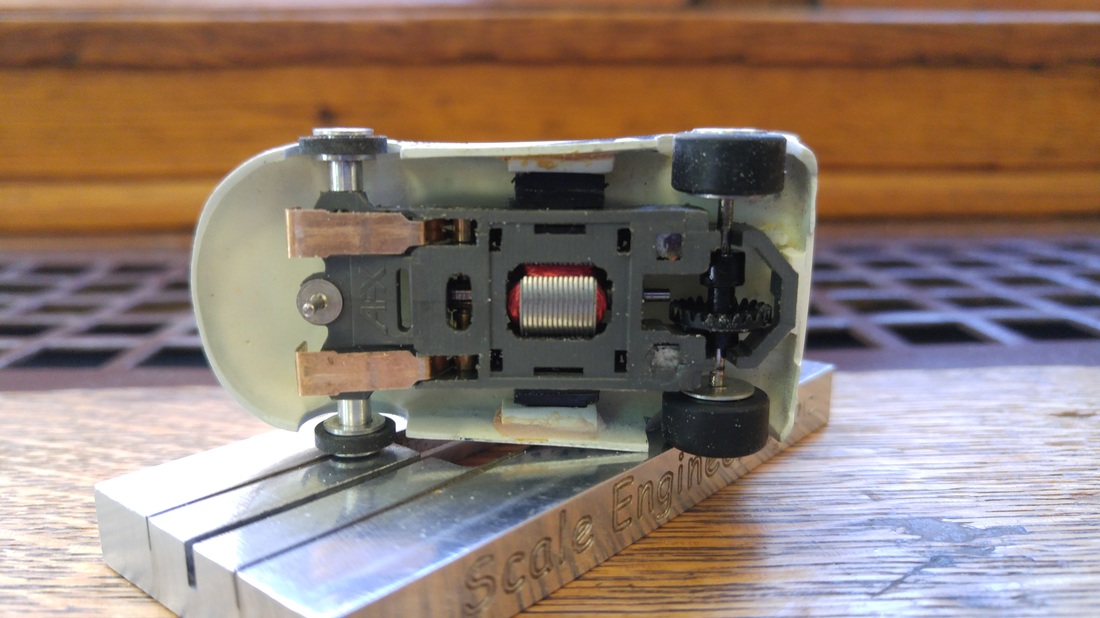
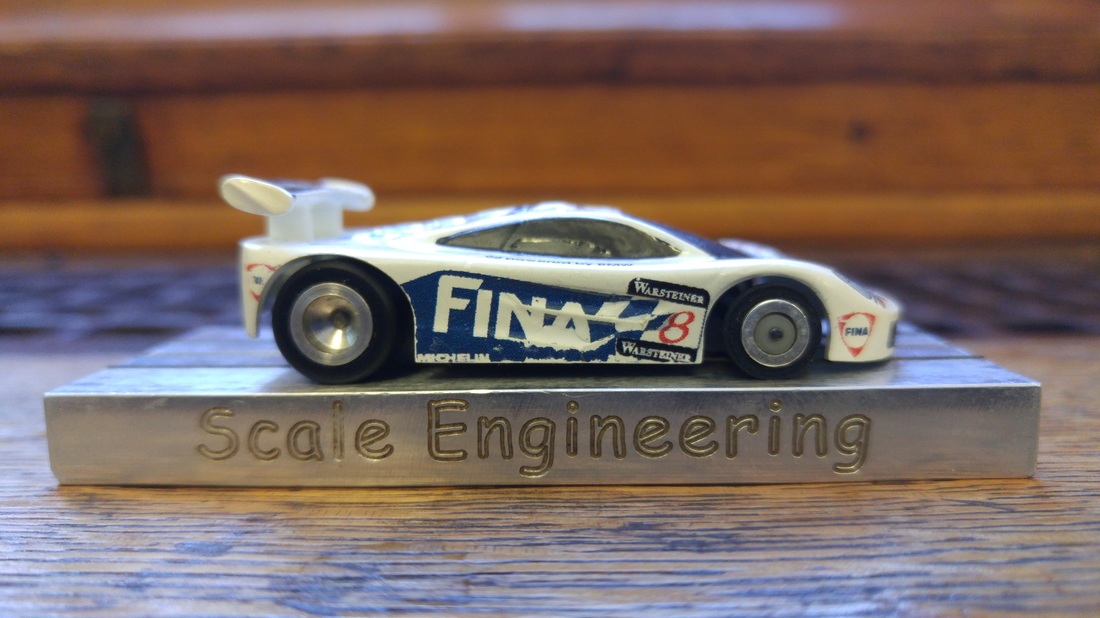
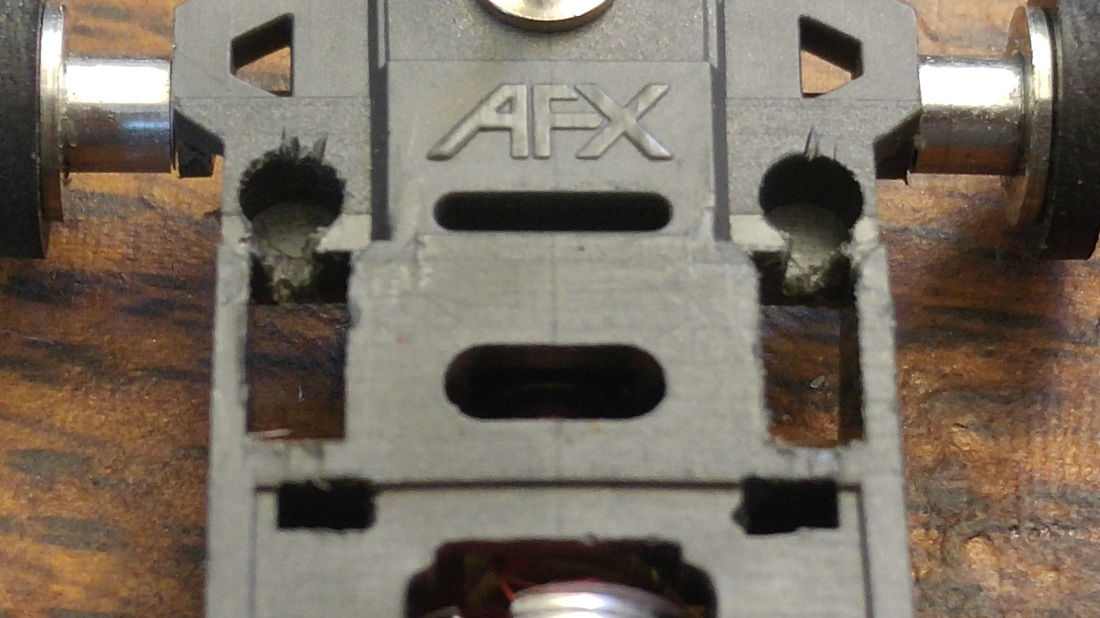
The Mega G2 Build #2
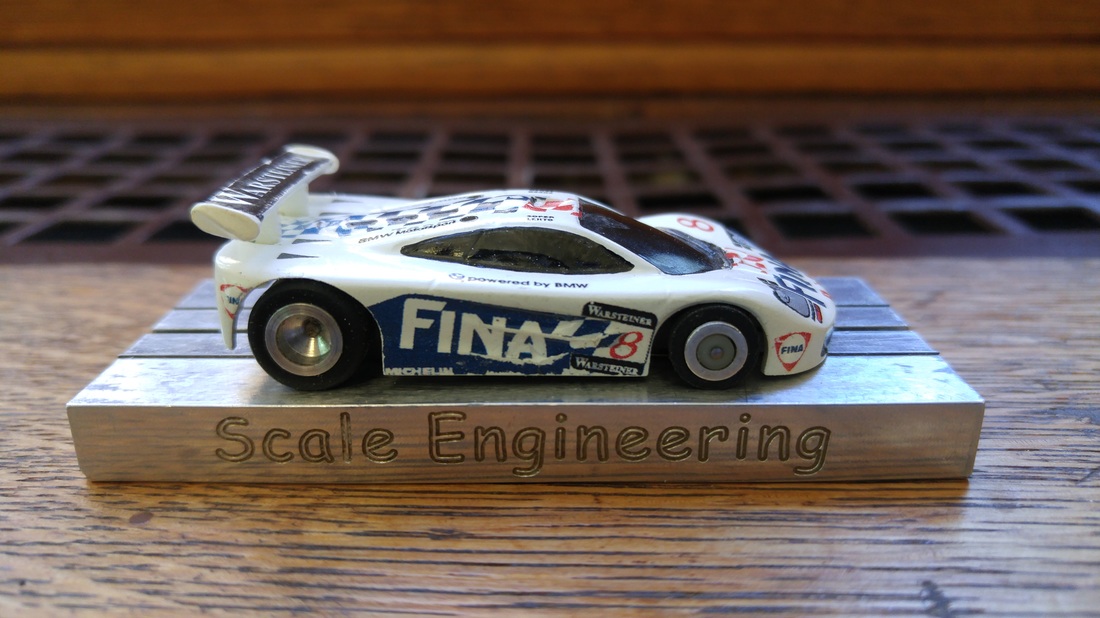
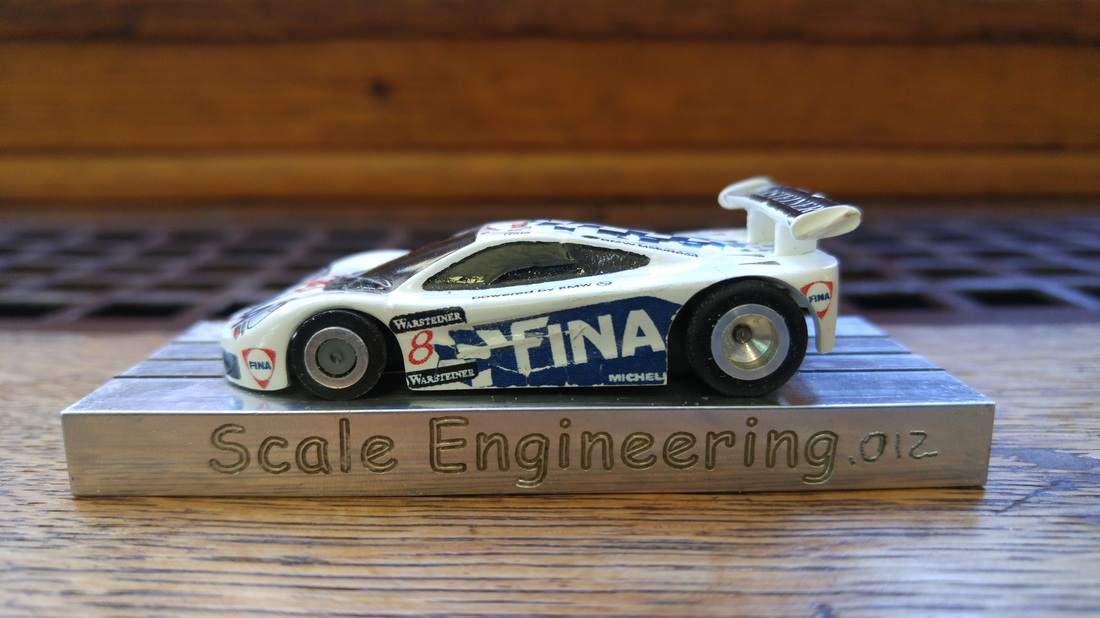
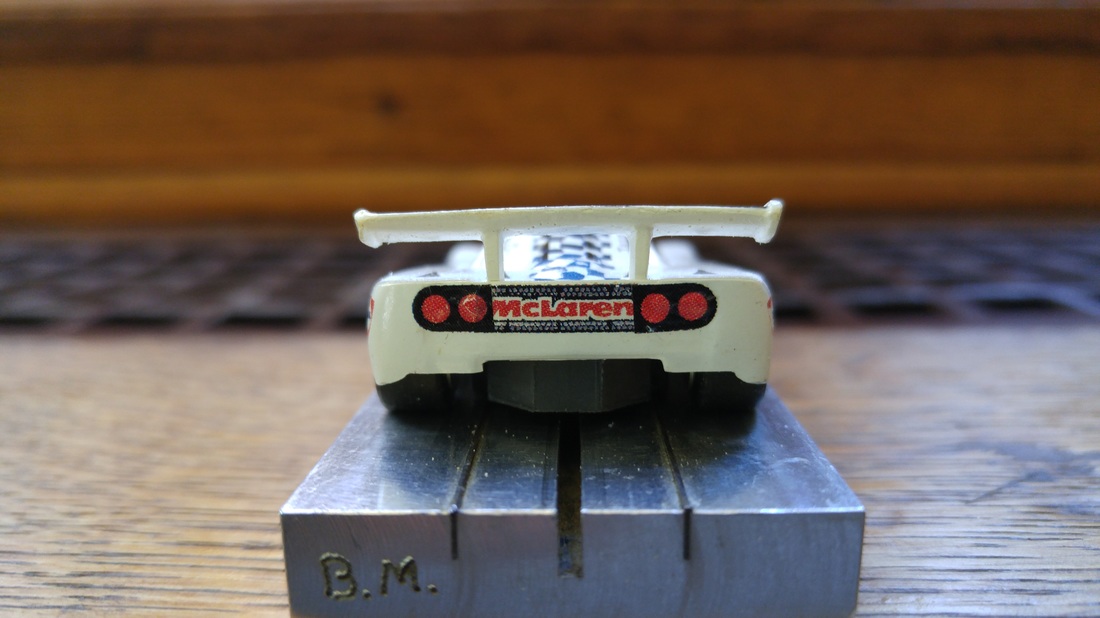
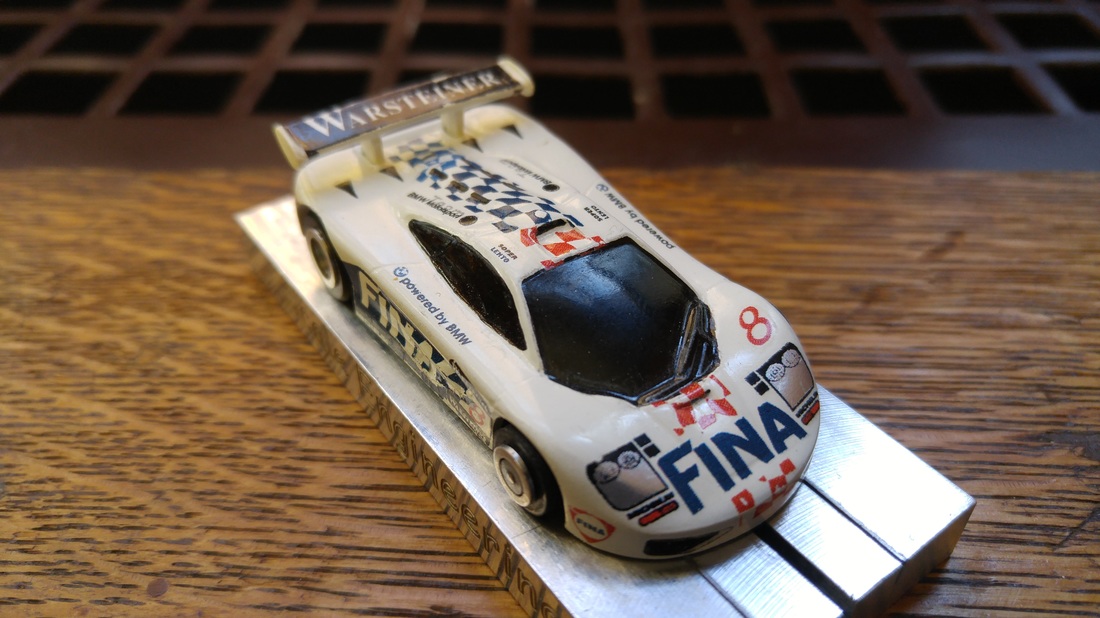
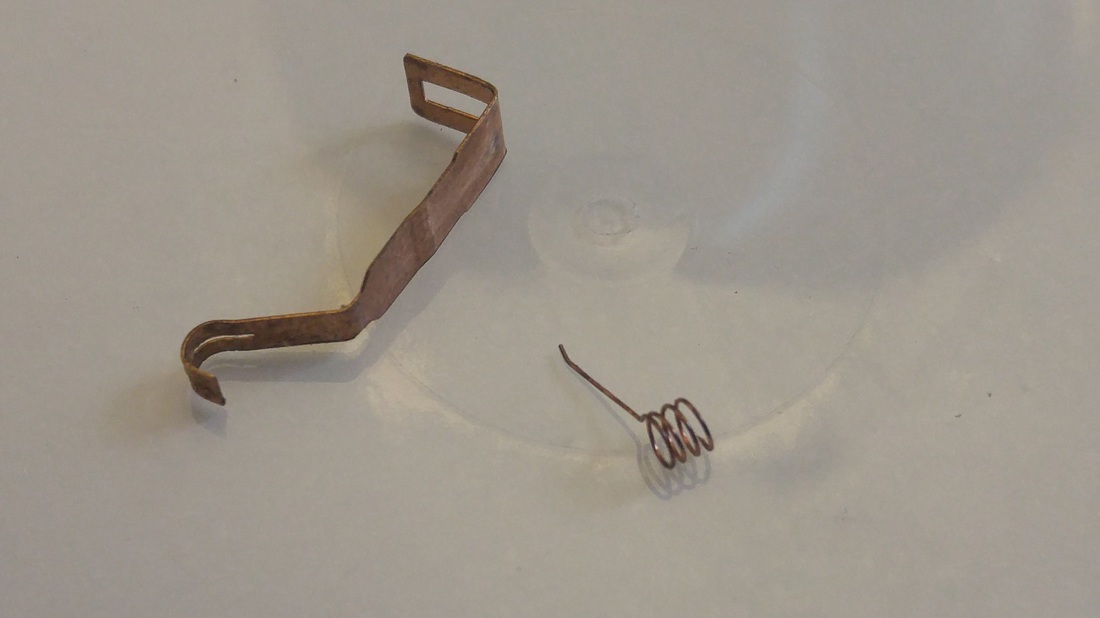
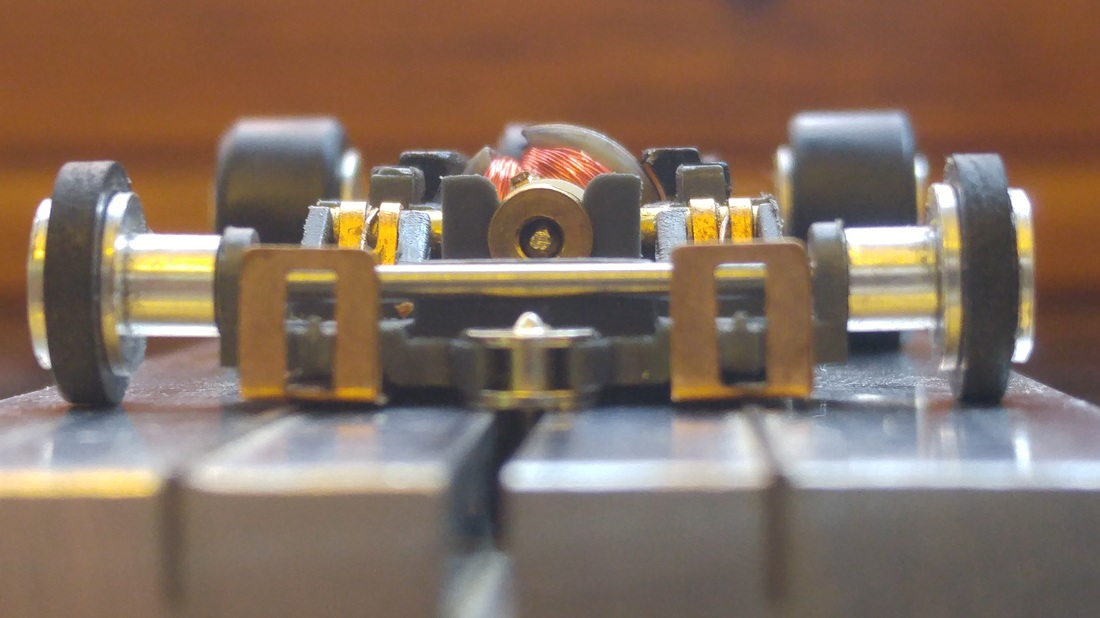
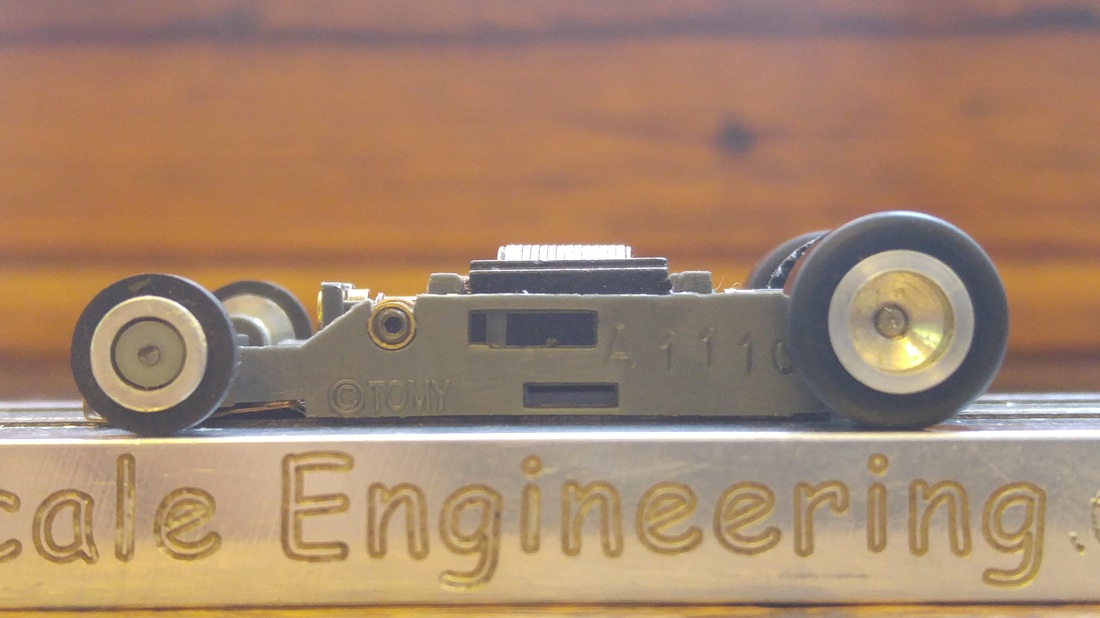
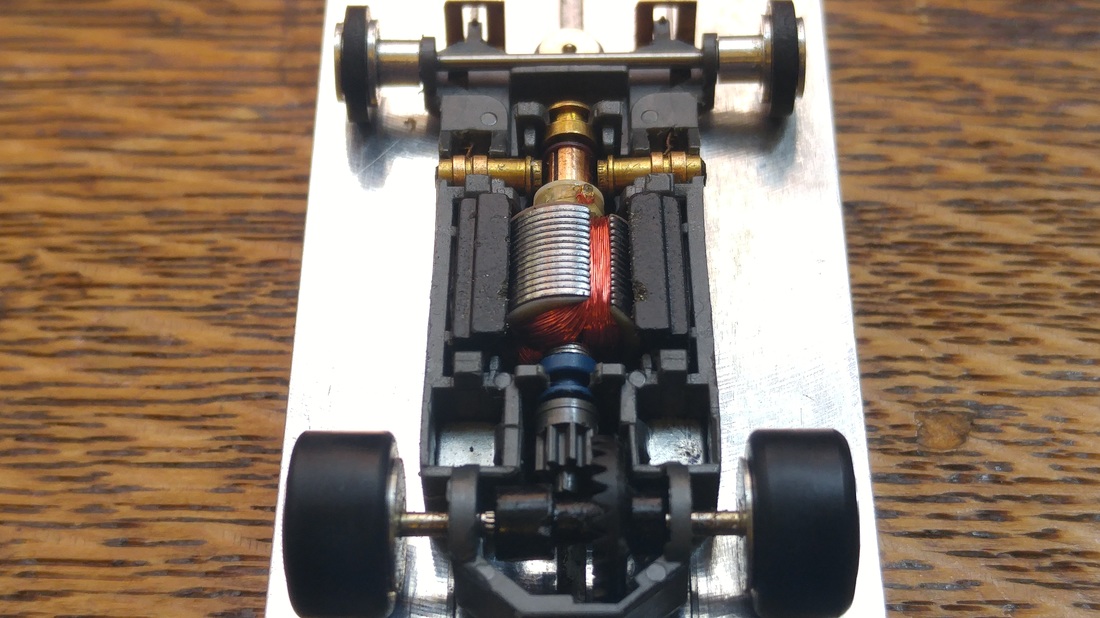
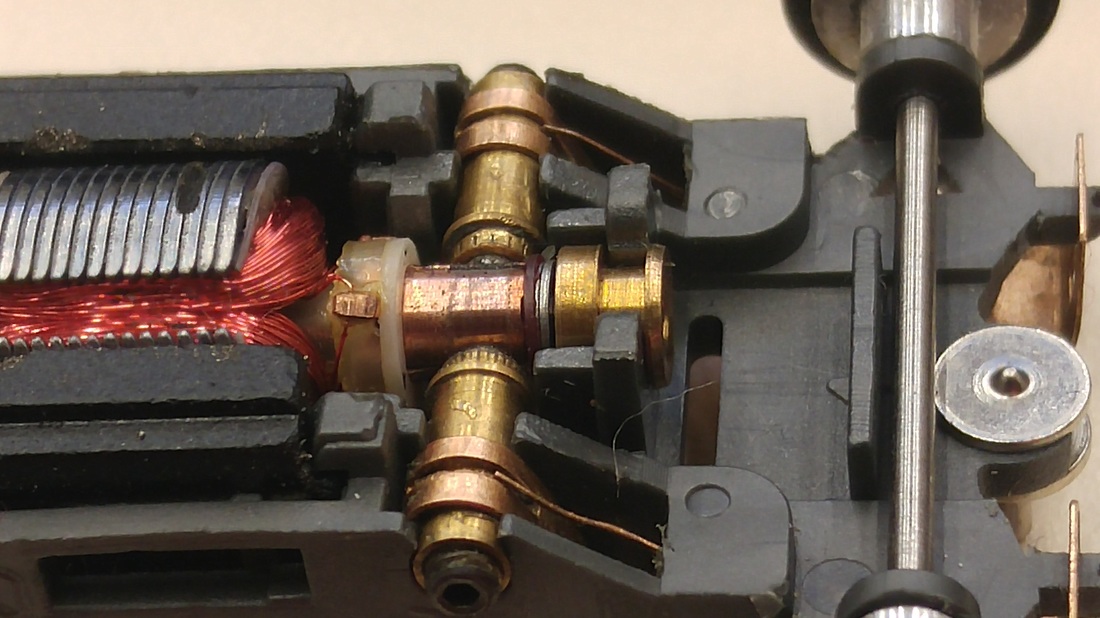
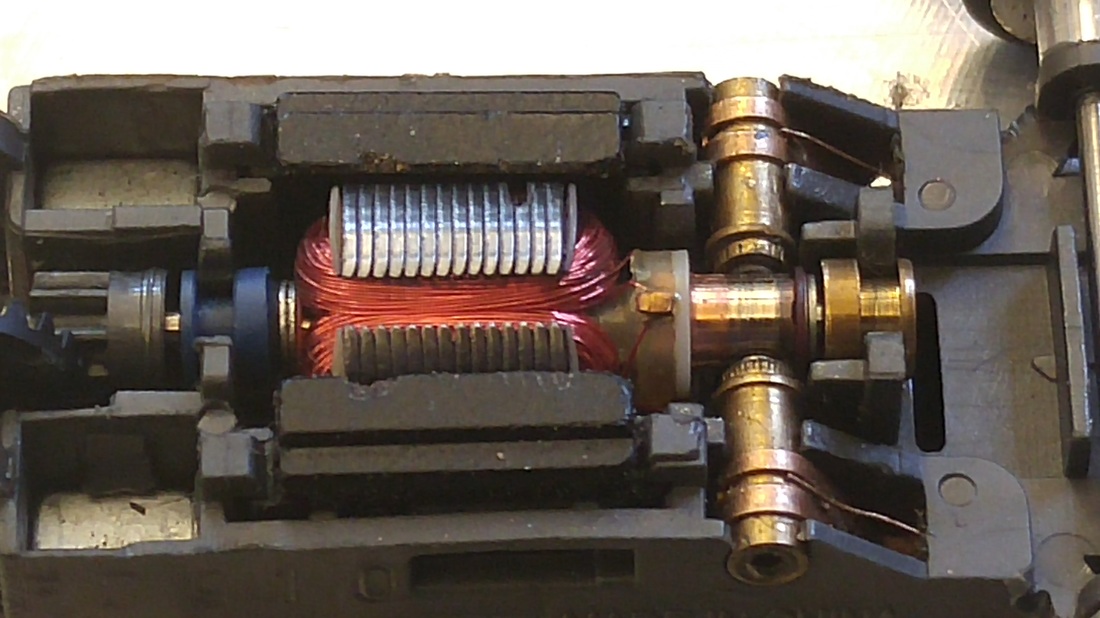
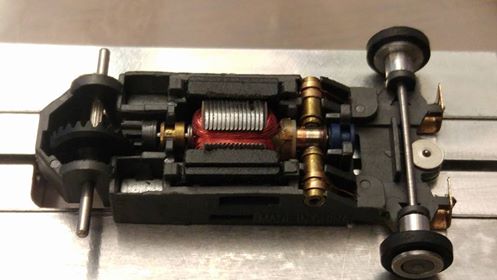
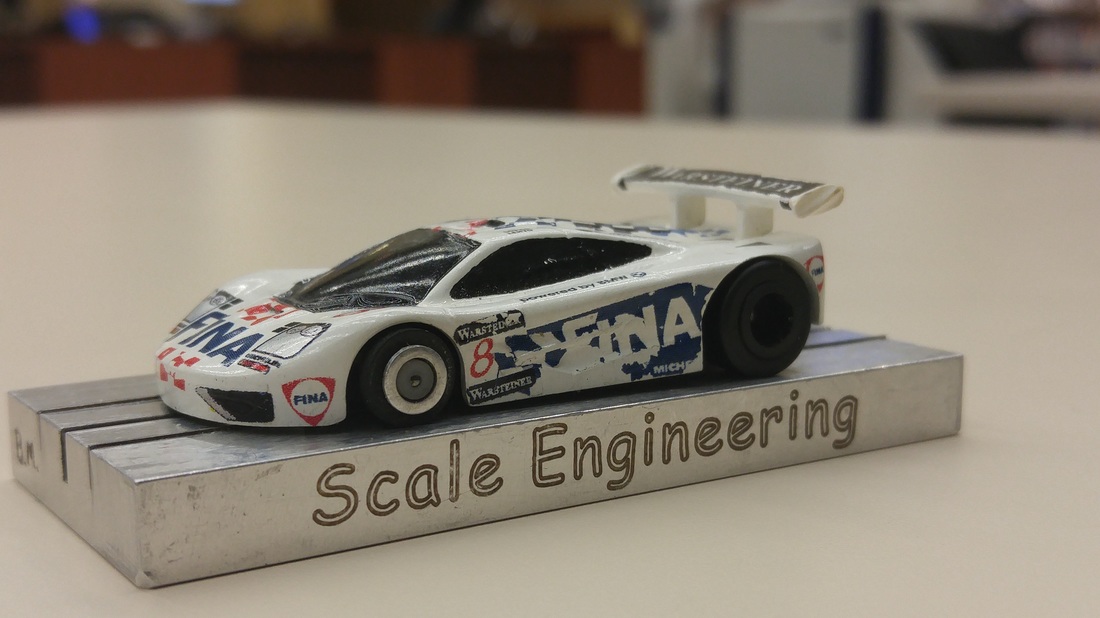
Although A/FX has discontinued the Mega G2 and now manufactures the Mega G+, the still wanted to explore how far we can push the Mega G2 1.5 chassis without killing the budget. So we ask the guys at A/FX and our S.H.O.R.S. Team to have some fun. What we ended up with was on heck of an upgrade. In the process we resolved the secondary Tap issue by creating a system that required a slight chassis modification and the modifying an set of pick up shoe springs from another manufacture to create the Marving Tap. If you think the build above was nice,check this puppy out, The J.L.M Racing McLaren F1 MG2 1.5 fea. the MTv1.

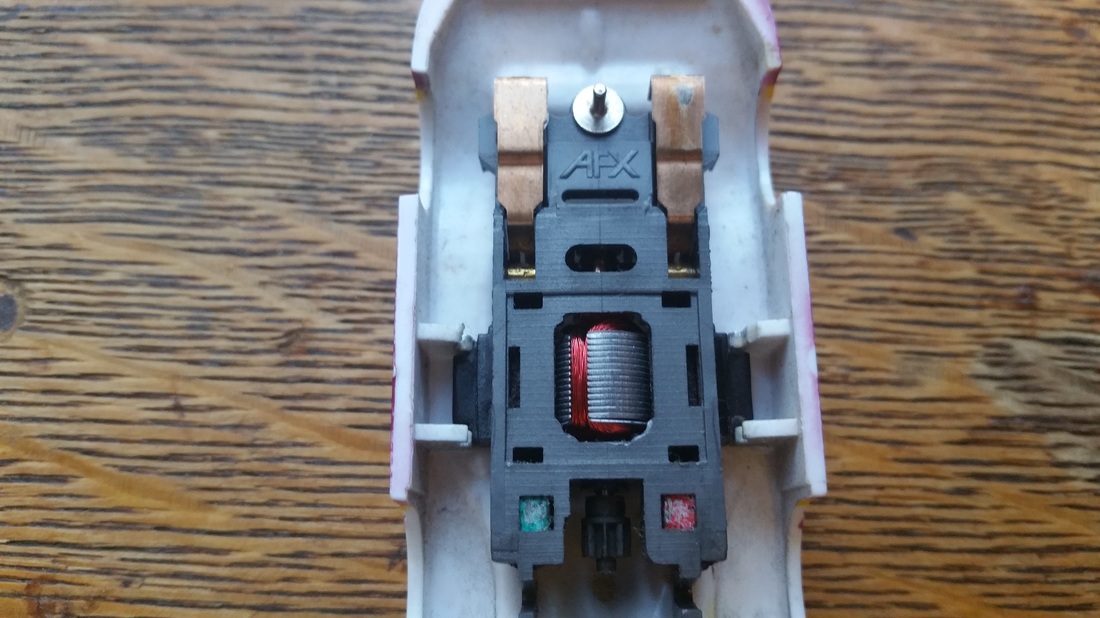
The full build has been documented on the S.H.O.R.S. Board and a White Paper is being created for the SCI Board for their article section. Here is a Pictorial gallery of what was done. Including the installation of an Original Team On-Slot "Blue Puma" Tyco arm, Silver Brushes and adjustable brush barrows. Even the body is unique. It was casted by John Peddy, whose technique yielded a supple smooth cast thats actually extremely flexible and durable.. The body only weighs a couple of grams.